Axxess Hospice now enables users to identify payers that require authorization and track authorizations seamlessly. This functionality streamlines operations and increases revenue by ensuring all authorizations are added and accounted for during claim creation and submission.
To manage insurance/payer authorizations, users must have permission to view, add, edit and delete authorizations and claims in Axxess Hospice.
To give a user permission to manage authorizations, edit the user’s profile and navigate to the Permissions tab. In the Administration section, select View, Add, Edit, and Delete next to Insurance/Payer & Authorizations.
People tab ➜ People Center ➜ Edit ➜ Permissions tab ➜ Administration section ➜ Insurance/Payer & Authorizations ➜ View/Add/Edit/Delete

In the Billing section, select View, Add, Edit, E-Submission and Delete next to the Claims permission.
People tab ➜ People Center ➜ Edit ➜ Permissions tab ➜ Billing section ➜ Claims ➜ View/Add/Edit/E-Submission/Delete

Click Save to finish granting the permissions to the user.
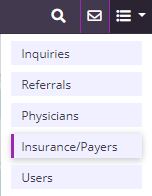
To set payers to require authorizations, navigate to Insurance/Payers under the list  menu.
menu.
➜ Insurance/Payers
Select Edit and navigate to the Billing Information tab. Under Payer Settings, check the box indicating that the payer requires authorizations for provided services, and click Save.

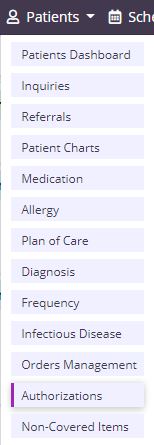
Once the payer setup is complete, authorizations can be added for patients using that payer. To add an authorization for a patient, select Authorizations under the Patients tab.
Patients tab ➜ Authorizations
Select a patient from the list and click Add Authorization. If the patient does not use a payer that requires authorization, an authorization cannot be added for the patient.

Enter authorization details in the Authorization Status, Authorization Type, Insurance and Authorization Number fields. Based on the authorization type selected, start and end dates may be required.
|
Authorization Status |
The authorization status can be set to Active, Pending, Closed or Denied and can be updated at any time. |
||
|
Authorization Type |
The authorization type can be set to Date Range, Authorized Units or Date Range + Authorized Units based on the type of authorization provided by the payer. |

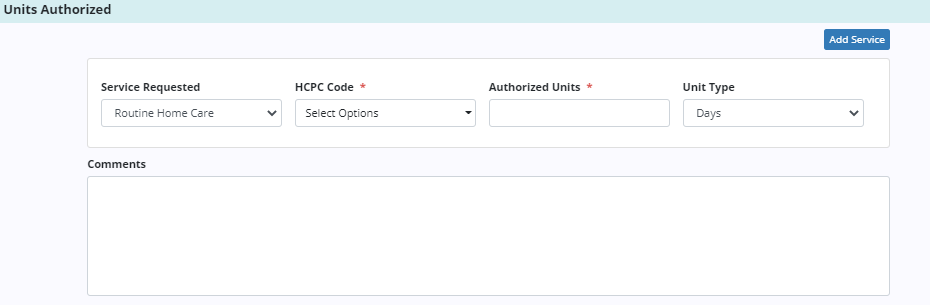
Once the details have been added, enter the services authorized or requested by the payer. Select the HCPC code based on the service location (Q code) where care will be provided.
If Authorized Units is selected as the authorization type, the Authorized Units and Unit Type fields will be added to the service requested. If more than one service is authorized or requested, click Add Service and enter the details for each service.
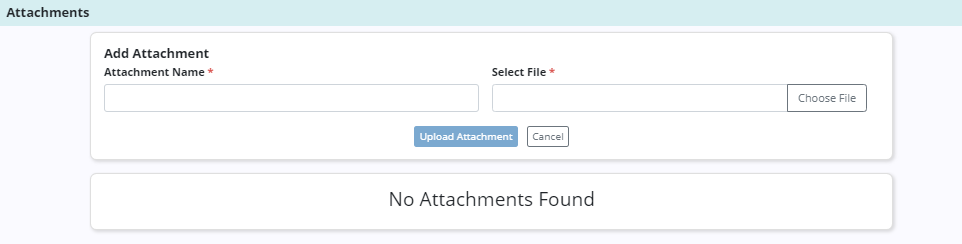
Authorization documents that are received from the payer can be added to each authorization. To add an attachment, click Add Attachment in the Attachments section. Enter the name of the file and select a file to attach. Click Upload Attachment to add the attachment to the authorization.
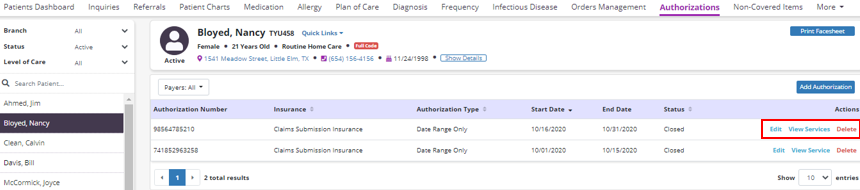
Once authorizations have been added for a patient, users can view, edit or delete authorizations using the options in the Actions column.
Click Edit to edit an existing authorization. Click View Services to view the services included in the authorization. Click Delete to remove an authorization.
To attach an authorization to a claim, navigate to the Billing tab and select Claims. Click New Claim and enter the patient name, date range, and payer.
If the selected payer requires authorization and an authorization has been added, the Authorization field will appear. Select an authorization for the claim, enter the type of bill based on the payer requirements and click Create.

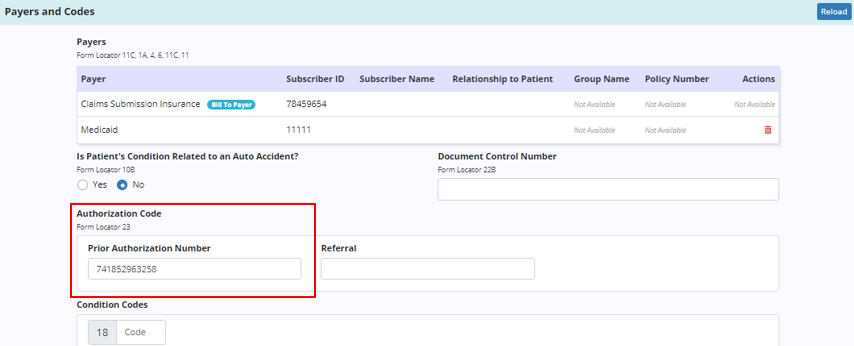
When the claim is created, the Payers and Codes section will update to display the prior authorization number under Authorization Code.
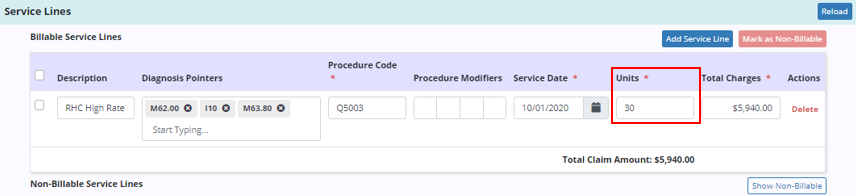
The Service Lines section will update automatically based on the number of units authorized for the selected authorization.
Updated on 11/19/2020
