Axxess Hospice enables users to easily manage UltiPro-specific payroll earning codes and associate them for each branch to the appropriate credentials, pay types, overtime eligibility, shifts, lines of service and tasks to facilitate UltiPro payroll calculation and CSV file generation.
To manage payroll earning codes and use vendor-specific exports in the Payroll Center, users must have permission to access Company Setup and payroll in Axxess Hospice.
To give a user permission to view and edit Company Setup, edit the user’s profile and navigate to the Permissions tab. In the Administration section, select View and Edit next to the Company Setup permission.
People tab ➜ People Center ➜ Edit ➜ Permissions tab ➜ Administration section ➜ Company Setup ➜ View/Edit

To give a user permission to view, add and edit company payroll, select View, Add and Edit next to the Company Payroll permission.
People tab ➜ People Center ➜ Edit ➜ Permissions tab ➜ Administration section ➜ Company Payroll ➜ View/Add/Edit

Click Save to finish granting the permissions to the user.
To manage UltiPro payroll earning codes, the Payroll Center must be enabled in Company Setup and UltiPro must be selected as the organization’s payroll vendor.
To enable the Payroll Center, navigate to Company Setup under the Admin tab. On the Payroll tab, verify that the correct provider is selected in the Provider filter at the top of the screen.
Admin tab ➜ Company Setup ➜ Payroll tab

In the Payroll Center section, select Enable. Enabling the Payroll Center allows users to view the Payroll Center (under the People tab), edit payroll data and generate payroll export files with the components and data layout required by the organization’s payroll vendor.
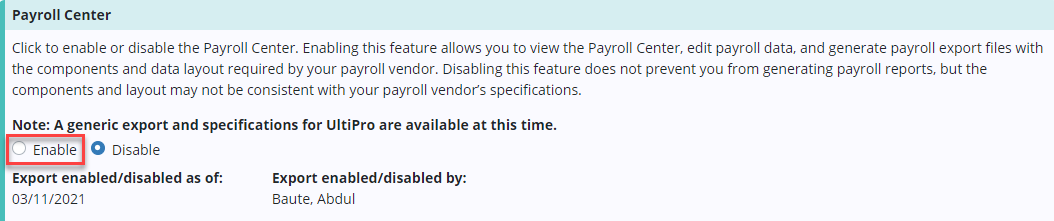
After selecting Enable, select UltiPro from the Payroll Vendor drop-down menu to generate UltiPro-specific export files.
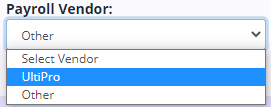
If your organization is interested in generating vendor-specific export files for a payroll vender other than UltiPro, contact your account manager or sales representative, or enter an enhancement ticket through the Support Ticketing Center.
Select Add Branch to associate payroll company codes/IDs to the payroll branches within your organization. Select the branch, enter the payroll company code/ID (provided to you by your payroll vendor), and enter the start date. Click Save.

Users can edit, delete or deactivate the associated payroll company codes/IDs by selecting the edit, delete or deactivate icons under Actions.

The Payroll Earning Codes section will appear when the Payroll Center is enabled and UltiPro is selected as the payroll vendor.
Organizations can manage vendor-specific payroll earning codes and associate codes for each branch to the appropriate credentials, pay types, overtime eligibility, shifts, lines of service and tasks to facilitate accurate payroll reporting.
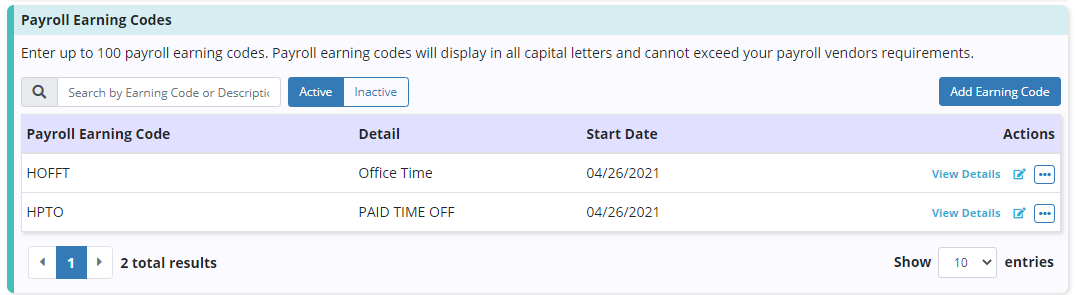
Users can enter up to 100 payroll earning codes. Payroll earning codes will display in ALL CAPS and cannot exceed the payroll vendor’s requirements.
To add a payroll earning code, click Add Earning Code. Complete the required fields and click Save.
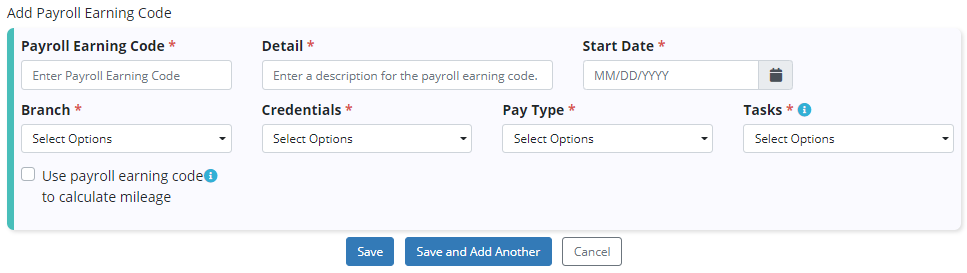
The payroll earning code will then appear on the Payroll Earning Codes table and will be used by the system to calculate payroll per employee on the UltiPro export.
Payroll earning codes marked to calculate mileage will display on the table with a blue Calculates Mileage tag.

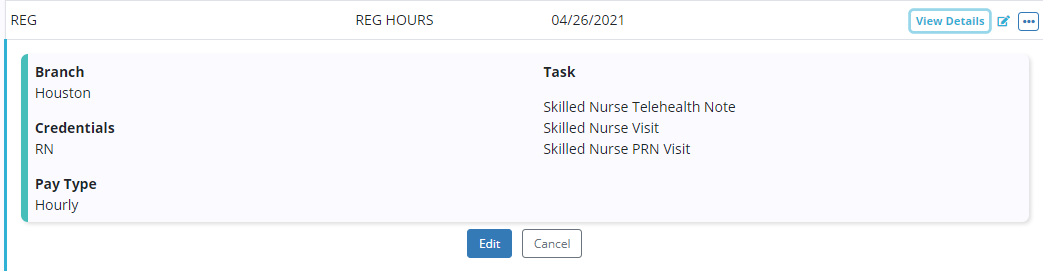
To view additional information on a payroll earning code, click View Details.
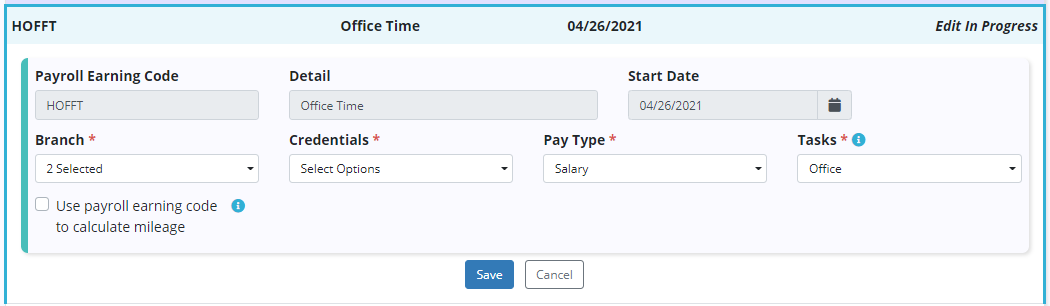
To edit the branch, credentials, pay type, tasks or mileage flag associated with a payroll earning code, select the edit icon ( ![]() ). Make the appropriate changes to the editable fields and click Save.
). Make the appropriate changes to the editable fields and click Save.
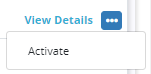
To deactivate a payroll earning code, click the ellipsis icon and select Deactivate.

When a payroll earning code is deactivated, it will move from the Active tab to the Inactive tab. Select Active or Inactive to toggle between the lists of active and inactive payroll earning codes.

On the Inactive list, users can select the ellipsis icon and click Activate to active an inactive payroll earning code.
When an inactive payroll earning code is activated, a copy of the payroll earning code will display on the Active tab and the start date will default to today’s date. The original payroll earning code will remain on the Inactive tab with its original start and end dates.
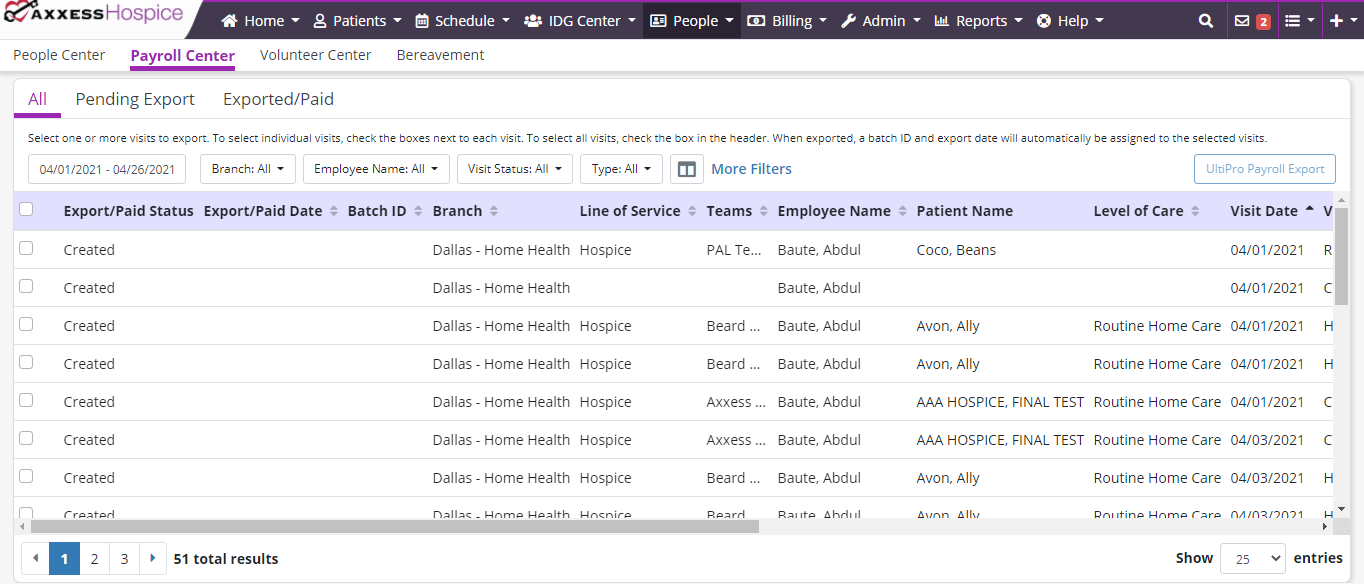
When the Payroll Center is enabled and UltiPro is selected as the payroll vendor, and payroll earning codes have been established, you can begin generating UltiPro exports from the Payroll Center. To generate an UltiPro export, navigate to the Payroll Center under the People tab.
People tab ➜ Payroll Center
In the Payroll Center, users can toggle between the All, Pending Export and Exported/Paid tabs.
|
The All tab shows visits and non-patient activity (NPA) tasks in all statuses. |
|
|
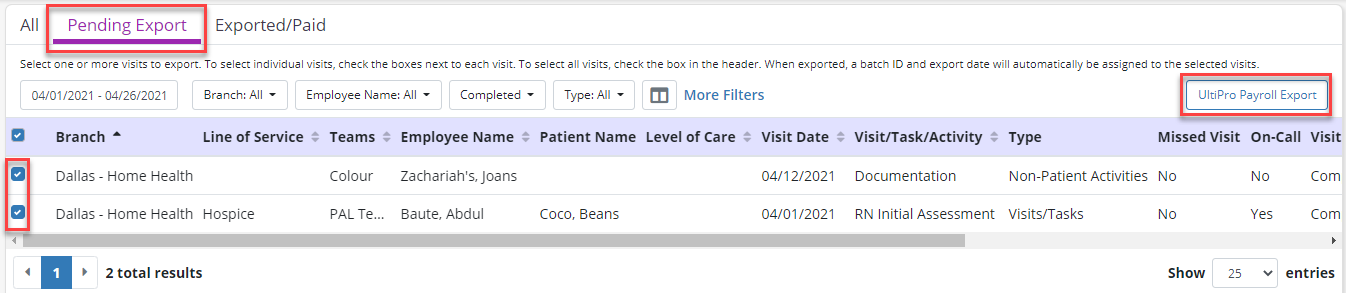
The Pending Export tab shows visits and NPA tasks that have not been exported. |
|
|
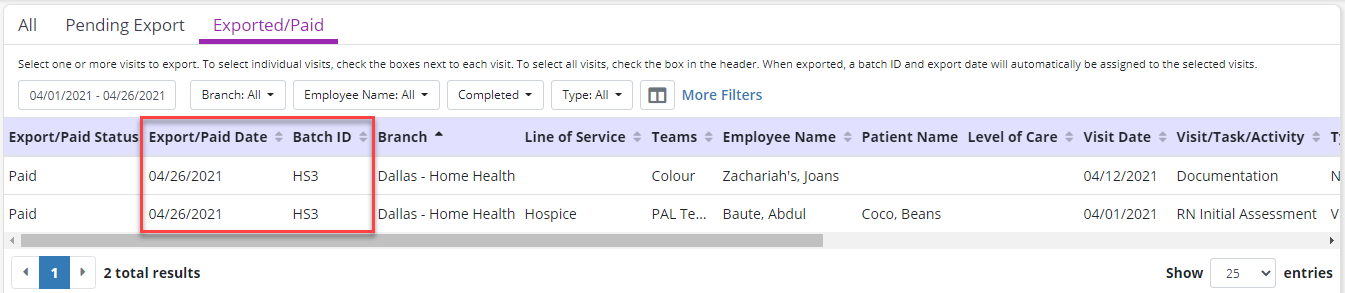
The Exported/Paid tab shows visits and NPA tasks that have been exported and marked as paid. |
On each tab, users can filter by date range, branch, employee name, visit status and type.
Visits and NPA tasks can be selected for export from the All and Pending Export tabs in the Payroll Center. To export visits and/or NPA tasks, check the boxes next to the desired visits/tasks and click UltiPro Payroll Export.
In the confirmation pop-up, click Export to export the selected visits/tasks.

The system will generate an UltiPro payroll export CSV file that the user can save and edit.
The file will export based on the exact template specifications provided by UltiPro. To better understand the values displayed in each column, click here to view details on how each data point is calculated (UltiPro Export Key).
When exported, a batch ID and export date will automatically be assigned to the selected visits.
The exported visits/tasks will no longer appear on the Pending Export tab, but will appear on the All and Exported/Paid tabs.