Axxess Hospice now enables users to attach notes to claims. This functionality helps organizations save time when following up on claims and enables users to easily determine why claims are outstanding.
Users must have permission to view, add, edit and delete claim notes in Axxess Hospice.
To give a user permission to view, add, edit and delete claim notes, edit the user’s profile and navigate to the Permissions tab. In the Billing section, select View, Add, Edit and Delete next to the Claim Notes permission. Click Save to finish granting the permissions to the user.
People tab ➜ People Center ➜ Edit ➜ Permissions tab ➜ Billing section ➜ Claim Notes ➜ View/Add/Edit/Delete ➜ Save
To add notes to a claim, navigate to one of the following screens under the Billing tab:
|
Notice of Election (NOE) |
|
|
Notice of Termination/Revocation (NOTR) |
|
|
Claims |
|
|
Collections |
|
|
Claims History |
On the Claims tab, users will see a new Notes column where claim notes can be added and viewed. When claim notes have been added, the note icon will appear blue. When claim notes have not been added, the note icon will appear white.
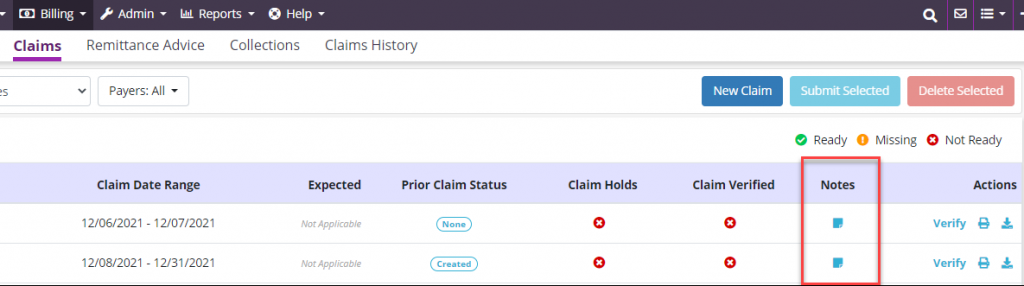
On the other tabs, the claim note icon appears under the Actions column.

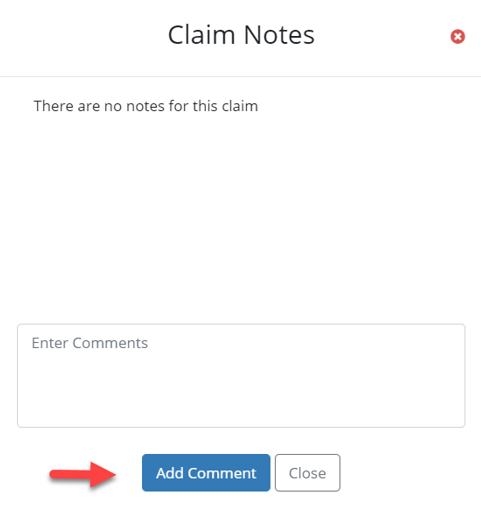
To add a new note to a claim, select the note icon. In the Claim Notes window, enter the note in the comments box and click Add Comment.
To view any existing claim notes, navigate to the appropriate claim, select the blue note icon and all existing claim notes will display.
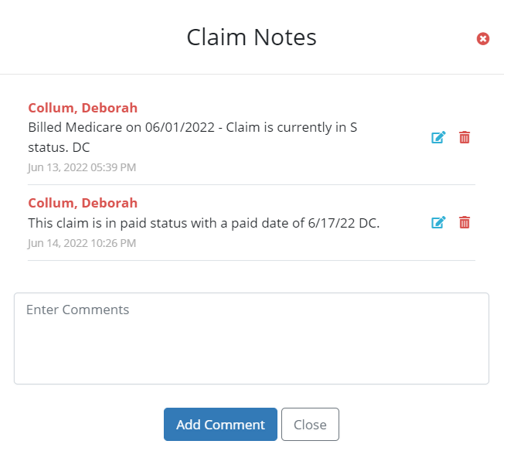
To edit a claim note, click the blue edit icon. To delete a claim note, click the red trash can icon. Users cannot edit or delete other users’ claim notes. The date stamp on the claim note will automatically update when modifications are saved.
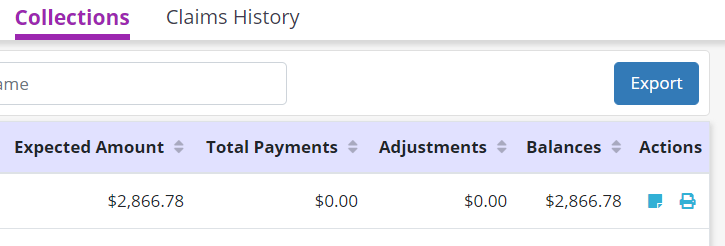
To export claim notes to an Excel spreadsheet, navigate to the Collections screen under the Billing tab and select Export.
Billing tab ➜ Collections ➜ Export

Updated on 06/15/2022
