Axxess’ innovative approach to adding and managing insurance authorization for patients is a comprehensive authorization management tracking tool which associates authorizations to scheduled visits. Axxess Home Health will trigger warnings when scheduled tasks exceed the number of visits/units authorized.
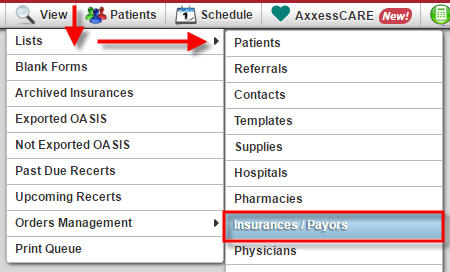 Begin by reviewing and updating the insurance profile through the View tab, hover over Lists and choose Insurances/Payors.
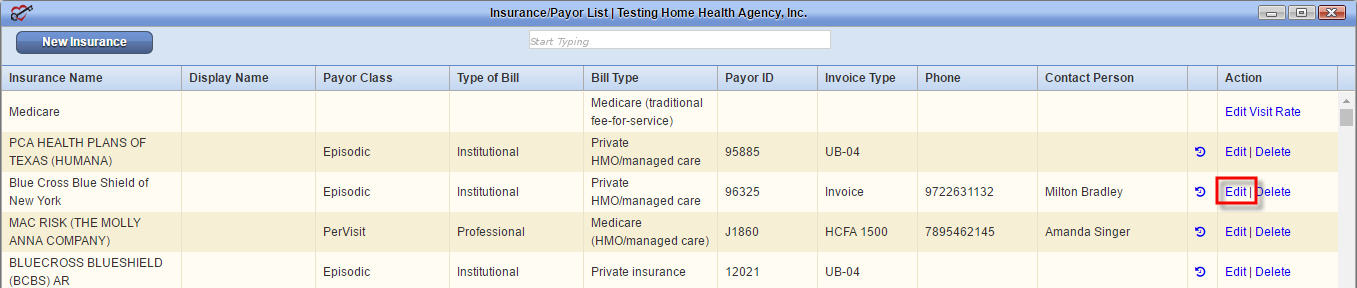
Find the Insurance name that requires authorization, and the select Edit.
In the Insurance / Payor Details section ensure the radio button for Yes is chosen for Visit Authorization Required.
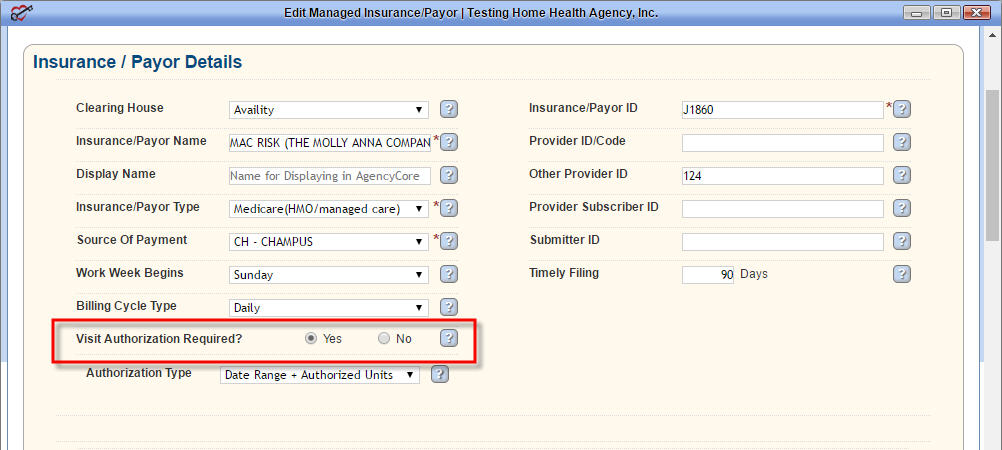
Choose the type of authorization for the insurance:
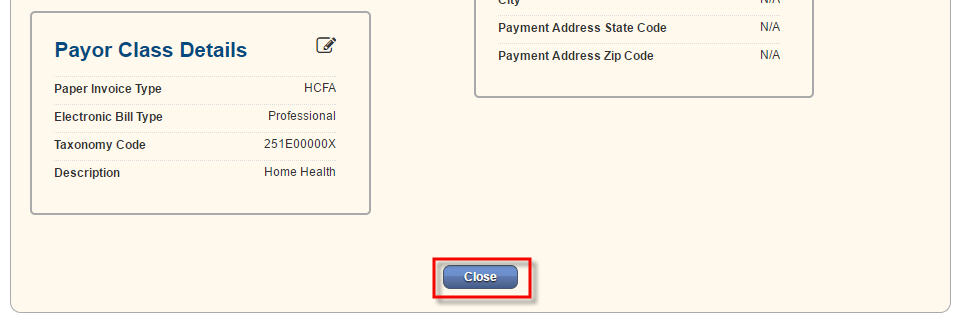
After adding the Authorization type, navigate through all 4 steps and click Close.


![]()
Tip: Some insurances only authorize a set number of visits with no date ranges, others with authorize for a certain date range only. The authorization is always up to the discretion of the insurance company; always verify accordingly.
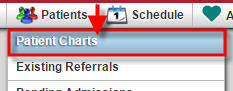 You can add new authorization for a patient in the Patient Chart. Open the Patient Charts by toggling over Patients and choosing Patient Charts. Search for and select the patient for which you wish to add authorization.
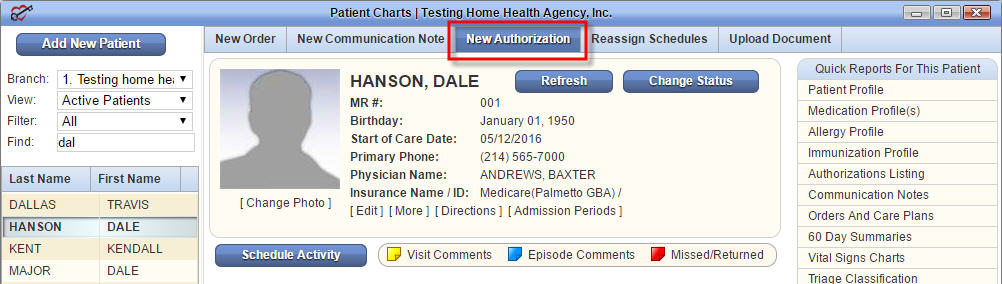
In the Patient Chart, select New Authorization in the navigation bar.
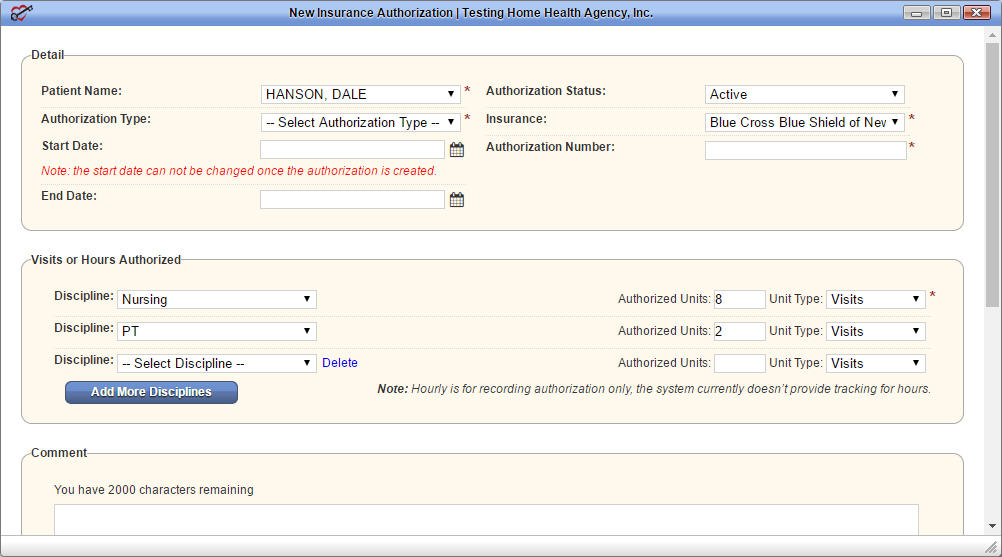
Fill out the form and be sure to enter the authorized dates/units and add authorized disciplines.
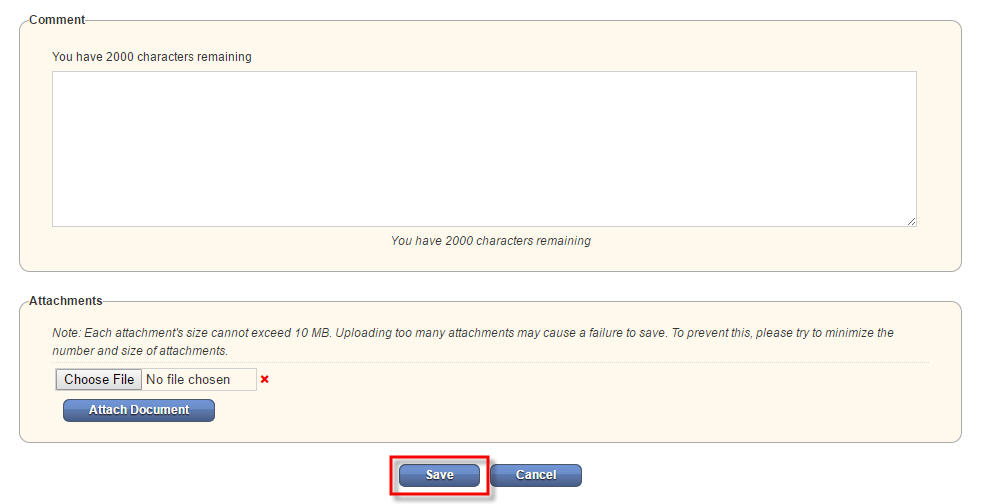
Add in comments for the authorization, attach related documents, and select Save.
Note: If the patient’s insurance does not require authorization you will receive a notification such as below. The insurance should be verified in the patient’s profile to proceed.

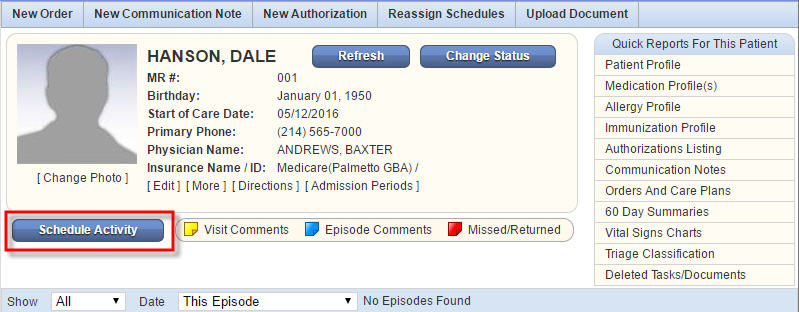
In the Patient Chart, select Schedule Activity.
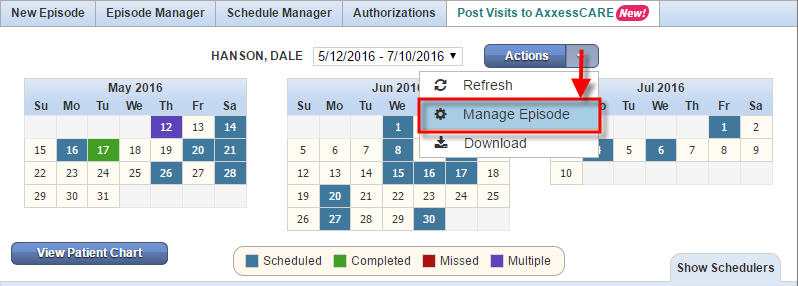
Click the down arrow next to Actions and choose Manage Episode.
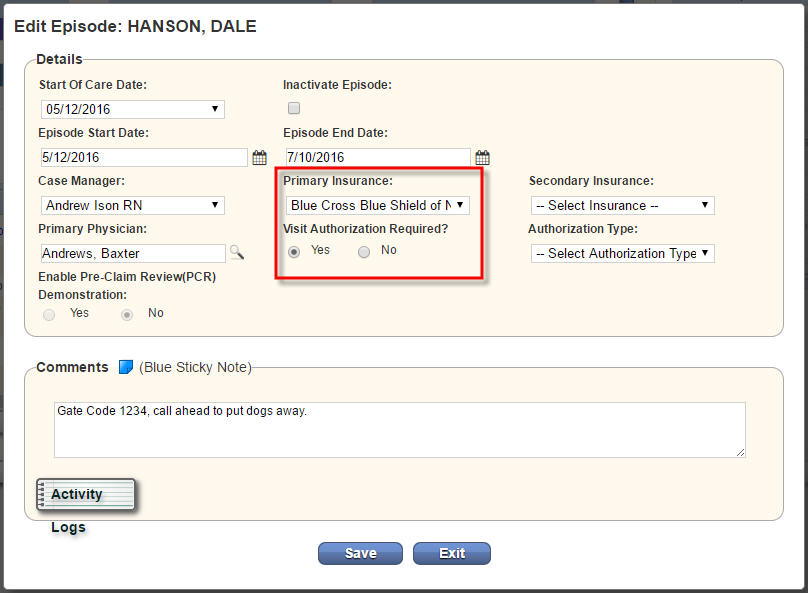
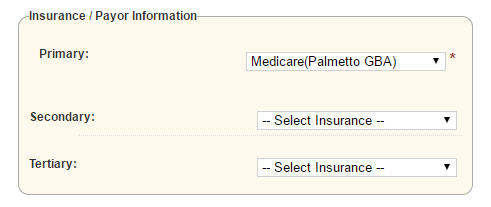
Verify and update the Primary Insurance and Visit Authorization Required sections. Save.
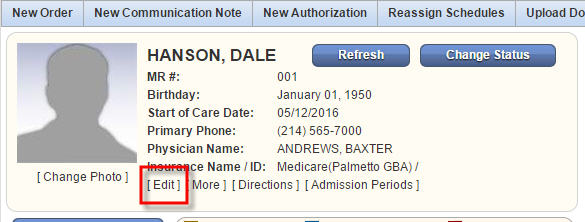 To update a patient’s insurance demographics select [Edit] on the patient’s chart.
Here is where you can update the Payment Source information. Be sure to verify the Payment Source selected matches the Insurances Profile information.

In the Patient Chart, select Schedule Activity.
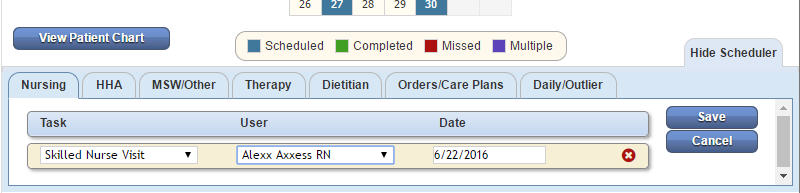
In the Schedule Activity, choose the date your authorized visit will take place. Use the Scheduler to identify the task and user and click Save.
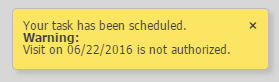 In the top right corner of your screen, a warning may show for unauthorized visits. This warning will disappear once you authorize your task. To authorize your task, see Task Not Authorized section below in the Help Center.
Authorize multiple tasks at one time. Select Edit on the right for the appropriate authorization.

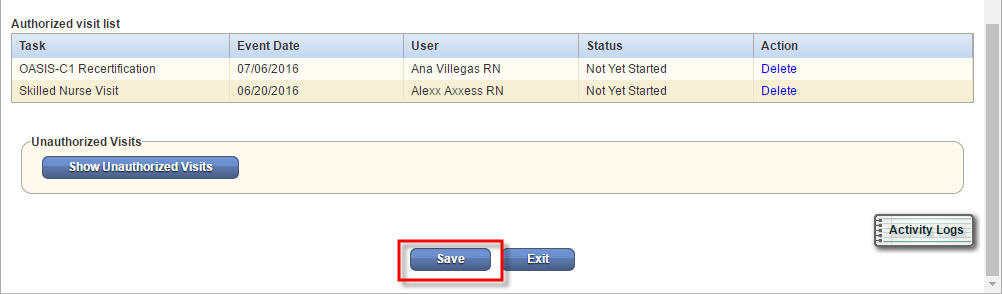
Once in the edit screen, scroll down, select Show Unauthorized Visits.
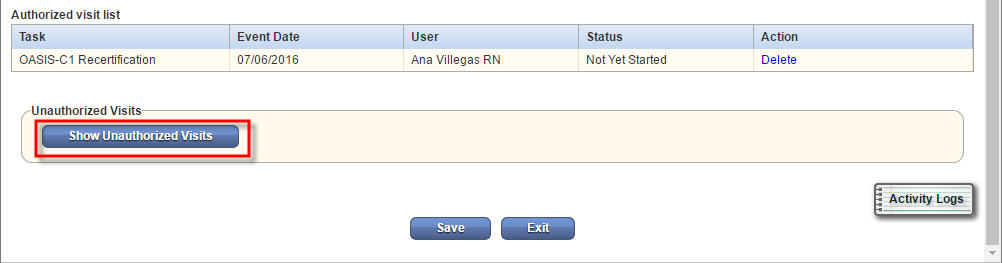
Select the visits to attach to the authorization and click Authorize.
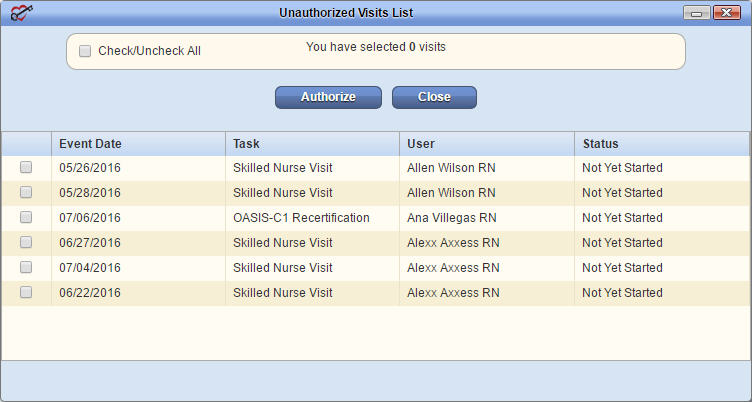
Verify all authorized visits are included and click Save.
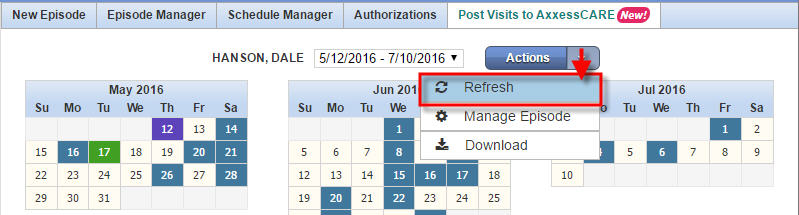
Tip: Select Refresh under Actions in the Schedule Center to show updates to the patient’s schedule.
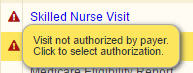 In the Schedule Activity view under the Patient Chart, a warning symbol will show on the left side of the task if it is not in the correct authorization range!
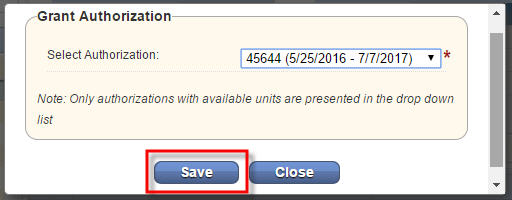 Click on the warning symbol to view and attach to a new authorization.
After the visits have been attached to an Authorization the Warning will go away!
![]()
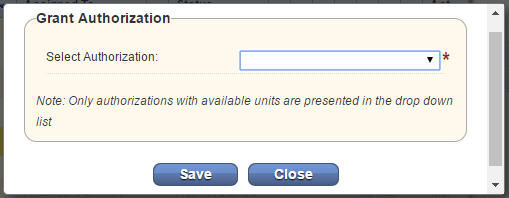
Note: A new authorization must be added before the scheduled visit task can be attached.
In the Schedule Center, select Authorizations in the top navigation bar.

To add a new authorization, select Add Authorization in the top left. To edit an existing authorization, select Edit on the right.

After adding / updating the authorization, the visit can now be linked to the appropriate authorization. Click on the warning symbol to view and attach to a new authorization.
![]() After the visits have been attached to an Authorization the Warning will go away!
After the visits have been attached to an Authorization the Warning will go away!
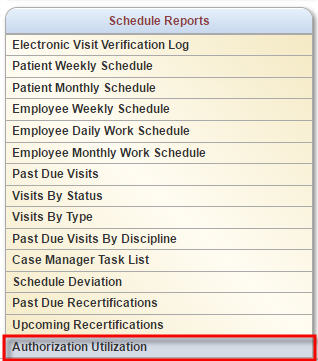
 View the Authorization Report in the Reports Center located under Reports.
Scroll down to the Schedule Reports located in the middle column at the bottom. Choose Authorization Utilization.
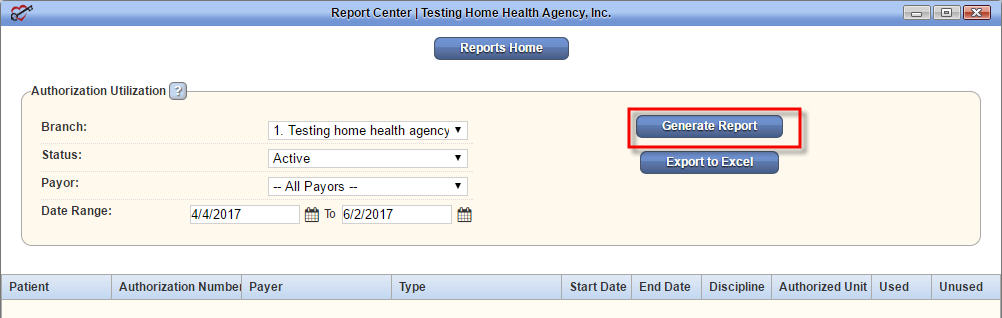
Fill in the report criteria and select Generate Report.
Note: A user must have permission to Schedule Visits/Activities in order to add/view Authorizations.
