The Schedule Unassigned Visits feature enables users to view all episodes with ordered visits that have been not been fulfilled. With the ability to easily identify these visits, users can schedule and fulfill all frequency orders seamlessly to improve patient outcomes and stay compliant.
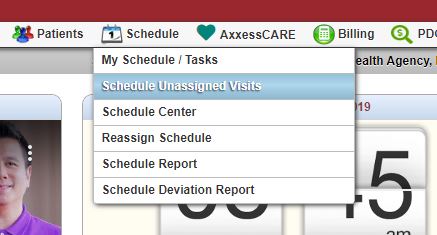
To access this feature, hover over the Schedule tab and select Schedule Unassigned Visits from the drop-down menu.
On the left side of the Schedule Unassigned Visits screen, users can navigate to a specific patient’s episodes using the search menu and filters.
Color-coded bar graphs show the number of visits in each of the following statuses:
Above the graphs, discipline tabs enable users to view visits of each discipline individually or all at once (using the All Disciplines tab). If the patient has multiple episodes in the system, the Episode drop-down menu will appear at the top of the screen so users can easily navigate from one episode to another.
In the table under the bar graphs, the following information is listed for each ordered frequency:
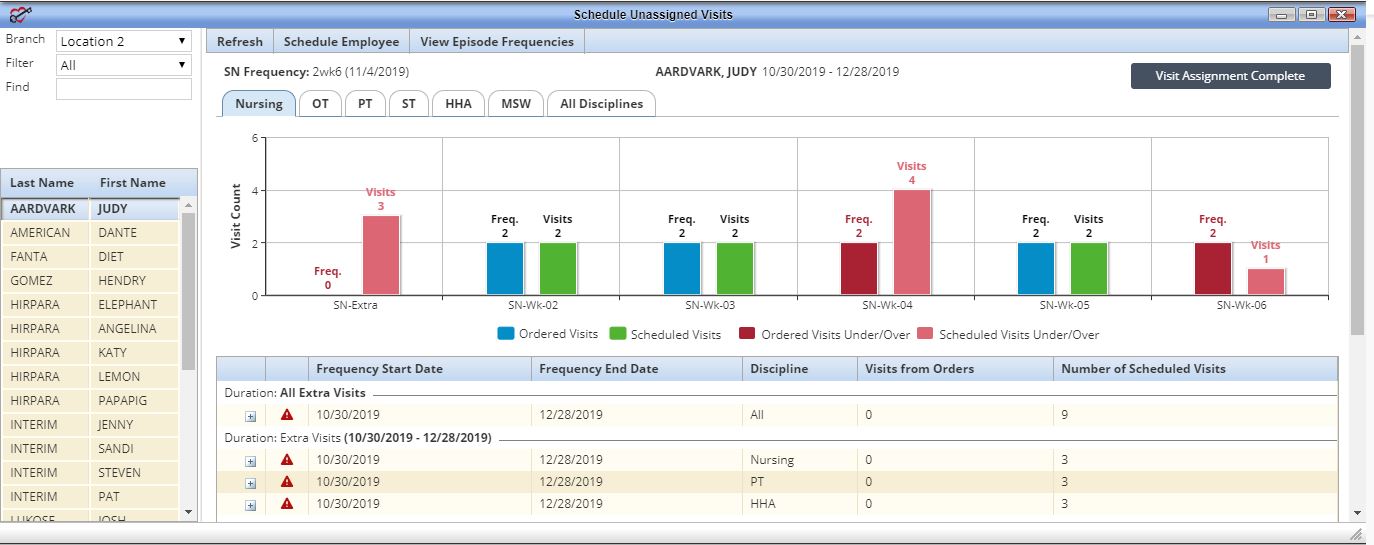
On the left side of the table, a red alert icon appears next to frequencies that have not been fulfilled. Once all visits are fulfilled according to the ordered frequency, a green check mark replaces the alert icon. When hovering over the red alert icon, a warning message informs the user that the number of visits ordered does not match the number of visits scheduled for the time period.

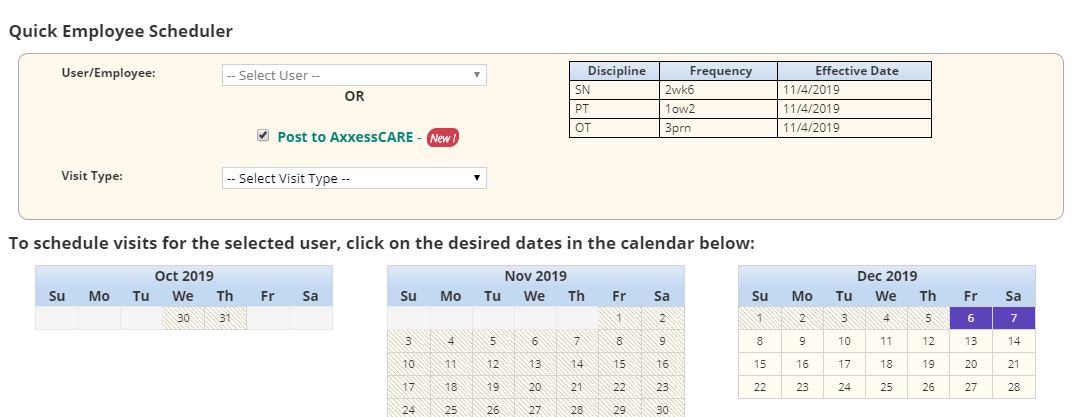
Users can schedule visits to fulfill frequencies and perform the following actions using the tabs in the top left corner of the screen:
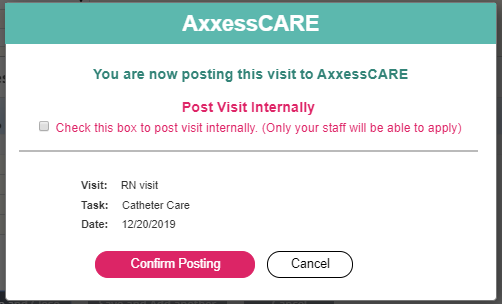
If Post to AxxessCARE is selected in the Quick Employee Scheduler, a confirmation message will ask the user to confirm posting to AxxessCARE. Checking the box under Post Visit Internally will allow only the agency’s staff to apply for the visit. Providers who do not work for the agency will not be able to view or apply for the visit in AxxessCARE. Leave the box unselected to allow qualified providers from outside the organization to apply.
Click Confirm Posting to finish posting the visit to AxxessCARE.
Once all visits are scheduled and ordered frequencies are fulfilled, click the Visit Assignment Complete button in the top right corner to remove the patient from the unassigned visits list.

Updated on 12/03/2019
