Axxess Home Health now enables administrative users to create custom non-admit reasons for documenting why a patient was not admitted for care. By enabling organizations to create their own specific non-admit reasons, this enhancement facilitates accurate, streamlined documentation of non-admissions.
To create custom non-admit reasons, users must have permission to manage non-admit reasons in Axxess Home Health.
To give a user permission to manage non-admit reasons, edit the user’s profile and navigate to the Permissions tab. In the Administration section, select Manage Non-Admit Reasons. Click Save to finish granting the permission to the user.
People tab ➜ Users ➜ ![]() ➜ Permissions tab ➜ Administration section ➜ Manage Non-Admit Reasons ➜ Save
➜ Permissions tab ➜ Administration section ➜ Manage Non-Admit Reasons ➜ Save
To create a non-admit reason, navigate to the Create tab, hover over New and select Non-Admit Reasons.
Create tab ➜ New ➜ Non-Admit Reasons
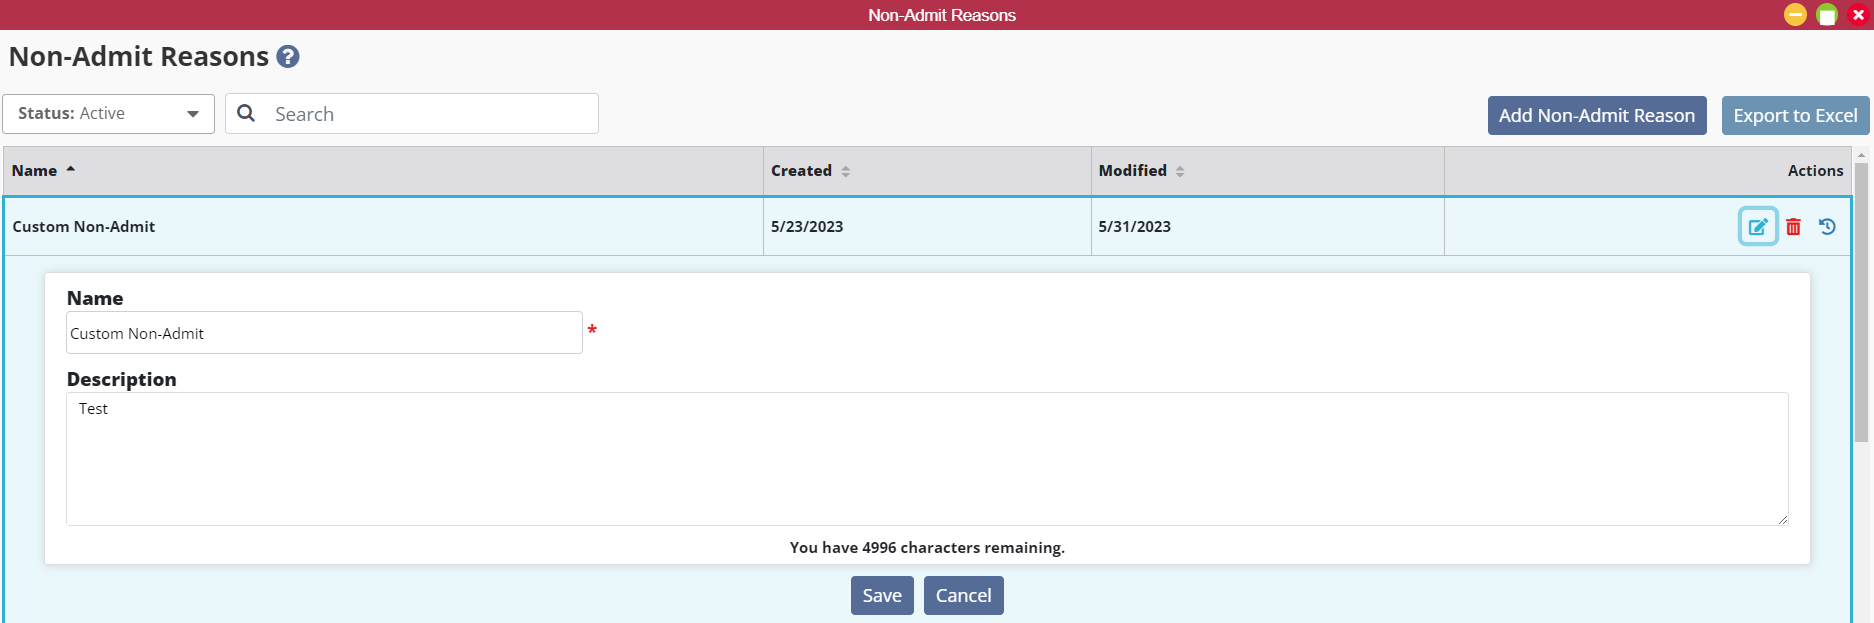
Enter the reason and description and click Save.

To view non-admit reasons, navigate to the View or Admin tab, hover over Lists and select Non-Admit Reasons.
View/Admin tab ➜ Lists ➜ Non-Admit Reasons
The list will default to active non-admit reasons. To view inactive reasons, select Inactive from the Status filter.

To edit a non-admit reason, select the edit icon under Actions. Preloaded non-admit reasons cannot be edited.

Make the necessary edits and click Save.
To deactivate a non-admit reason, select the delete icon under Actions. The deactivated reason will move to the Inactive list.

To reactivate a non-admit reason, navigate to the Status filter and select Inactive to view all inactive reasons. Find the appropriate reason and select the reactivate icon under Actions.

Updated on 06/01/2023
