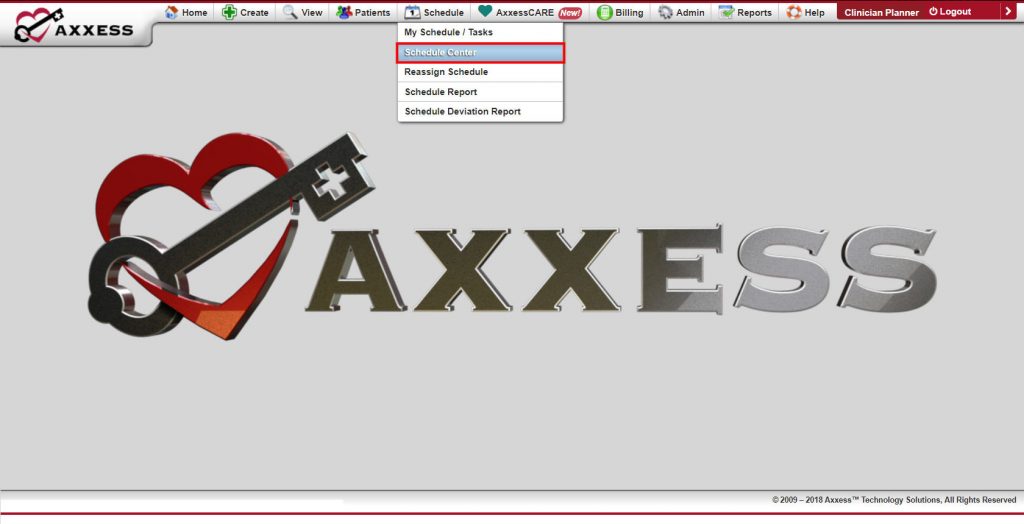
Navigate to the Schedule tab and choose the Schedule Center.
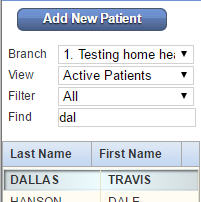
To locate a patient’s schedule, type in part of the patient’s name to filter the patient list. When you select the patient’s name, the schedule will populate to the right of the patient list.
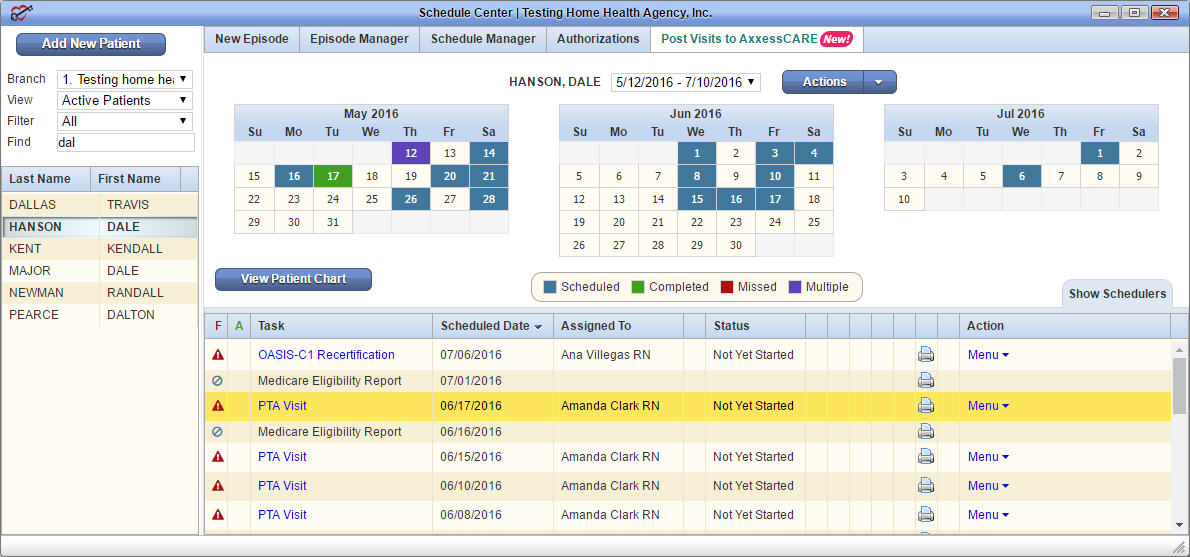
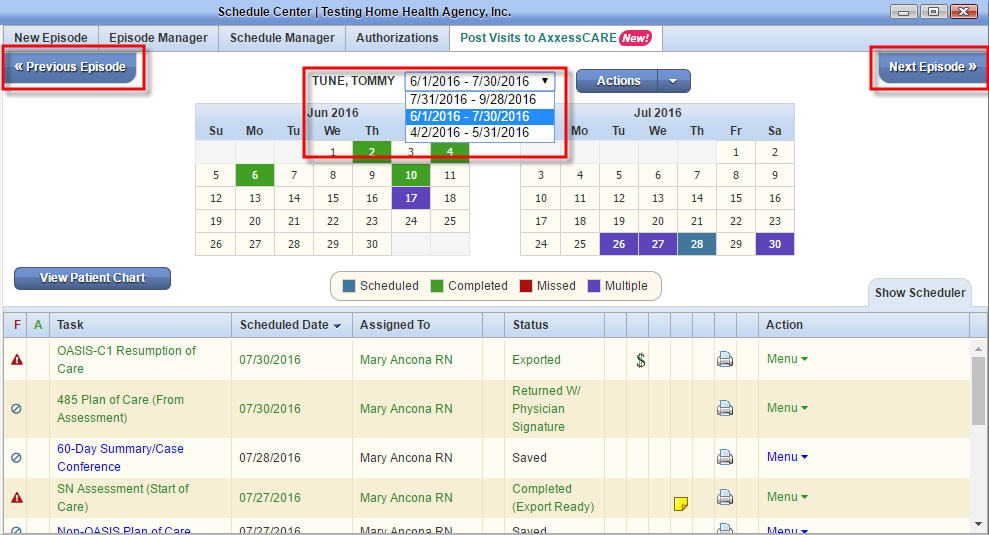
The calendar displayed will match the episode populated in the episode field, located directly above the calendar.
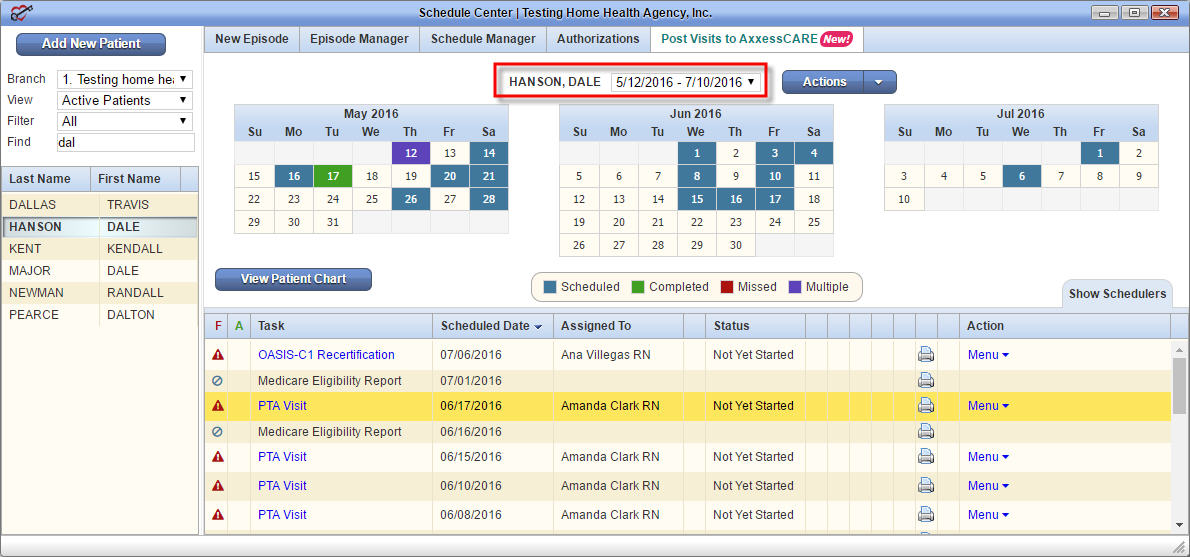
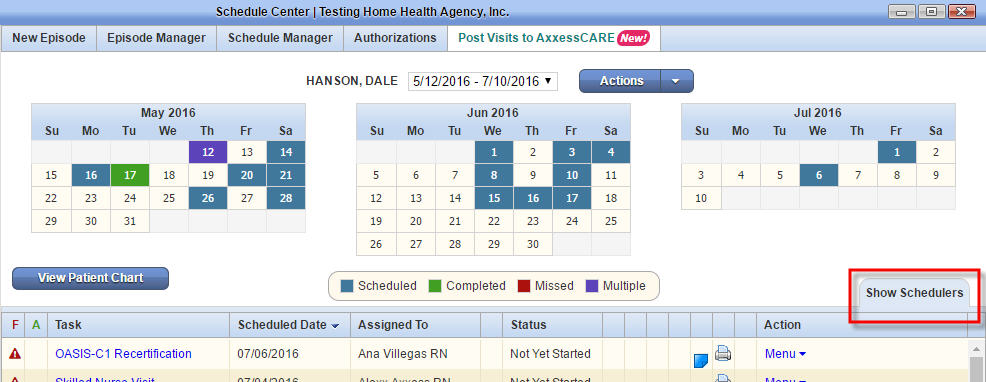
The color legend is located below the calendar for easy reference.
![]() If a task exists and is scheduled on a particular date, that date will be highlighted in blue. It will stay blue until the task is either updated to a completed (green) status or marked as missed (red). If there are multiple items scheduled on a particular day, that day is highlighted in purple. Dates with multiple tasks are not updated to another color as tasks change status. They remain purple.
If a task exists and is scheduled on a particular date, that date will be highlighted in blue. It will stay blue until the task is either updated to a completed (green) status or marked as missed (red). If there are multiple items scheduled on a particular day, that day is highlighted in purple. Dates with multiple tasks are not updated to another color as tasks change status. They remain purple.
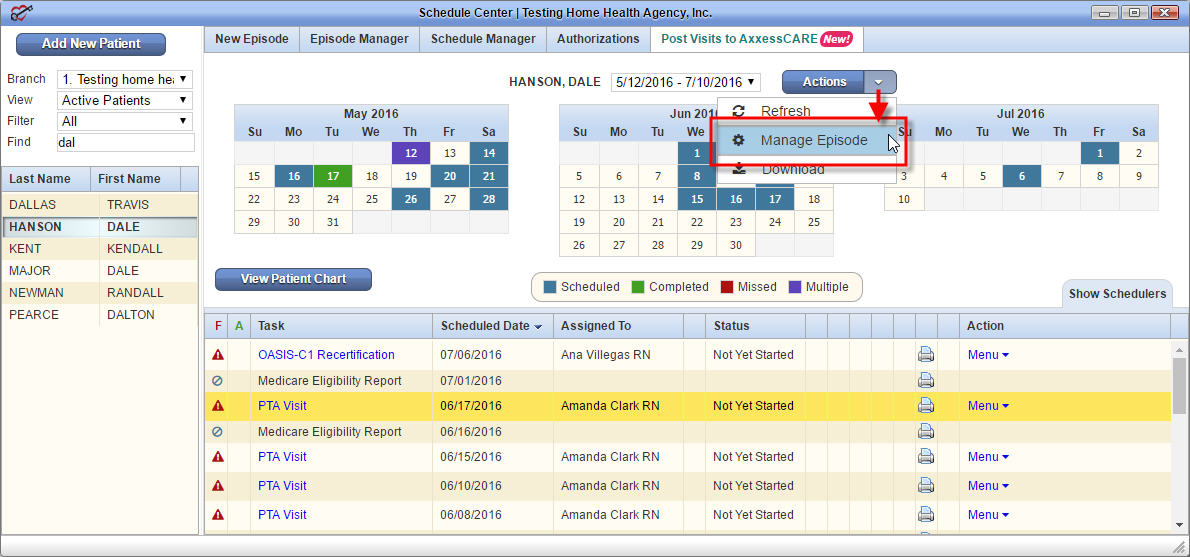
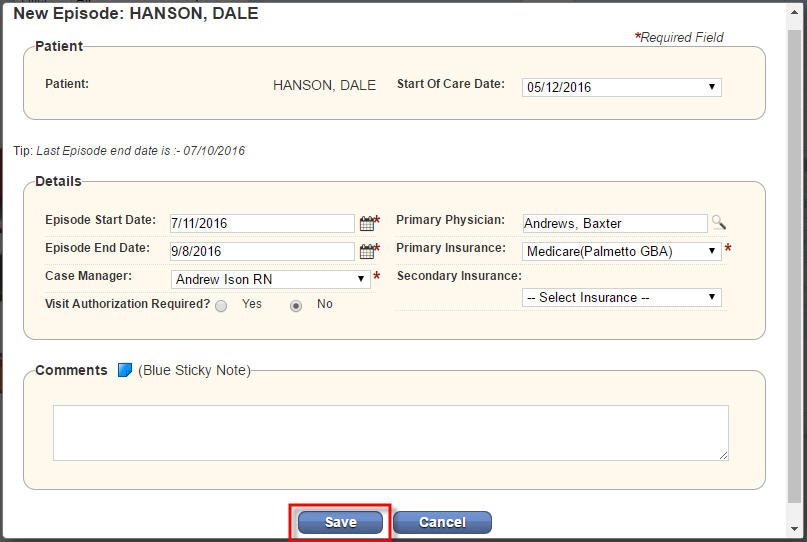
Manage Episode allows you, with permission, the ability to update the episode information.
In the Patient section, the Start of Care Date for the episode may be changed.
In the Details section, you may edit:
Found in the Manage Episode modal, Comments can be added to any episode.
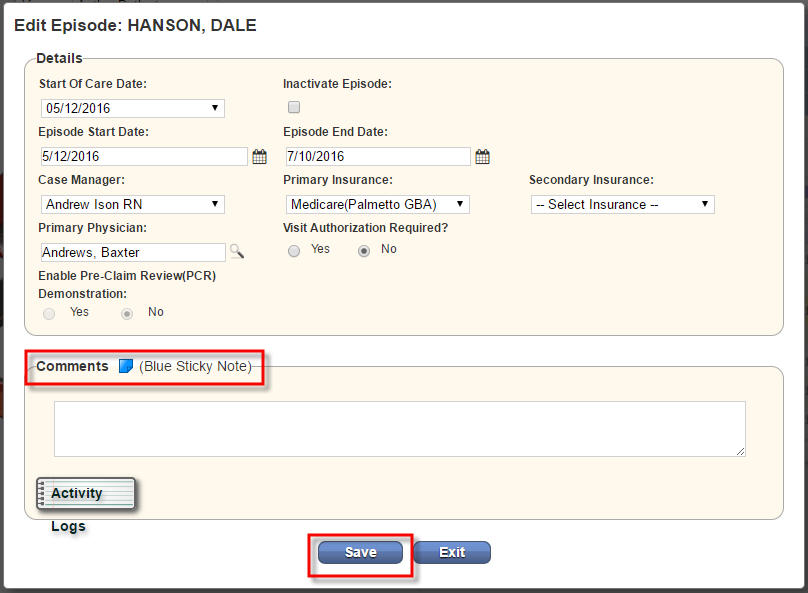
Information entered in this section will attach to each scheduled task item as a blue sticky note. This is a useful tool to notify staff of important information such as: gate codes, animals in the home, any vital pre-visit patient needs, etc.
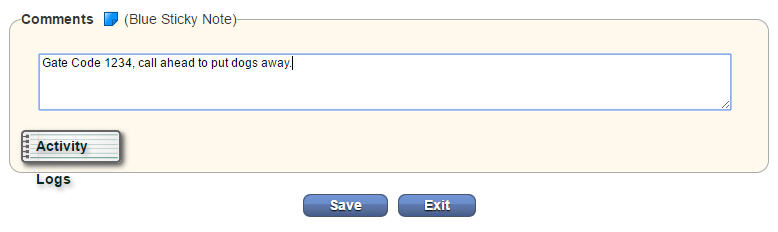
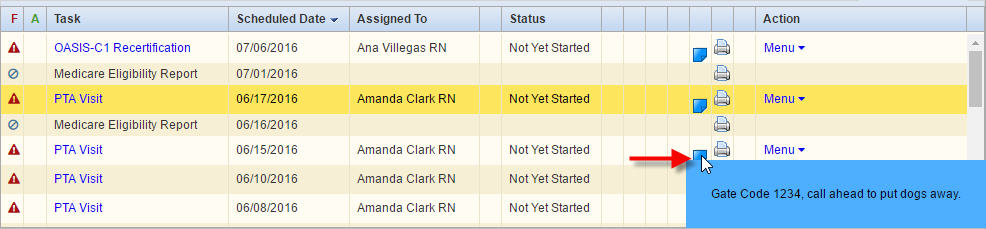
Select the blue sticky note icon to enlarge it.

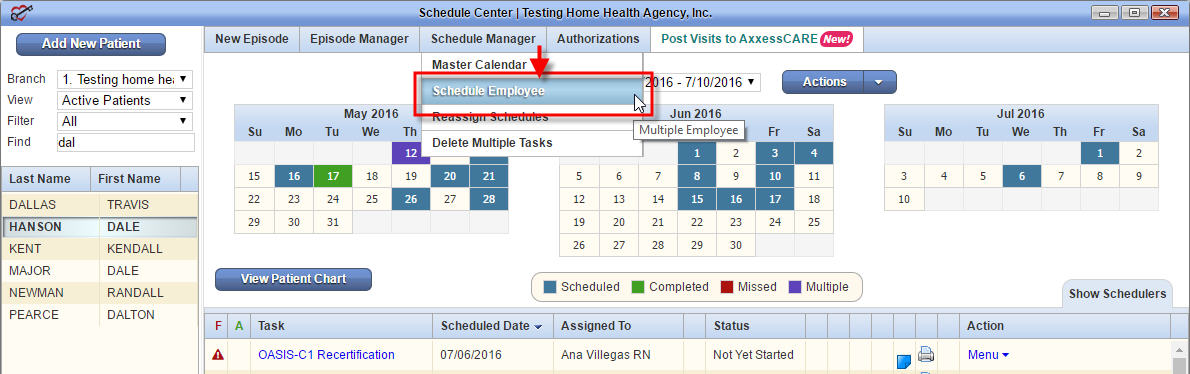
The Schedule Employee feature allows quick episode scheduling. Select Schedule Employee under the Schedule Manager tab to begin multi-date task scheduling.
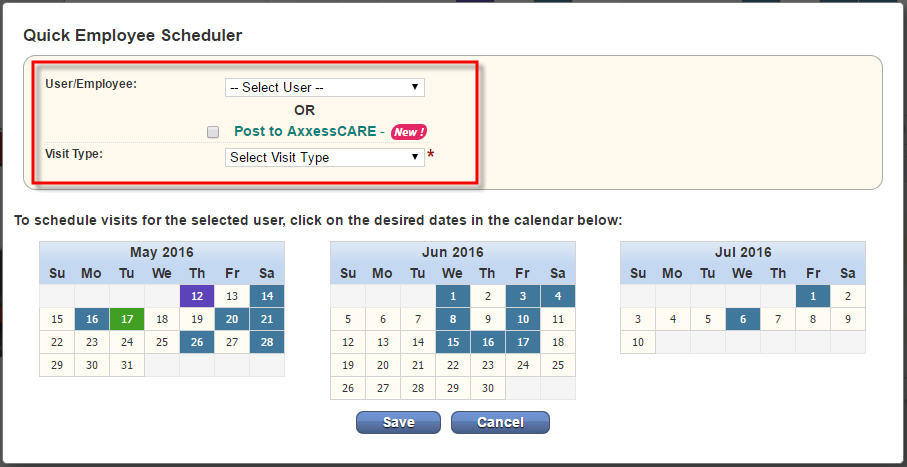
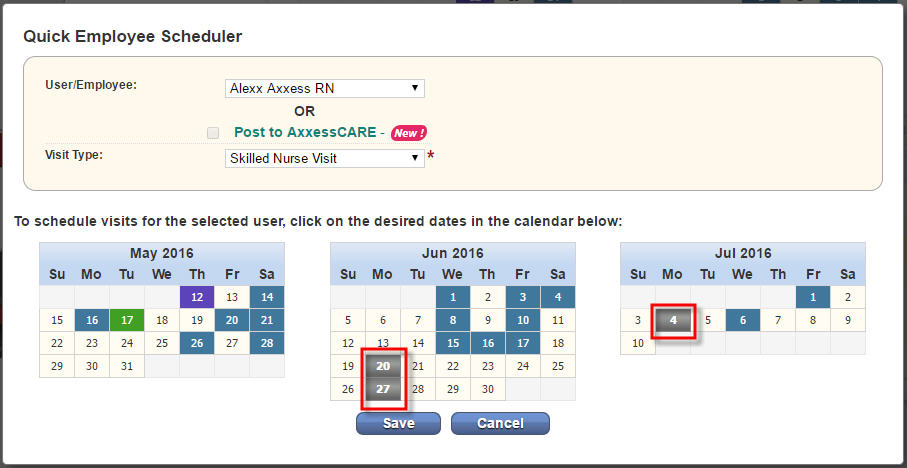
Select the User/Employee to assign the tasks and choose the Task to schedule from the drop-down menu. Now, select the dates on the calendar that you wish to schedule the user, then select Save. The scheduled task will populate onto the calendar.
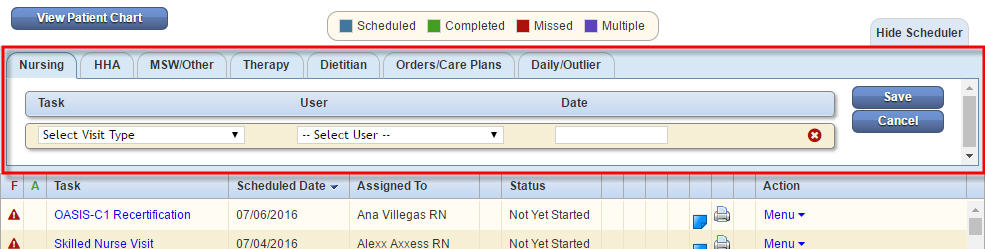
Use the Scheduler to quickly schedule single task items. The Scheduler will open when you click on a date on a calendar. Likewise, you can choose to open the Scheduler by selecting Show Scheduler on the right side of the Schedule Center.
The Scheduler is separated by skill specific tabs: NURSING, HHA, MSW/OTHER, THERAPY, DIETITIAN, ORDERS/CARE PLANS, DAILY/OUTLIER
Select the discipline, type of task to schedule, the user, and the date, then Save.
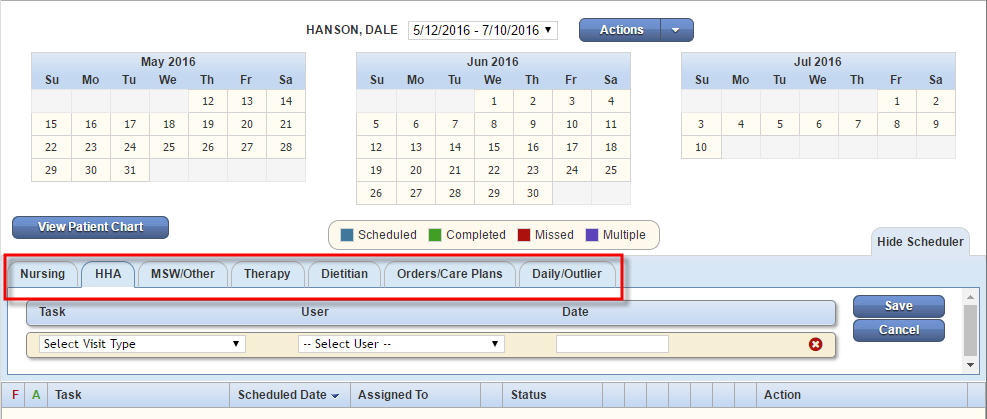
Another helpful feature of the Scheduler is the ability to sort the calendar by discipline. Open the Scheduler, then select a discipline tab. This will populate the already scheduled tasks for that discipline on the calendar and list the items below the scheduler.
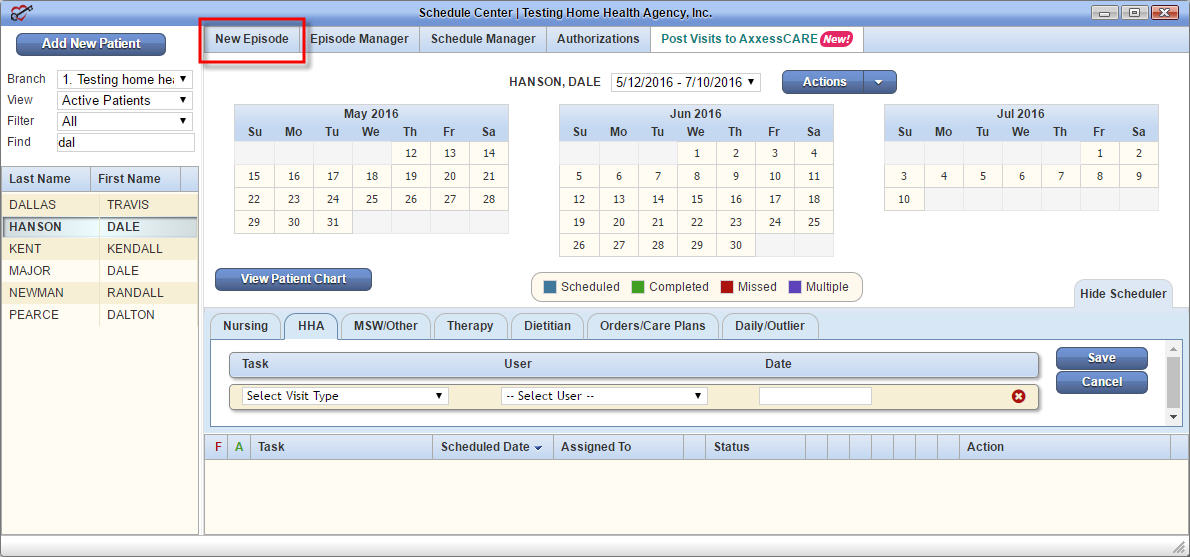
After scheduling a Re-certification you will need to create the next episode for the patient. To do so, select New Episode in the upper left corner of the patient schedule.
Verify the episode information. Please note the episode date range is calculated automatically for you. Add a Comment as a Blue Sticky Note, if needed, verify the information, then Save.
Navigate between the different episodes by selecting the drop-down menu or by selecting either Previous Episode or Next Episode.
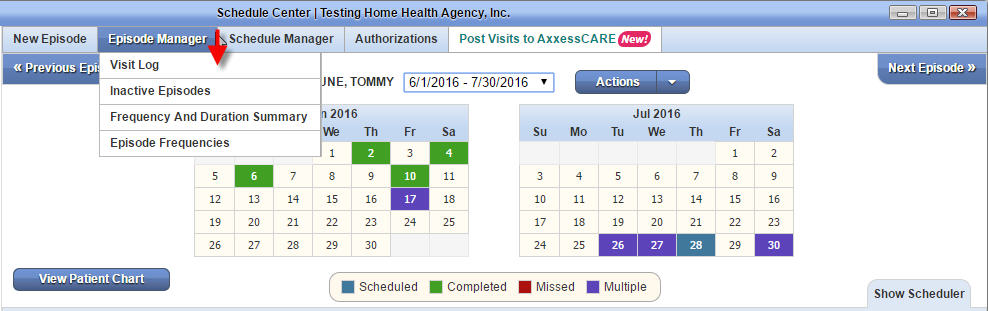
The Episode Manger tab allows users to manage any Inactive Episodes, view Episode Frequencies, and view the Visit Log.
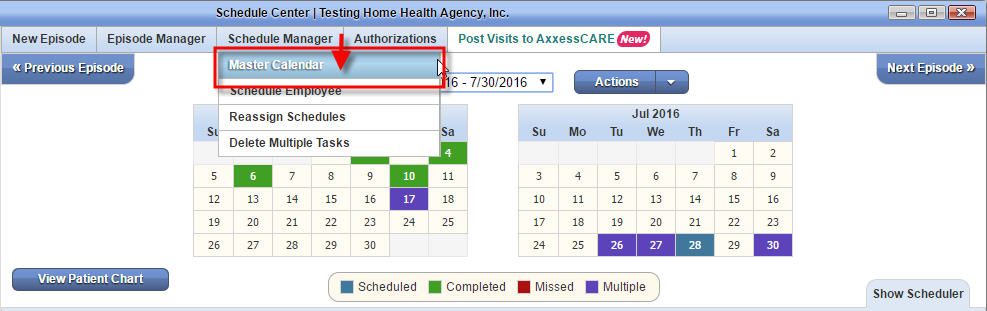
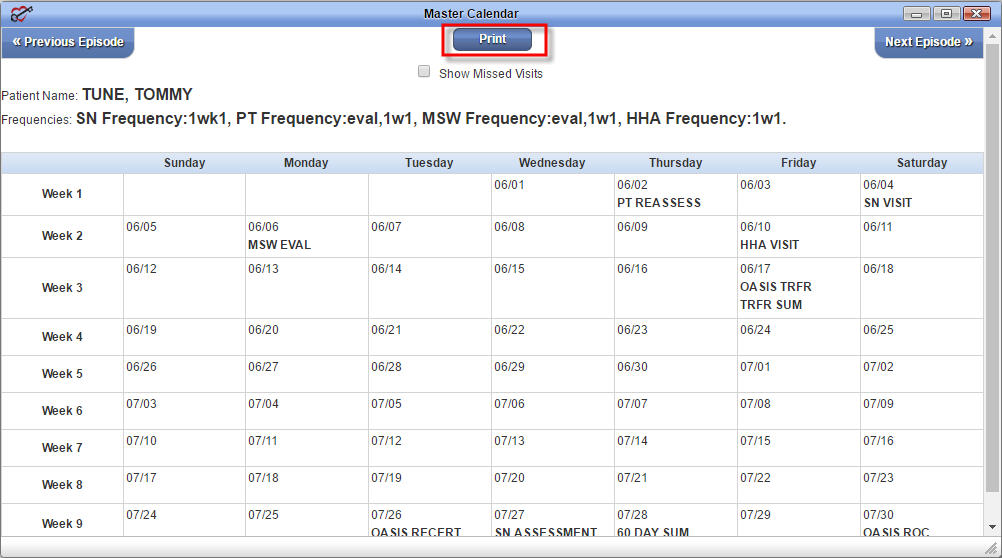
The Master Calendar tab shows the patient’s episode calendar in a weekly format with an option to Print.
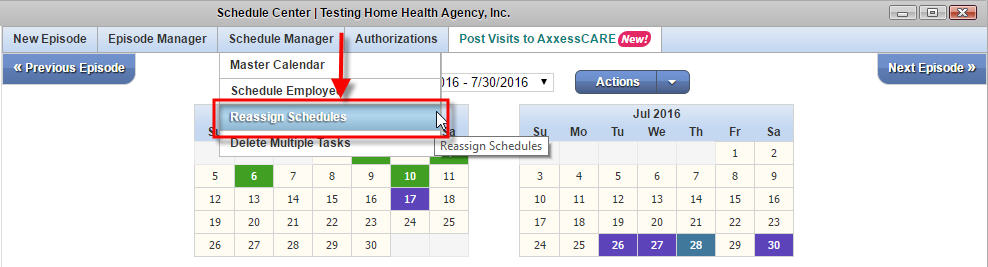
To reassign a schedule, you can select Reassign Schedules found under the Schedule Manager, or you can reassign a single task by selecting Reassign on the task line.
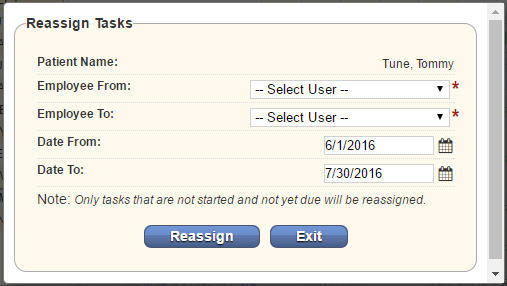 Select Reassign Schedule to reassign multiple tasks by date range. Choose the employees who you are reassigning from and to, choose a date range, then Save.
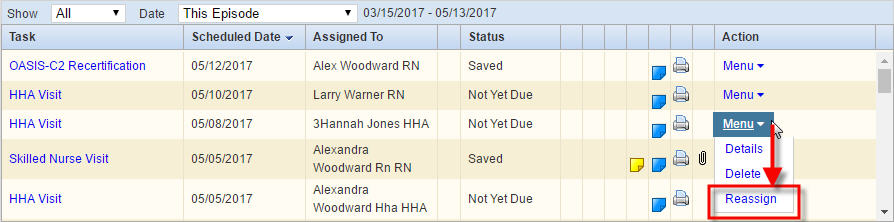
Select Reassign in the Menu to the right to reassign a single task.
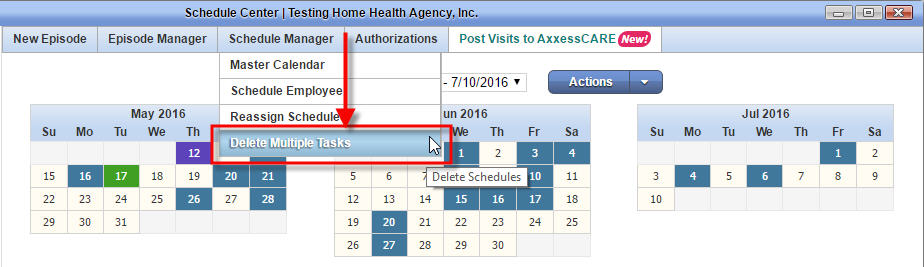
The Delete Multiple Tasks function in the Schedule Manager allows you to delete multiple tasks for a patient’s episode. This can be useful when a patient is admitted. You can delete the tasks until they come back for the Resumption of Care visit.
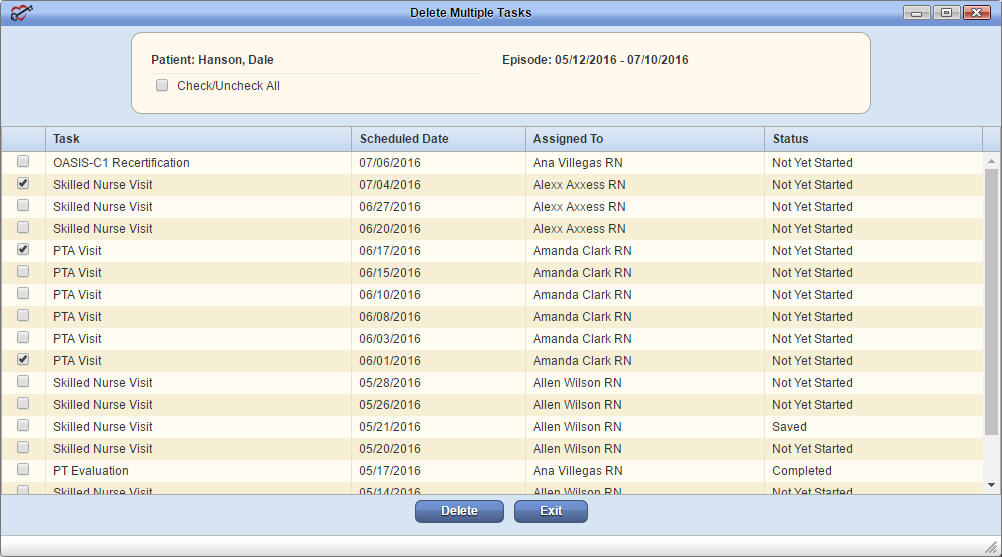
Check the box beside the items you wish to delete, then select Delete. Remember, anything that has been deleted can be restored.
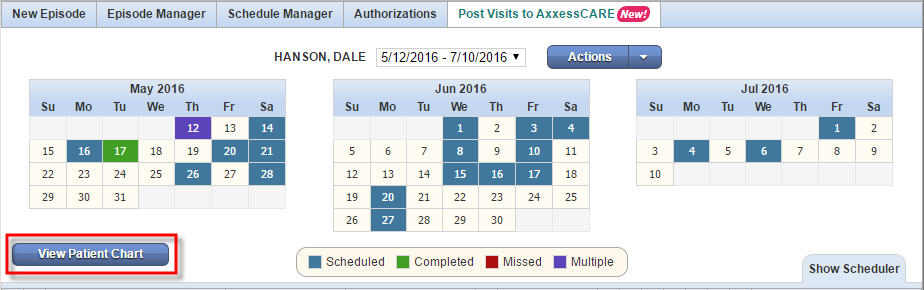
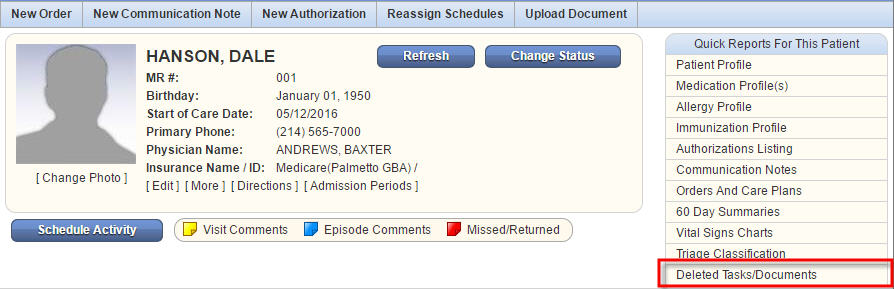
To restore deleted items, navigate to the patient’s chart, select Deleted Task/Documents under the Quick Reports For This Patient, and choose the task you want to restore.
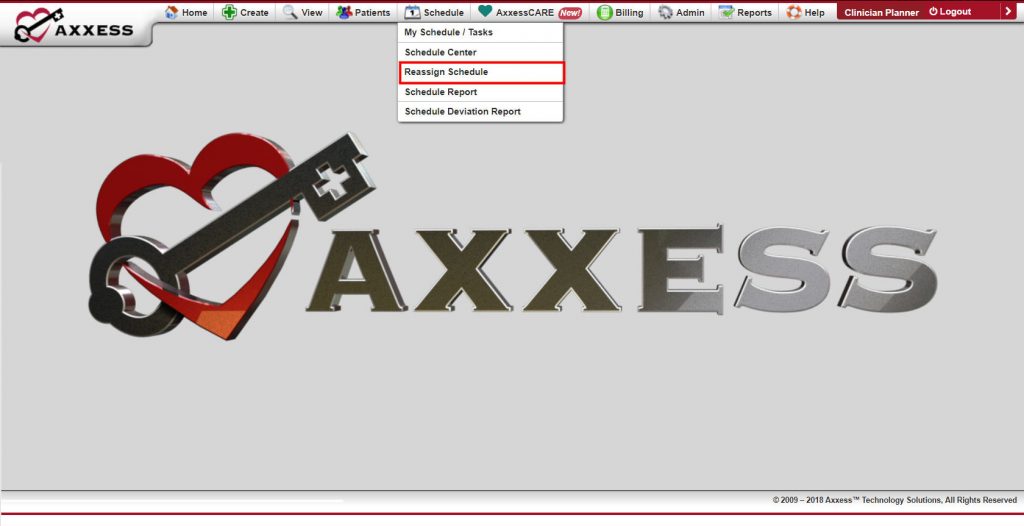
Axxess has provided an option to reassign a user’s entire schedule to another user. While this might not be needed very often, it is useful when your agency needs to change an employee’s entire schedule to another employee. Select Reassign Schedule from the Schedule tab at the top. Specify the Employee From, the Employee To, a date range, then select Reassign.

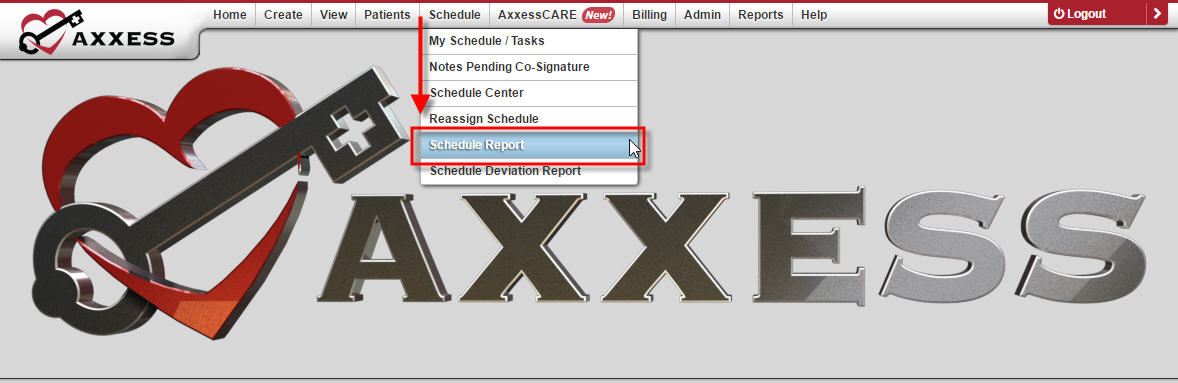
The Schedule Report is located under the Schedule tab. This report has several different parameters and filters for generating reports and can be useful for many different agency needs.
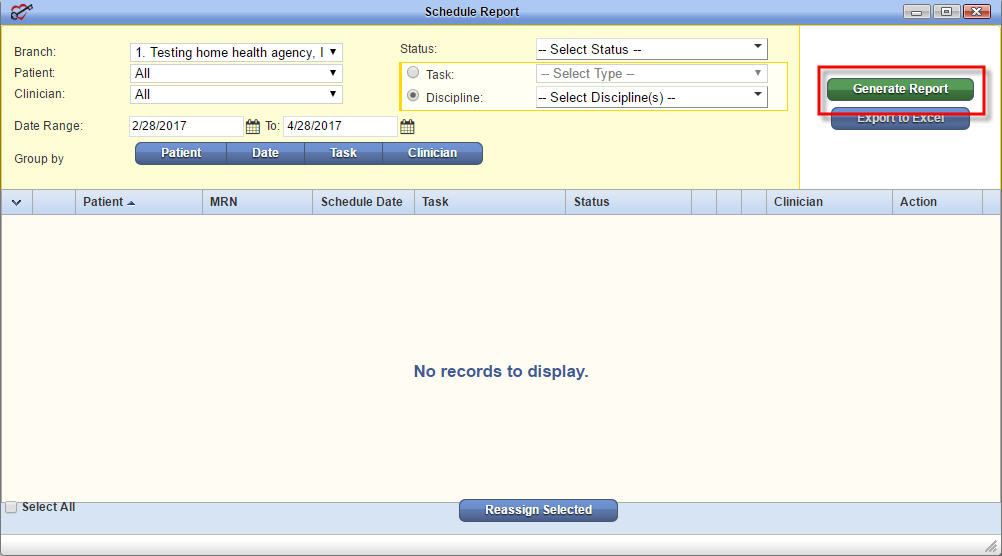
To generate a report, select:
After entering the search perimeters, select Generate Report.
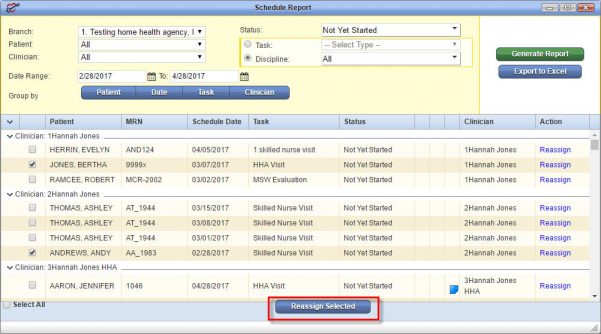
Now, choose to group by Patient, Date, Task, or Clinician. You can also export the report to Microsoft Excel to print it.
You have the ability to easily reassign visits from the Schedule Report. Simply generate a report, sort by Date, Patient, or Clinician, check the box on the left for the task you want to reassign, select Reassign Selected at the bottom, chose who you want to reassign the selected to, then Save.
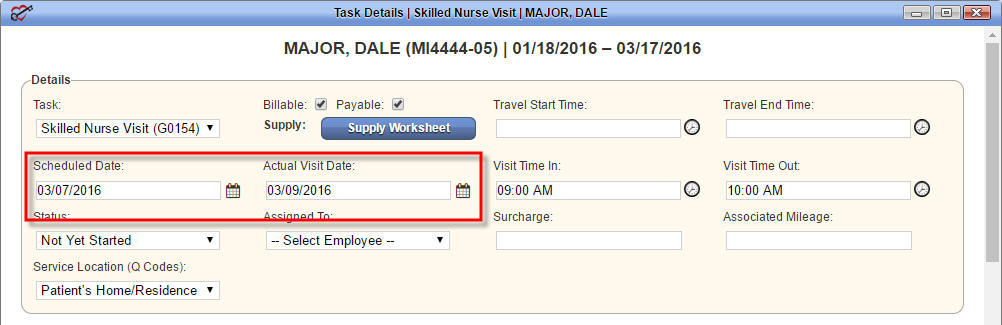
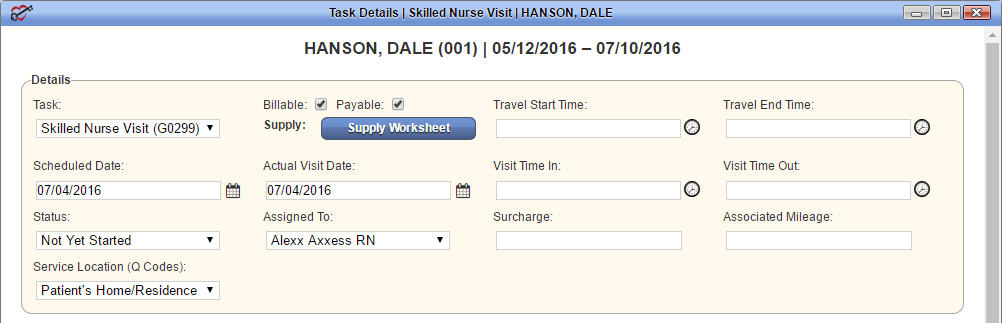
Task information is located on every task item line under Details.
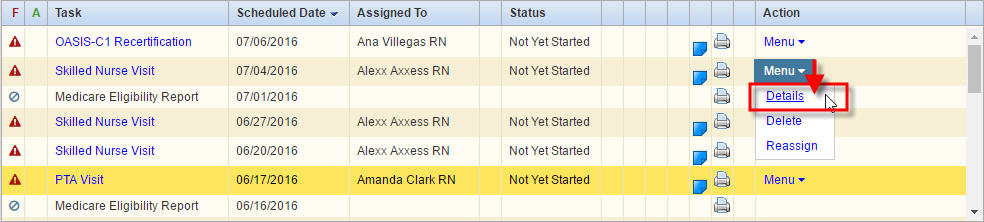
Details contains all information for a task item and allows you to create Comments in a Yellow Sticky Note.
To create a Yellow Sticky Note Comment, open Details and scroll down to Comments, type in the comment, then select Add Comment.
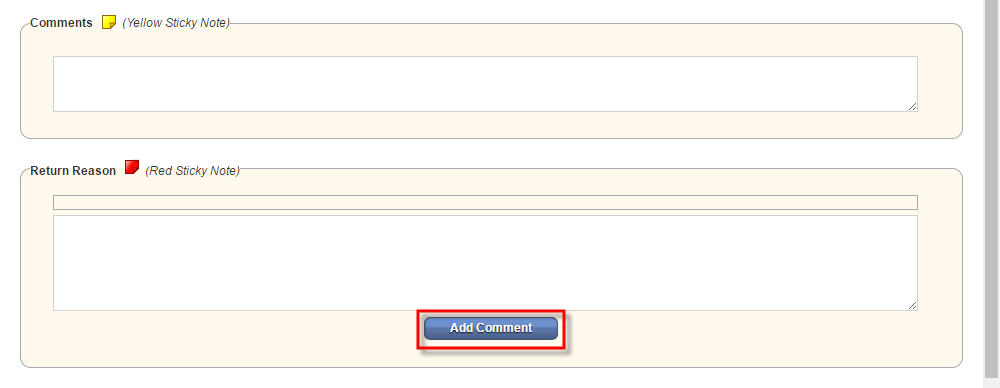
Yellow Sticky Note Comments will now display on the task item for users to view.
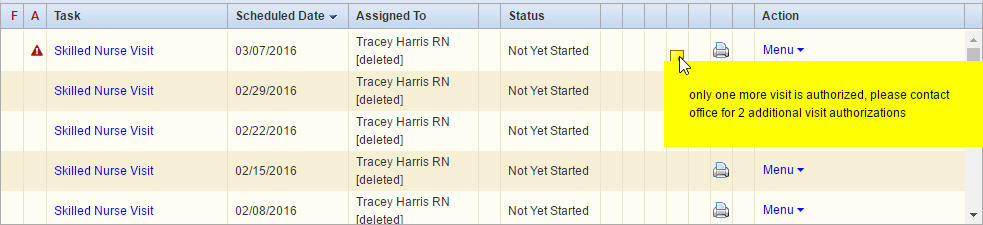
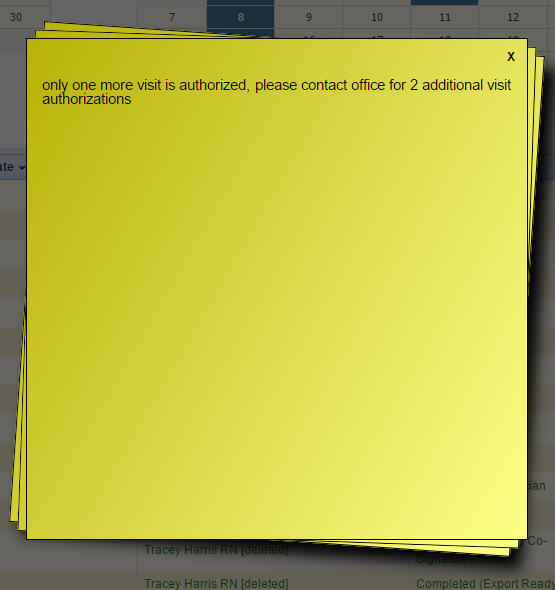
Clicking on the yellow sticky note icon will enlarge the comment.
To change a task date from one day to another, select Details for the task, change both the Scheduled Date and Actual Visit Date, then select Save at the bottom of the page. This will move the task on the calendar to the new date.