Billing/Managed Care_Other Insurances
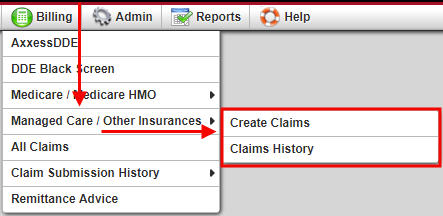
Managed Care/Other Insurances allows for the creation, billing and updating of all non-episodic payers. The menu contains two sub-menus. Claims must be added manually for patients who have a managed care/other insurance payers. This can be done in two ways:

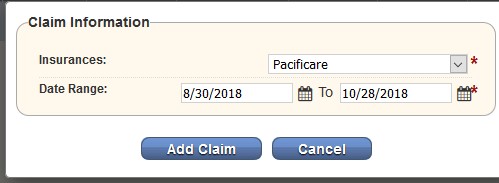
Select “New Claim” which will open a new window. Choose the Insurance from the dropdown menu and enter/choose the date range for the claim.
NOTE: See Admin manual for how to add new insurance.
The default date range is 60-days. Then select “Add Claim” to create the claim or “Cancel” to disregard the information.
Once the claim is added, it appears in the lower half of the Claim History page for the patient. The information displayed in the claim line item includes: Claim Date Range, Claim Status, Total Payments, Total Adjustments, Balance, Details, Visits, Supply and Action.

The upper portion of the Claims History page displays information for the selected claim. It includes the Patient Name and medical record number (Patient ID #), Insurance/Payer and billing/payment information. This section also allows users to easily post a payment or adjustment or create the invoice using the buttons presented in the information screen.
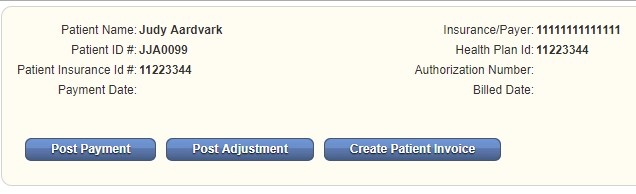
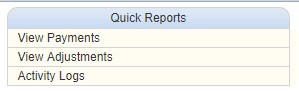
To the right of the patient information are quick reports associated to the claim selected, providing a quick way to view payments and adjustments posted to the claim as well as an activity log showing who updated the claim and when it happened.
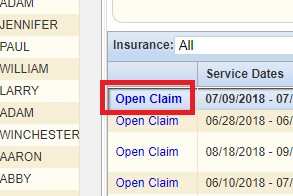
The next step in the process is to validate the claim. To complete this process, select the “Open Claim” hyperlink located in the left-hand column of the claim line. This action opens the claim and allows for completion of the five-step verification process. This process must be completed prior to invoicing the claim. Users can validate the claim on Create Claims tab as well after the claim was created for the patient.
The five-step claim verification process:
Step 1 (Demographics): All the required fields with red asterisks (*) are pulled into the claim based on the information that was entered in the Patient Chart.
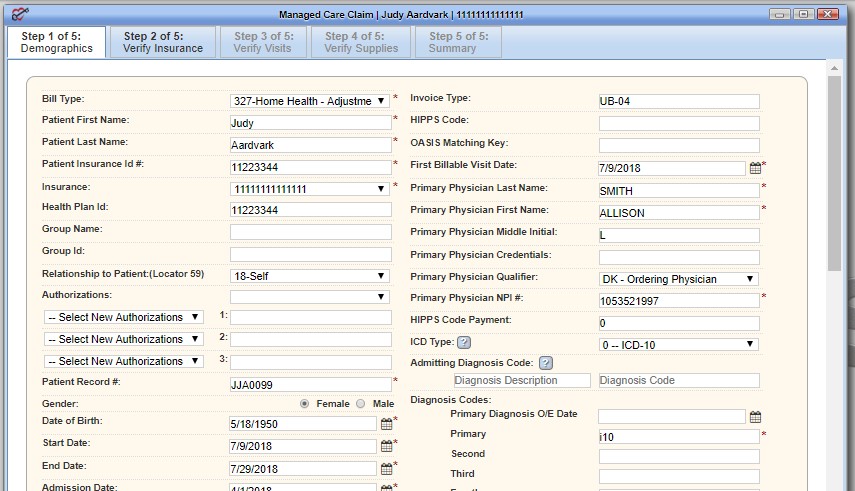
Once all information is updated/verified, select “Verify and Next.”
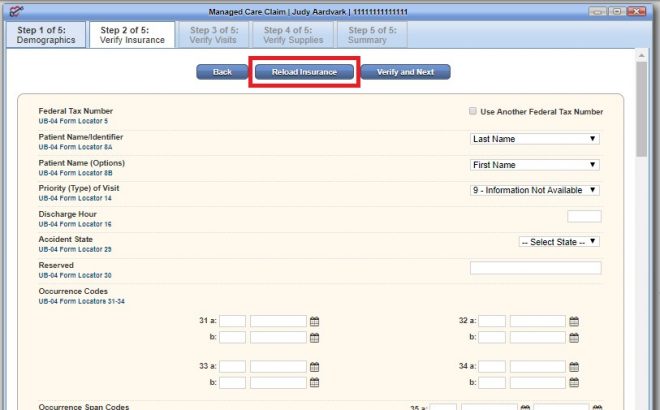
Step 2 (Verify Insurance): This step allows users to add locator information as needed. Selecting “Reload Insurance” will update the payer information if any changes were made at the payer level.
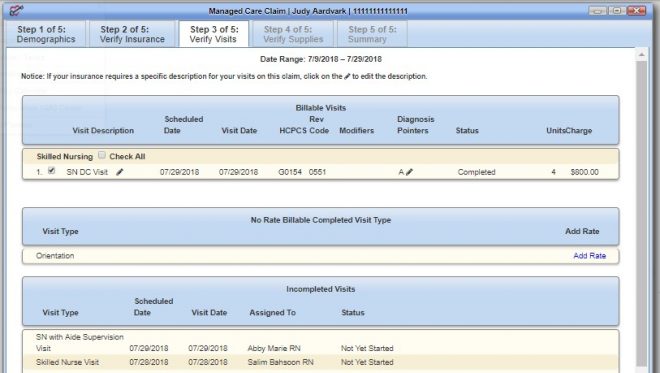
Step 3 (Verify Visits): Displays the date range for the claim and all visits associated to the claim. The visits list by discipline in descending date order. Each visit line item indicates the Visit Type, Scheduled Date, Visit Date, HCPCS code, Modifiers, Visit Status, number of Units and Charge rate for the visit. All billable visits are defaulted with a check mark in the Billable checkbox. Deselect any visits that shouldn’t be billed. Select “Verify and Next” to move to Step 4.
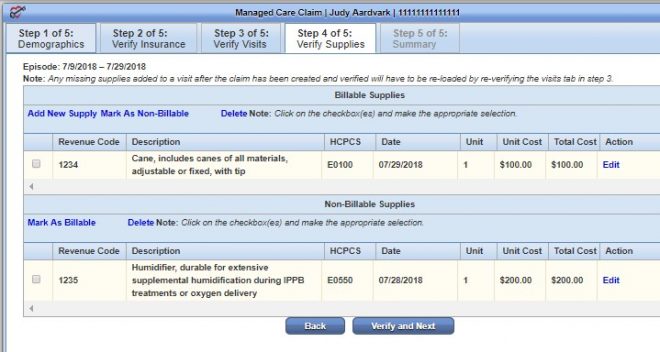
Step 4 (Verify Supplies): Gives the opportunity to review, add, edit, delete supply items from the bill. Most insurance companies include supply cost in the visit rate and thus most supplies are non-billable unless the agency received authorization to bill supplies or has a contract specifying supplies may be billed. Select “Verify and Next” to move on to Step 5.
Step 5 (Summary): Is the final step in the verification process. This step provides a summary of the claim and is broken down into sections. The first two sections display the demographic information for the patient. Visits and any Supplies are listed below the demographic information. The total claim charges are presented at the bottom of the page. Once everything is verified and deemed accurate, select “Complete” to finalize the verification process.

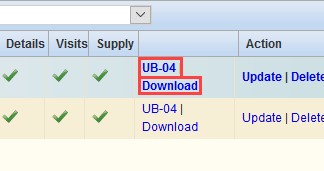
Upon Completion, all steps that were verified within the 5-step process will have a green checkmark on the Claim History page. Two new hyperlinks are now present: the claim type and Download. In this example, the claim type is a UB-04. Selecting the “UB-04” hyperlink opens the claim with the UB-04 formatting. The claim may be printed and mailed if the agency chooses to bill in this manner. The “Download” hyperlink opens the claim in a text format for uploading to a payer website.
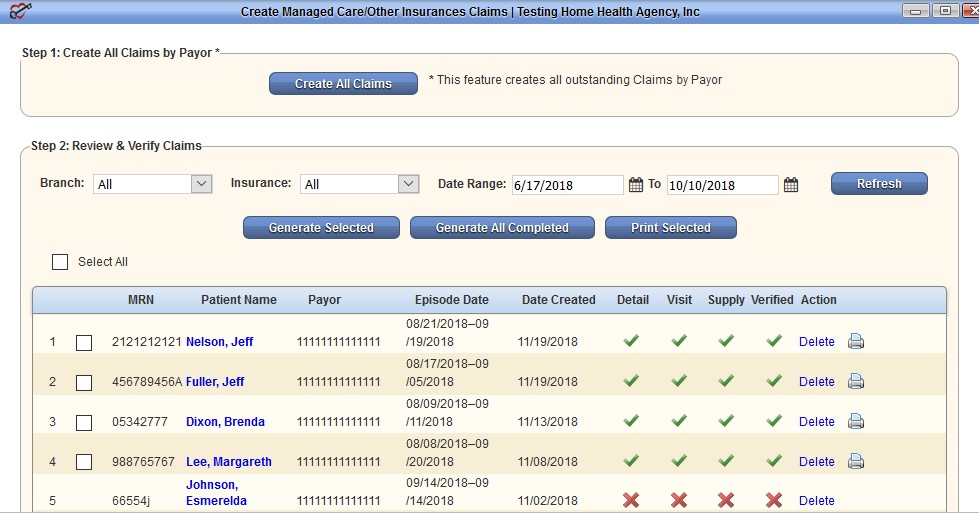
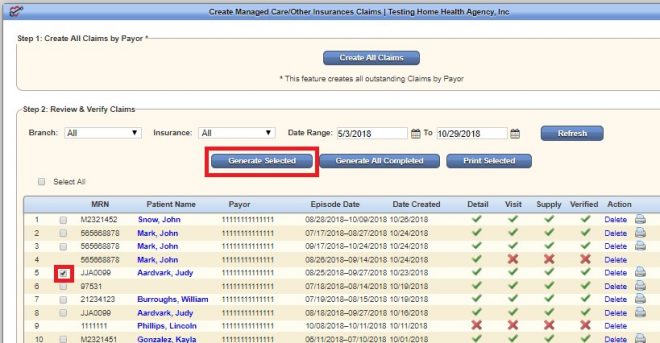
From the Create Claims window, select the checkbox right beside Patient’s Name. Then select “Generate Selected.” This can be done for one or multiple claims for submission.
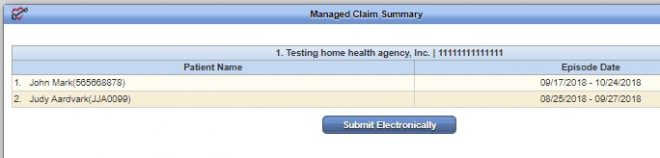
Once the “Generate Selected” button is selected, there will be an option to “Submit Electronically.”
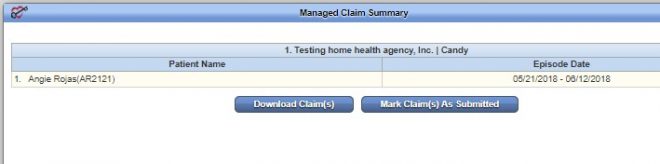
The following is for agencies that have chosen not to electronically submit claims through the Home Health solution. Select the “Download Claim(s)” button, save to the computer, and then upload to the payer. Once the download and subsequent upload is completed be sure to select to “Mark Claim(s) as Submitted.” Marking the claims as submitted removes the claim from the Managed Care_Other Insurance/Create Claims screen.
Help/Support & Training/Help Center
Our Help Center is a great resource that is available 24/7. Get answers to frequently asked questions and watch videos of all Axxess solutions. It can be accessed by going to:
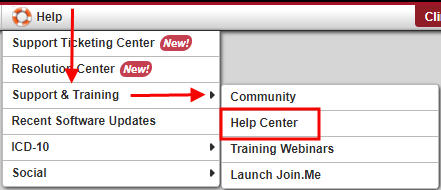
Or also available at https://www.axxess.com/help/