The Wound Orders Profile lists all unassociated, active and discontinued wound care orders. In the Wound Orders Profile, users can create wound care orders and associate wounds to wound orders.
By enabling users to manage wound care orders in a central location, the Wound Orders Profile helps organizations streamline wound care processes and maintain compliant documentation of wounds and treatment.
To document a wound in the system, a wound order must be created and associated to a wound.
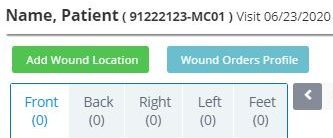
When completing a start of care visit, users can access the Wound Orders Profile by selecting the Wound Orders Profile button in the Orders for Discipline and Treatment section on the Integumentary Status tab.
OASIS Start of Care ➜ Integumentary Status tab ➜ Orders for Discipline and Treatment section ➜ Wound Orders Profile

Users can also access the Wound Orders Profile by selecting the Wound Orders Profile button in the Wound Manager.
OASIS Start of Care ➜ Integumentary Status tab ➜ Wound Manager section ➜ Wound Manager ➜ Wound Orders Profile

Add Wound Orders Through the Wound Orders Profile Button:
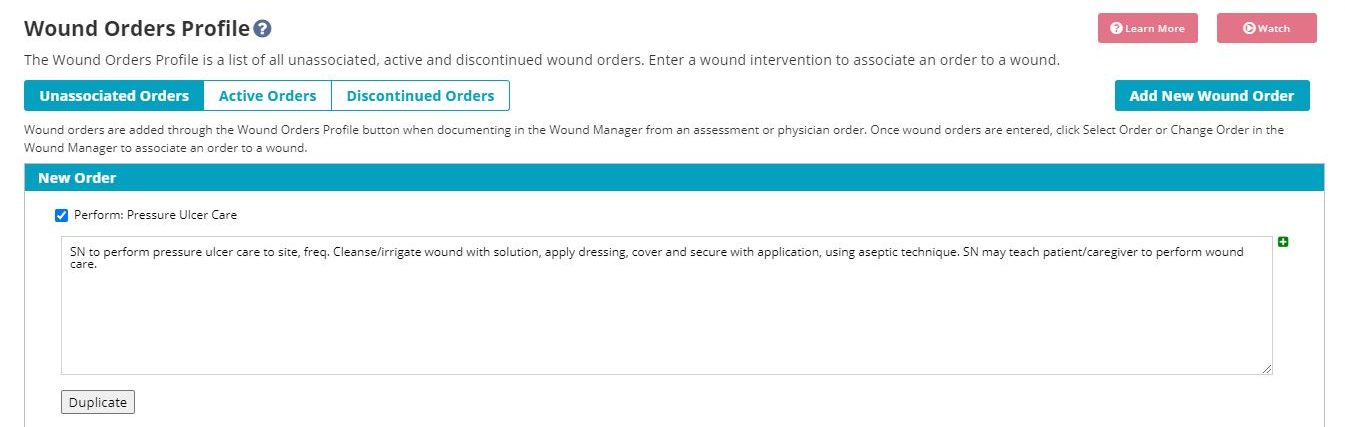
In the Wound Orders Profile, select the Add New Wound Order button to enter multiple wound orders and associate them to specific wounds retroactively. One order per wound is required. Complete the following steps to add new wound orders into the system:
| 1. Select Add New Wound Order. | |
| 2. Select a wound intervention. | |
| 3. Select the green + symbol to document additional orders for the same intervention. | |
| 4. Select Duplicate to copy the previous intervention and update the desired text as needed. | |
| 5. Once all wound orders have been entered, click Save & Create Order. |
When entering orders from the Wound Orders Profile button, all interventions will flow to the Unassociated Orders grid once Save & Create Order is selected.
To associate an order to a wound, select the order from the wound tile when creating a new wound or changing a wound order. Once the wound order is entered, it will flow automatically to every visit until changed by a new physician order.
Users can also access the Wound Orders Profile button when completing a comprehensive assessment (i.e., OASIS/non-OASIS visit).
To change wound orders on subsequent visits, enter the Wound Orders Profile by selecting the Physician Order button in the Wound Manager or a skilled nurse note.
Add New Wound Orders on Subsequent Visits:
On subsequent visits, the Wound Orders Profile button in the Wound Manager changes to a Physician Order button. Select the Physician Order button to add new wound orders on subsequent visits.
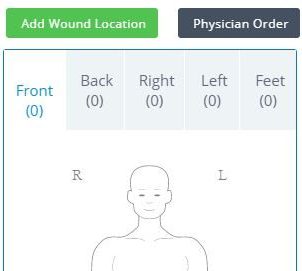
On the physician orders screen, select the Wound Care Orders button under Order Types to open the Wound Orders Profile.

Select Add New Wound Order in the Wound Orders Profile and complete the above steps to add a new wound order.
Once Save & Create Order is selected, sign the physician order for the selected interventions. The orders will move from Pending Orders to Unassociated Orders. Orders that are not signed will stay on the Pending Orders page and cannot be associated to wounds until signed.
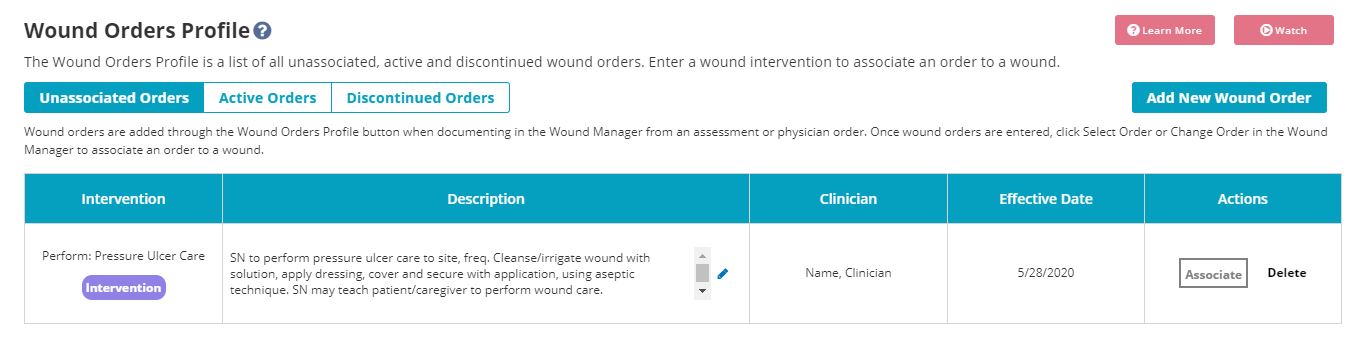
On the Unassociated Orders screen, users can view all wound care orders that are not yet associated to wounds. To add a new wound care order from this screen, select Add New Wound Order. To associate an order to a wound, click Associate under Actions. The table on this screen displays the following information for each unassociated order:
| Column | Description | ||
|---|---|---|---|
| Intervention | Displays the type of wound care intervention. | ||
| Description | Describes the wound care intervention/order. Orders entered through the Wound Orders Profile can be edited by selecting the pencil icon before associating the order to a wound. | ||
| Clinician | Displays the name of the clinician who entered the order. | ||
| Effective Date | Displays the date the order was entered. | ||
| Actions | Enables users to delete orders and associate orders to wounds. |
Once an order is associated to a wound, the order will flow to the Wound Orders box in the wound tile. Update the Treatment Performed text to reflect the wound care that was performed. Review and verify the information, and select Create Wound.
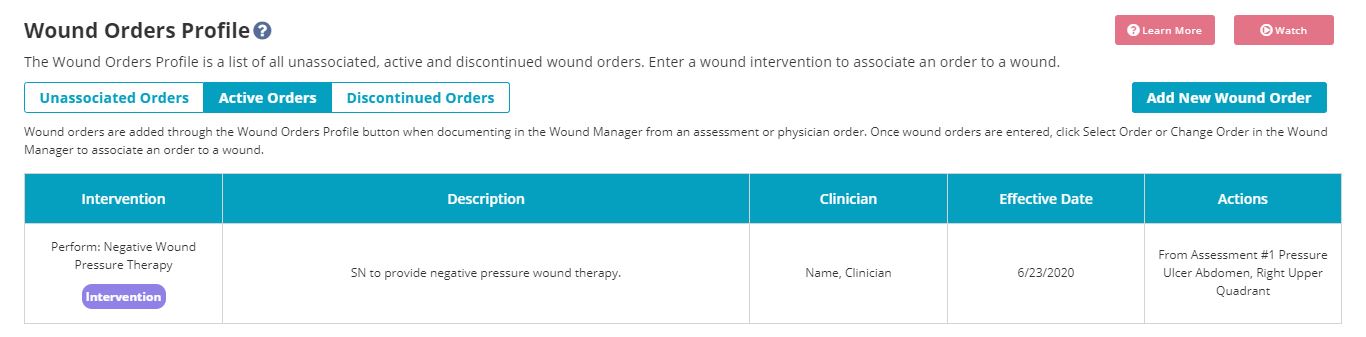
Once the wound is created, the wound order will flow to the Active Orders page and to the patient’s Plan of Care.
When a wound order is updated, the order will automatically flow to the associated wound in the wound tile and the Active Orders page.
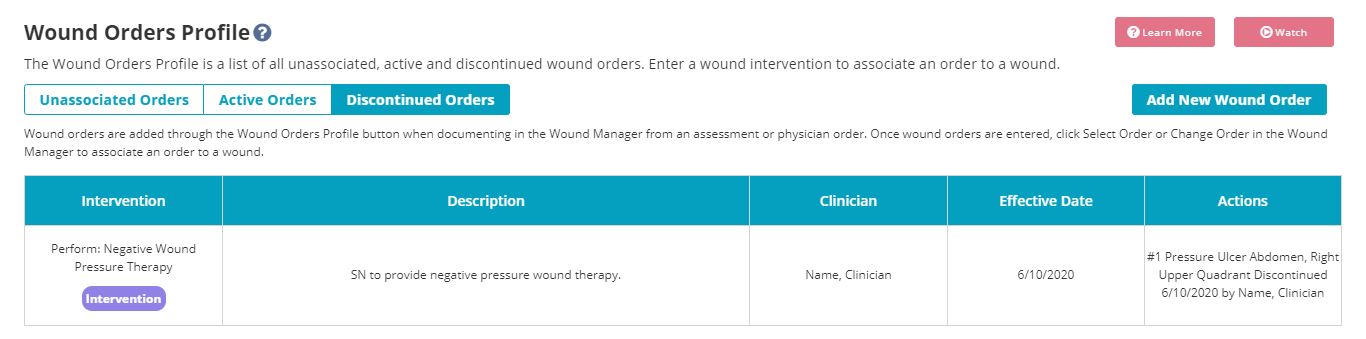
Wound orders can be updated through the Change Order button on the wound tile. When Associate Order is selected, the current active order for the wound will flow to the Discontinued Orders page.
When a wound is deactivated through the Wound Manager, all active and discontinued orders will be removed.
To view a complete history of orders for all discontinued and active wounds, review the Plan of Care profile in the patient chart.
Updated on 6/24/2020
