Axxess Home Care now enables users to track and monitor task reassignments. When reassigning a scheduled task in Axxess Home Care, users can now select the reassignment type and reason to appear in the task’s details.
By facilitating seamless reassignment tracking, this functionality streamlines scheduling processes and enables organizations to better monitor employee performance, evaluations and unemployment claims for continued compliance and optimal client care.
To monitor task reassignments, users must have permission to track visits in Axxess Home Care.
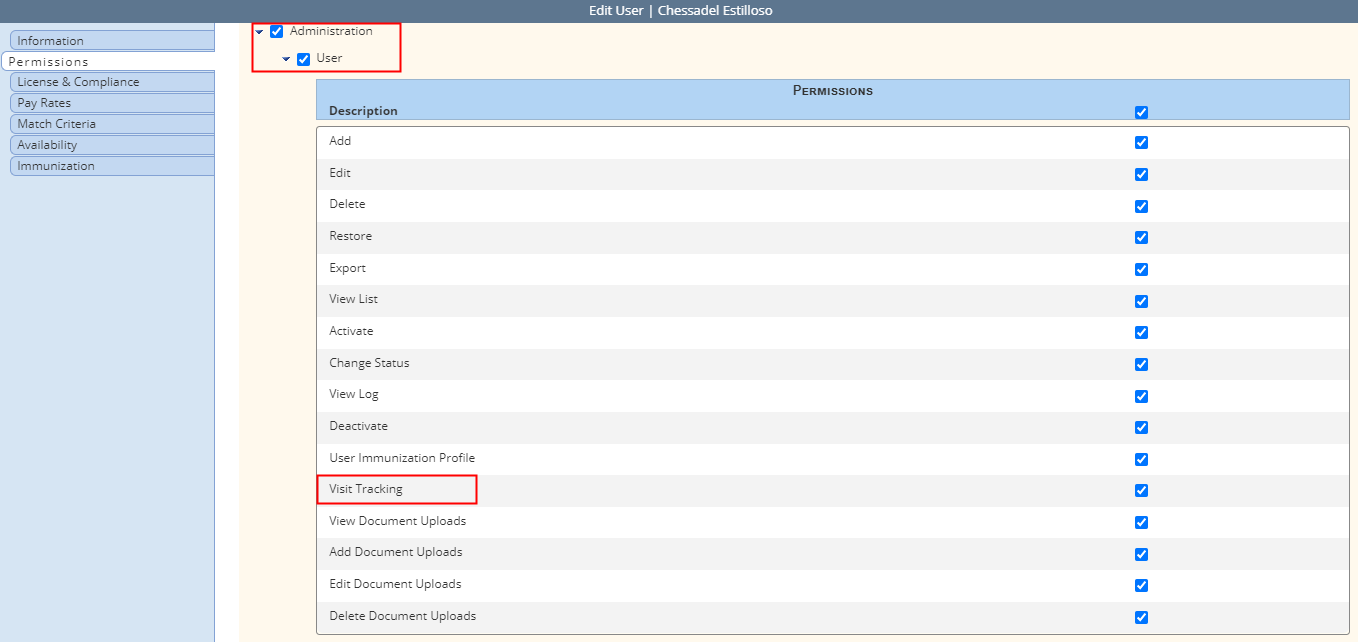
To give a user permission to track visits, navigate to the user’s profile and select Permissions in the Quick Links menu. In the Administration section, select Visit Tracking under User. Click Save to finish granting the permission to the user.
Employees tab ➜ Employee Center ➜ Quick Links ➜ Permissions ➜ Administration ➜ User ➜ Visit Tracking ➜ Save
Users can enter reasons for task reassignments in Company Setup. The reassignment reasons entered in Company Setup will appear on the scheduling screens when reassigning tasks.
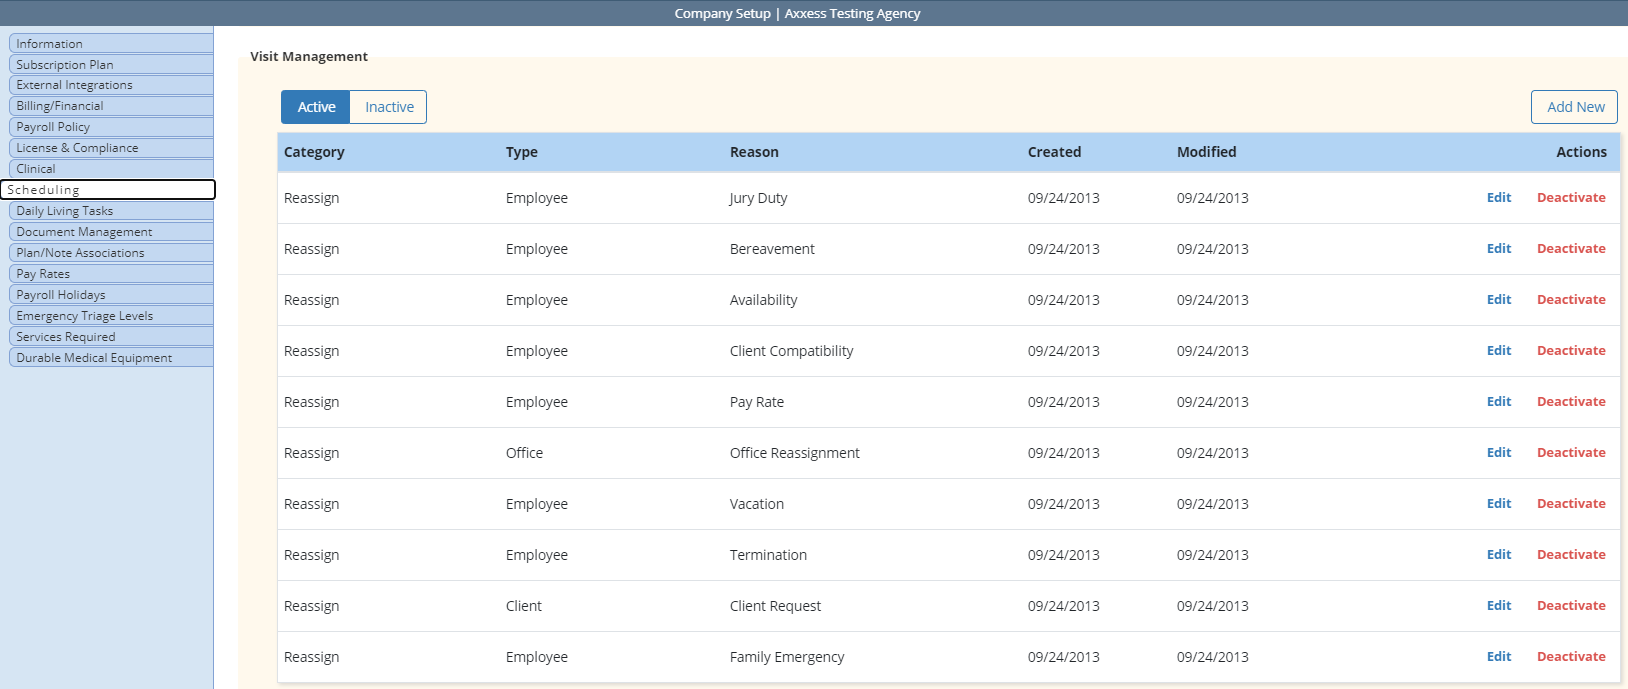
To add task reassignment reasons, navigate to Company Setup under the Admin tab. On the Scheduling tab, a list of reasons for reassignment appears under Visit Management.
To add a new reason, click Add New. Enter the category, type and reason, and click Save & Close.
To edit or deactivate an existing reason, click Edit or Deactivate under the Actions column.
The reasons activated in Company Setup will appear when reassigning tasks in the Schedule Center and Task Manager.
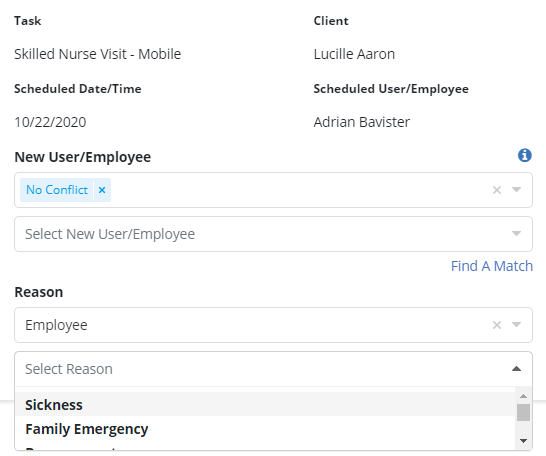
When reassigning a task, identify the reason for reassignment by selecting a reason type under the Reason field.
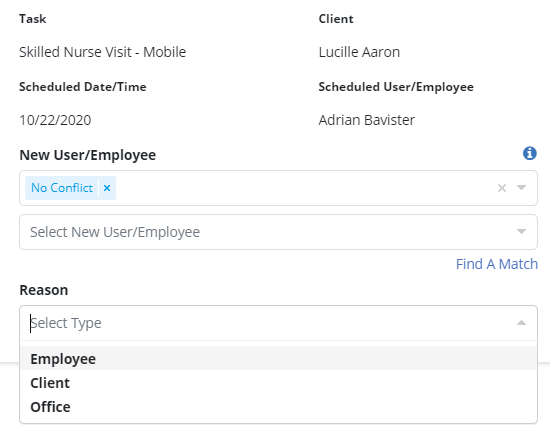
Once the reason type is selected, the associated reasons will populate in the subsequent drop-down menu. Select a reason and click Save to finish reassigning the task.
To bulk reassign a group of tasks, navigate to the Task Manager in the Schedule Center. Select tasks to reassign and click Reassign. Select the reason type and reason in the Bulk Reassign Tasks window and click Save. The selected reason and reason type will apply to all selected tasks.
Schedule tab ➜ Schedule Center ➜ Task Manager tab ➜ Select tasks ➜ Reassign ➜ Select reason and type ➜ Save
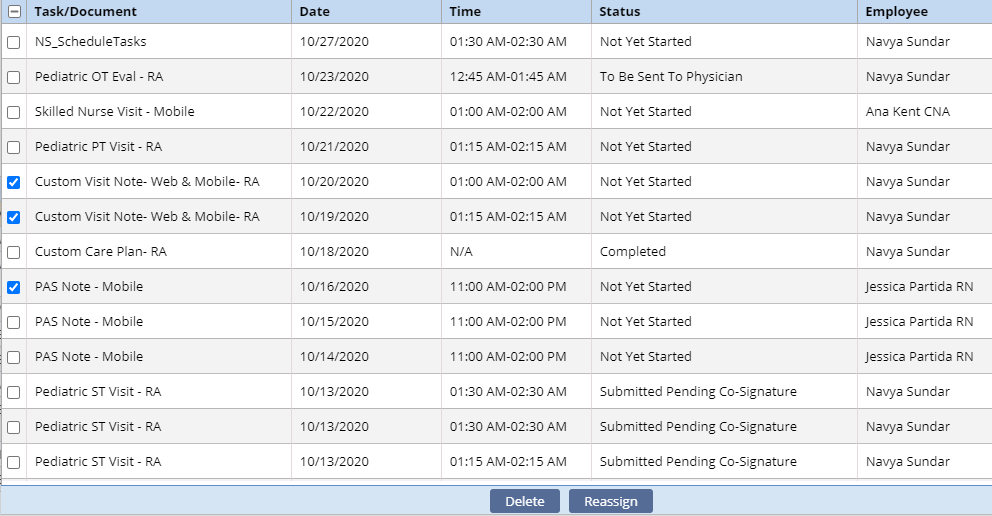
Once completed, the reassignment will appear in the Schedule Tasks Logs.

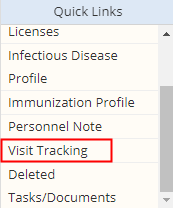
All tasks reassigned for an Employee reason type will appear in the employee’s Visit Tracking report. To view an employee’s Visit Tracking report, navigate to the employee’s profile and select Visit Tracking from the Quick Links menu.
Employees tab ➜ Employee Center ➜ Quick Links ➜ Visit Tracking
The Visit Tracking report displays all reassignments initiated for the employee.

To edit the reason for a reassignment, select Edit from the Actions column.

Updated on 11/11/2020
