 This tutorial will provide you with an overview on adding and managing Employee Tags in Axxess HomeCare. The Tagging feature may be used in several areas within the system including: Messaging, Employee Center, Schedule Center. Several Reports also allow for filtering and/or displaying associated tags.
Tag examples include:
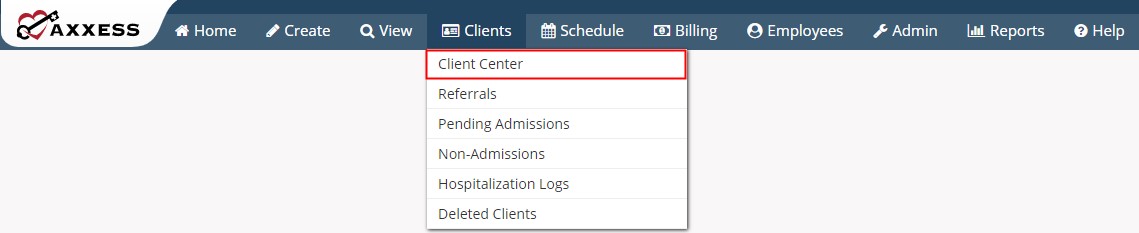
Client-Client Center
Select the desired client using the search options on the left. Once selected, choose Edit
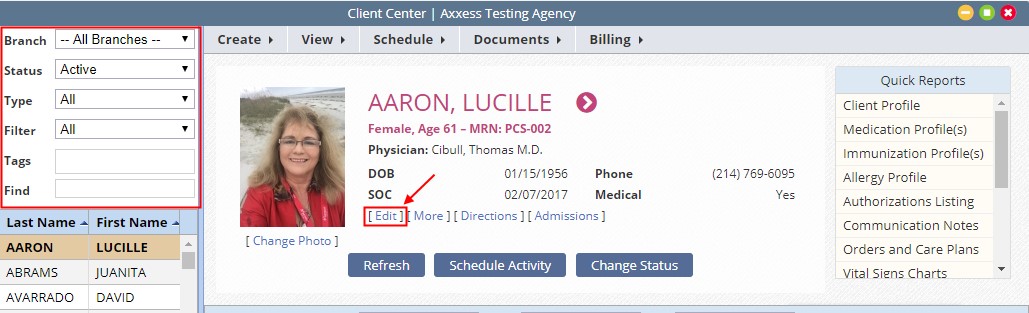
The Tag feature is located within the first section of the Information Tab.
To associate one or more tags to the client:

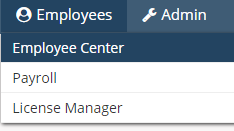
Employees-> Employee Center
Search and locate the desired employee.
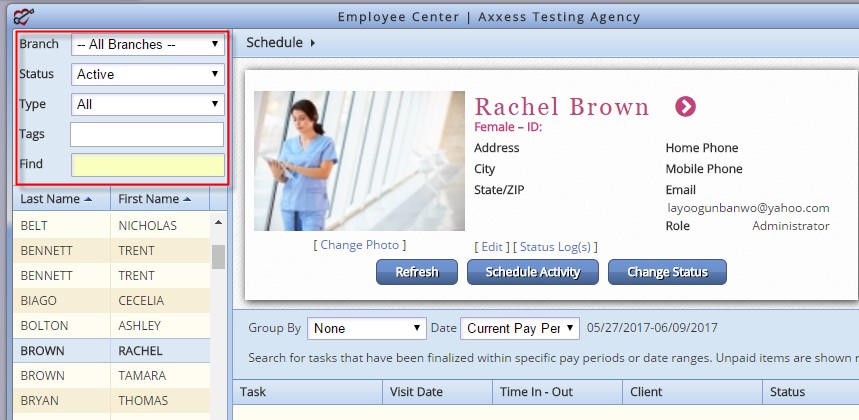
Once you have Selected the employee their Employee Chart displays to the right. Select Edit to navigate to the employee information section.

Information Tab-> Other Information Section->Tags.
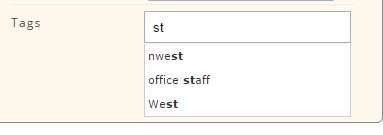
To associate a tag to the employee begin typing the name of the tag. A filtered list of existing tags will appear to select. If a matching tag doesn’t currently exist a new one may be added by simply typing the name and hitting the enter key. Once added it will be an available selection for clients and users.
Tag examples include:
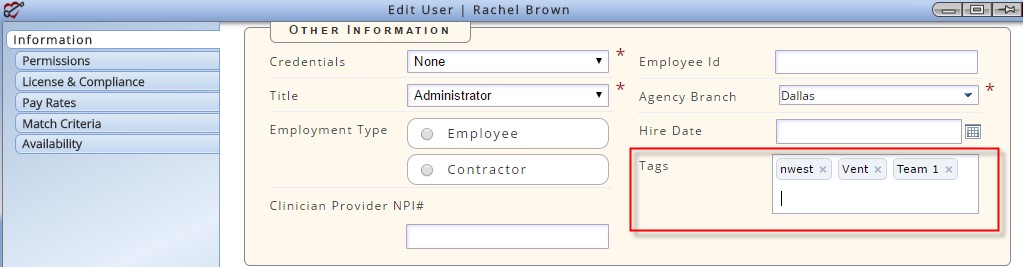
Tags may be added or deleted as needed.
Areas you can use tags:
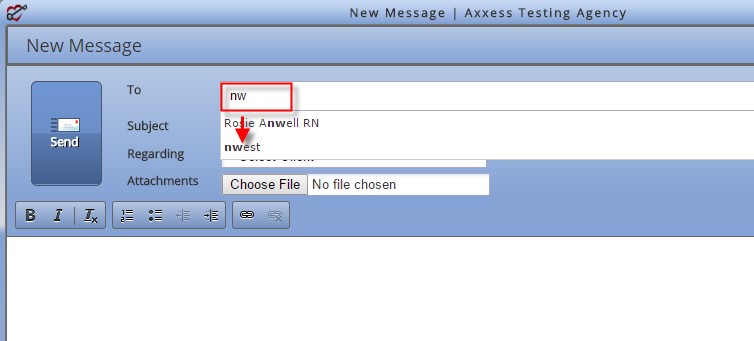
Messaging: From Your Dashboard Go to Messages-> Compose Mail
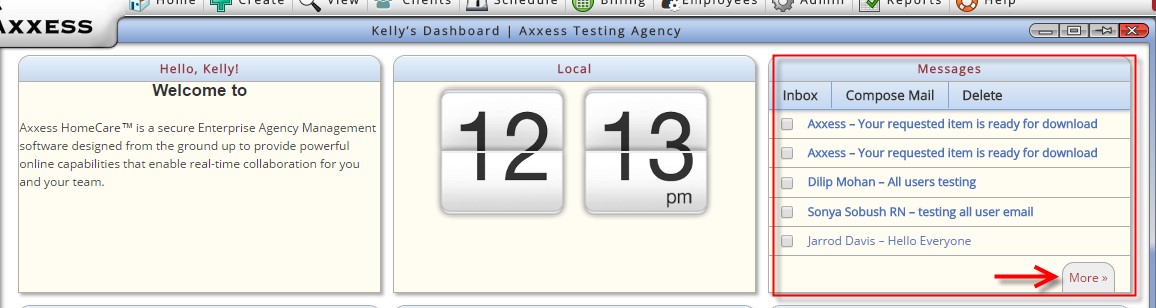
To send a message to all users associated to a tag, simply begin typing characters of the tag. The list of Tags will populate for you to select from.
User Search:
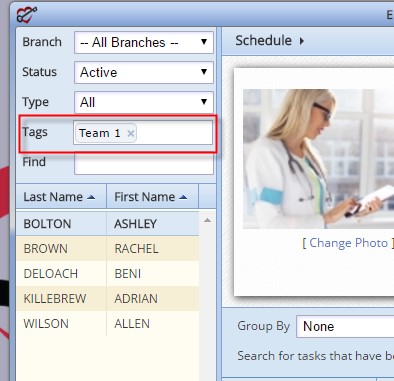
Employees->Employee Center
Filter employee results to only those with one or more tags by entering the tag/s in the Tag filter.
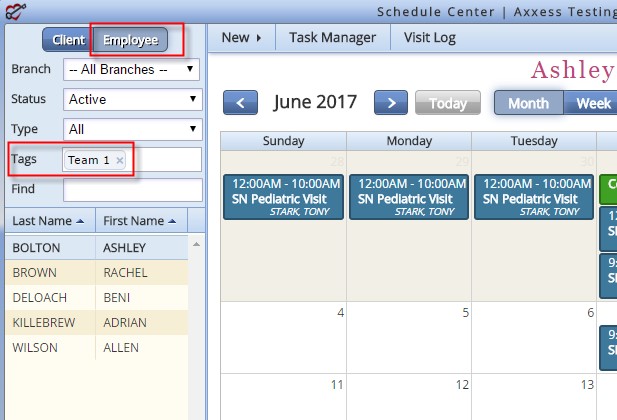
Schedule-Schedule Center-Employee
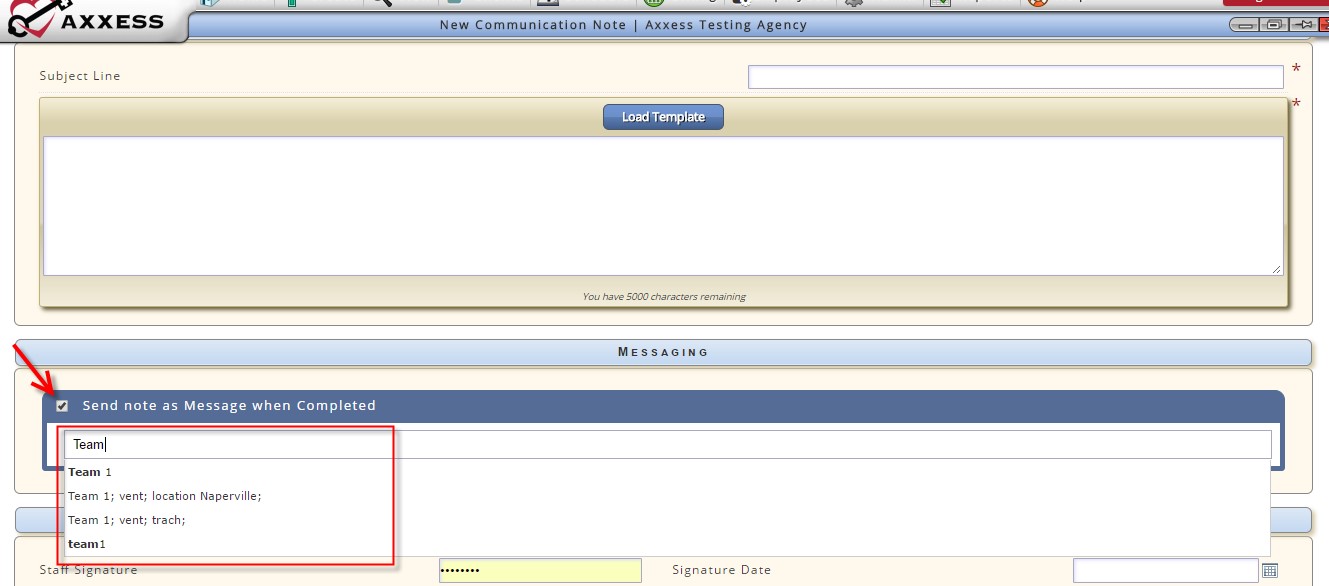
Communication Notes
Clients->Client Center-> New-> Communication Note
If the user needs to send a communication note to a specific group a tag may be selected.
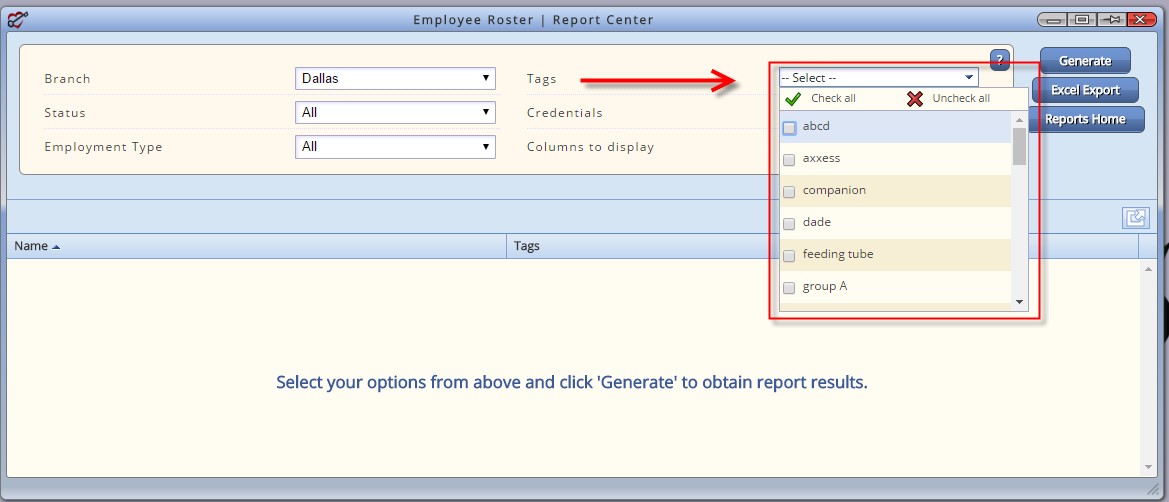
Reports:
A tag parameter exists for several reports. This will limit the results to just those associated with the tags selected An Example of this is the “Employee Roster Report” You have the option to choose what tags you want to select to filter into the report when running.
In order to manage compliance information for existing employees, go to the Employees tab in the main navigation bar and choose Employee Center. Within the Employee Center, find the specific employee and in the Quick Links located on the right, select Licenses.

This will navigate to the License and Compliance Tracking section of the employee file.
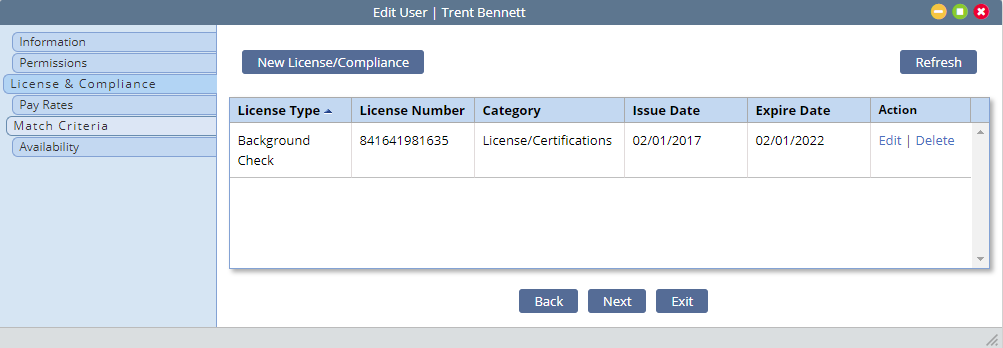
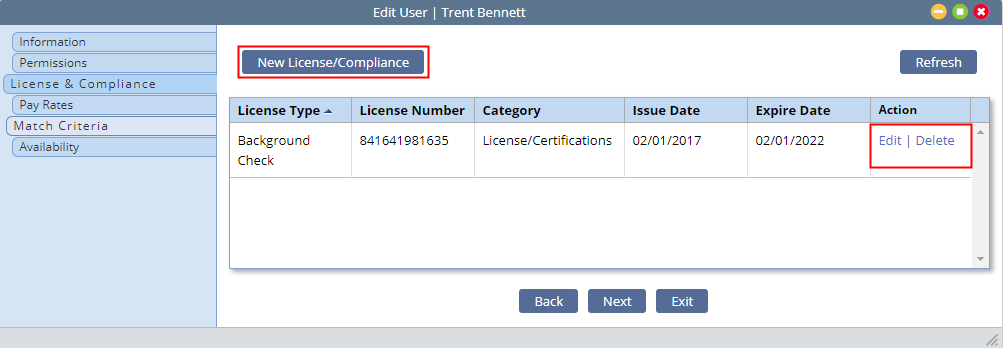
To add a new tracking item, select New License/Compliance. To update an existing item, select Edit in the Action column.
New:
License Number: Enter the license number as applicable
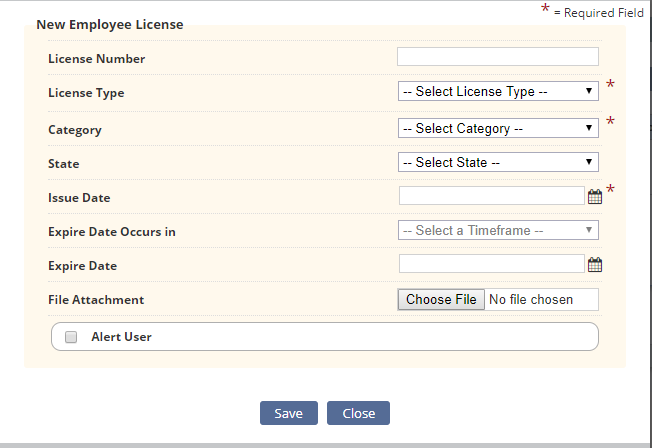
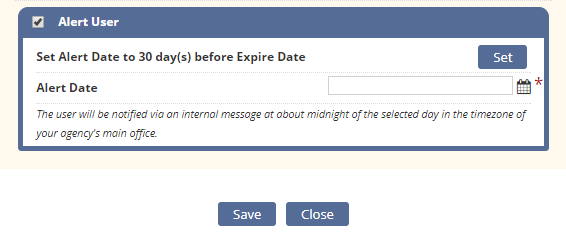
The Alert features include the option to set the alert to 30 days prior to the expiration or the agency may set their own alert time-frame. Selecting Set will set the Alert Date 30 days prior to the Expire Date. An alert date may be manually entered as well.
** The user will be notified via an internal message at about midnight of the selected day in the timezone of your agency’s main office.**