The new EDI Export Report can be generated and submitted to any payor that requires submission to HHAeXchange.
To set up and generate the report:
1. Select Company Setup under the Admin tab.
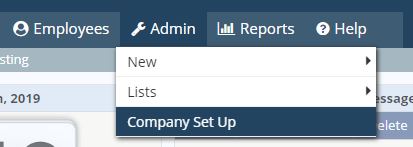
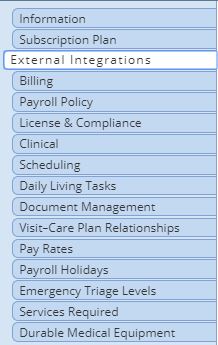
2. Select the External Integrations tab from the left-side menu in Company Setup.
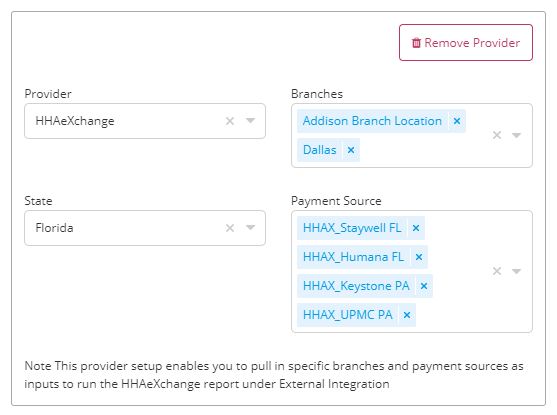
3. In the bottom left corner, click the Add Provider button.

4. Select HHAeXchange in the Provider drop-down menu.
5. Select the applicable Branch(es), State(s), and Payment Source(s).
5. At the bottom of the screen, click Save.
The EDI Export Report is permission-based, so the user who will be submitting the report to HHAeXchange needs permission to generate the report.
To give a user permission to generate the report:
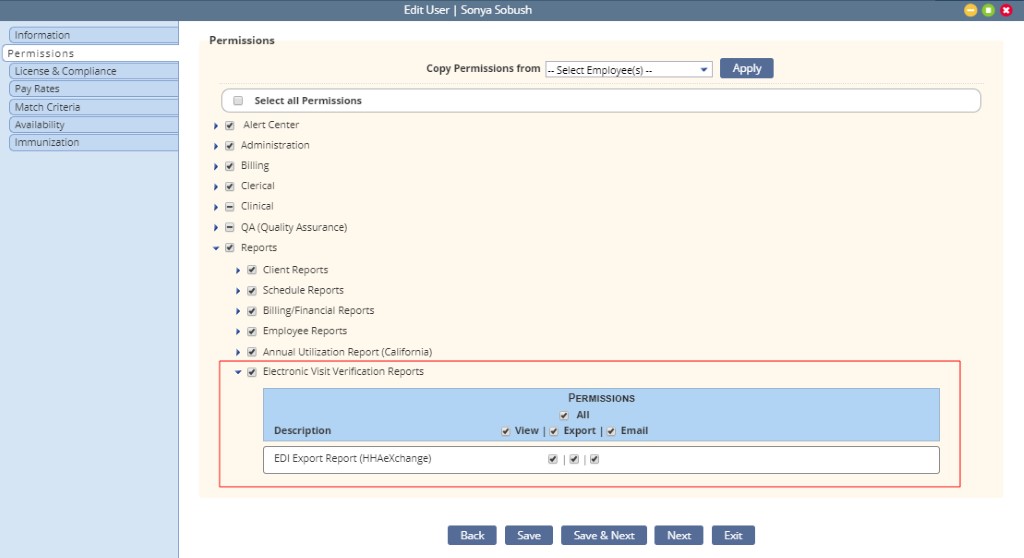
1. In the Employee Center, find the user and select Permissions under Quick Links on the right side of the user profile.
2. Scroll to the Reports category at the bottom of the permissions list.
3. Expand Electronic Visit Verification Reports and check EDI Export Report (HHAeXchange). The first box enables the user to View the report. The middle box enables the user to Export the report. The third box enables the user to Email the report.
To view and generate the EDI Export Report:
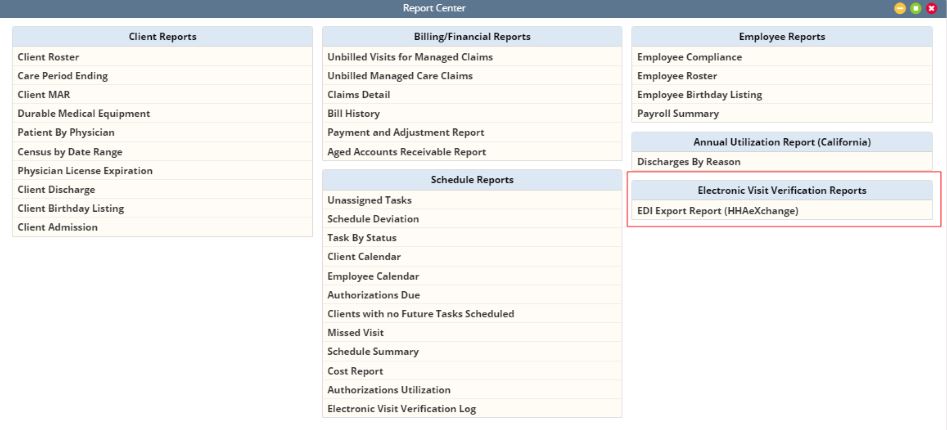
1. Navigate to the Report Center under the Reports tab.
2. Under Electronic Visit Verification Reports, select EDI Export Report (HHAeXchange).
3. Select the Branch, Report Date Range, Payment Source and Report Format, and click Generate Report.

4. When the report is ready, you will receive a message alerting you to view and retrieve it from the Completed Reports page. Navigate to Completed Reports under the Reports tab.


Follow HHAeXchange’s file submission process for uploading the report. Note: Review and ensure task rate HCPCS and modifier codes align to the payor’s specifications.
Updated on 8/31/2019
