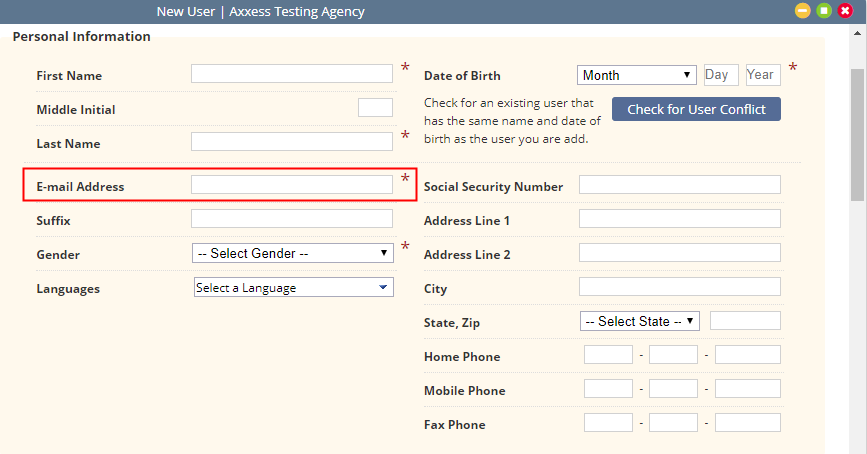
You can add system and non-system users into Axxess HomeCare. Addition of a system user requires input of an email address, thus it is important to have an email address on hand when entering a new system user into the application. You may choose to use company or the employee’s personal email address when setting the user up.
***This activation link is only valid for 48 hours. If the user does not click on the activation link within the 48 hours and create their password the agency will have to contact Axxess to send a new link to the user.***
Note: do not use “dummy or placeholder” emails addresses when adding users as the agency is unable to easily change addresses.
Other information that is useful to have available includes: demographic (address, phone, gender), type of access the user will need, HR compliance information as well as skills and availability.
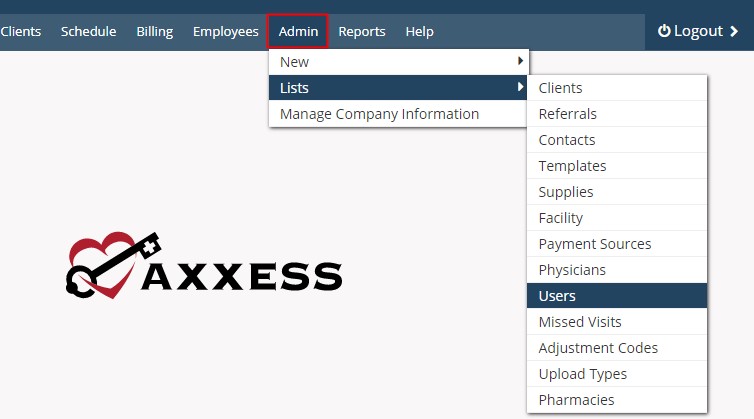
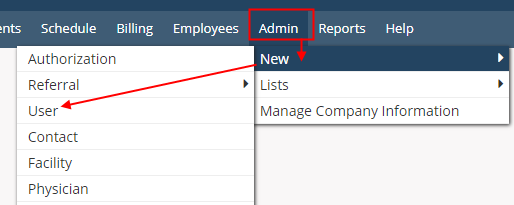 The path to add a user into Axxess HomeCare is Admin -> New -> User
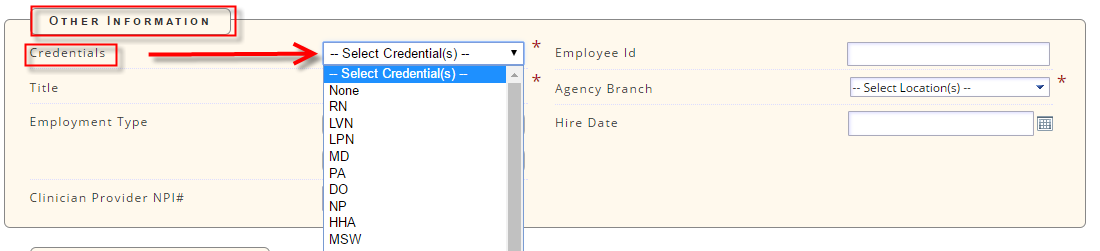
The first tab is the user Information. Key information on this tab includes:

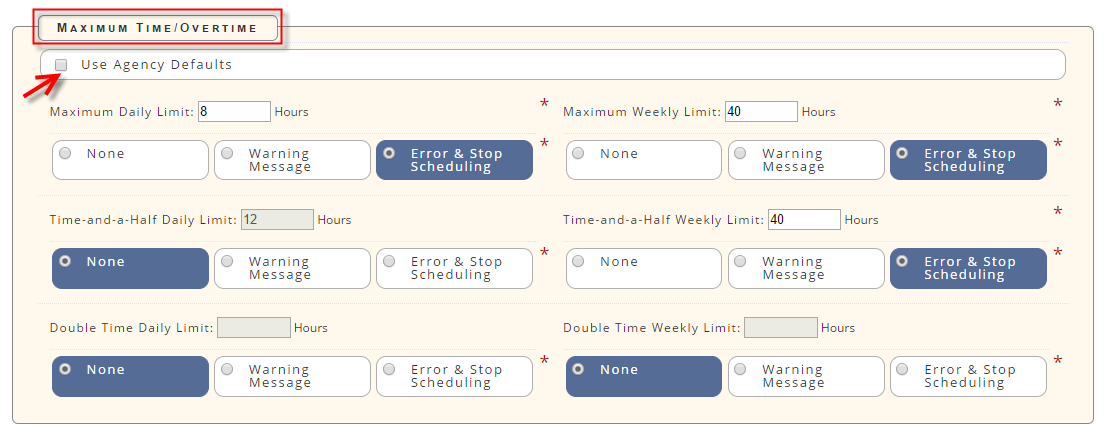
Maximum Time/Overtime may be defaulted to the agency defined (Use Agency Defaults) or customized to the user at the employee level. This information provides notification to the scheduler. We do not currently calculate overtime
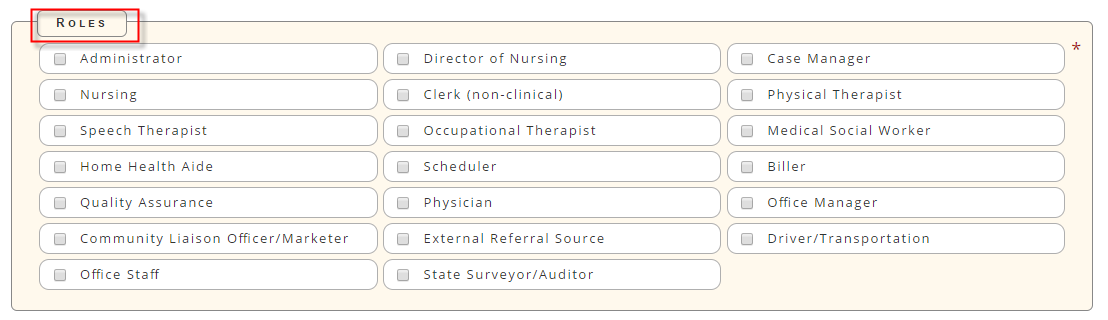
Roles: These are system roles within the software. It is not intended to indicate all roles a user may have within the agency. Specific access occurs in the permissions section.
Select the highest role the user plays within the agency.
Access & Restrictions: allows the ability to define time access to the system.

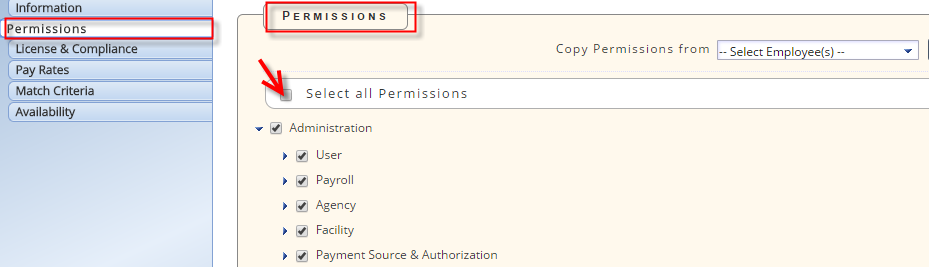
The second tab is the Permissions Tab. Select permissions the staff member needs in order to perform his/her job functions. Permissions may be updated as needed.
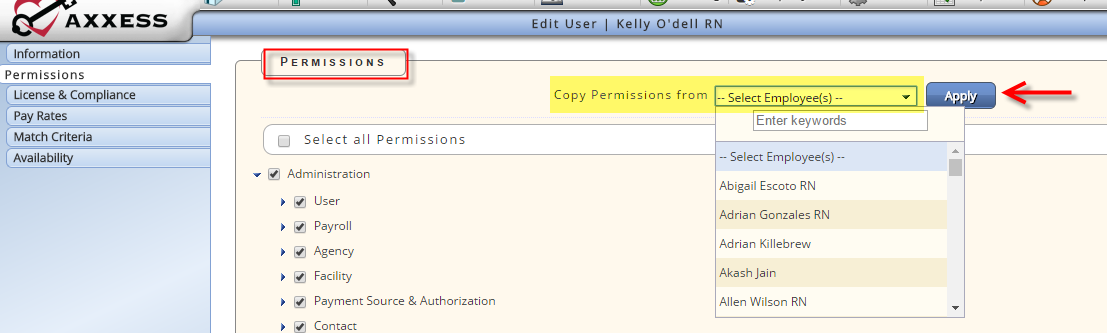
**Example of All Permission Types for each Category are given in the Permission Tutorial**

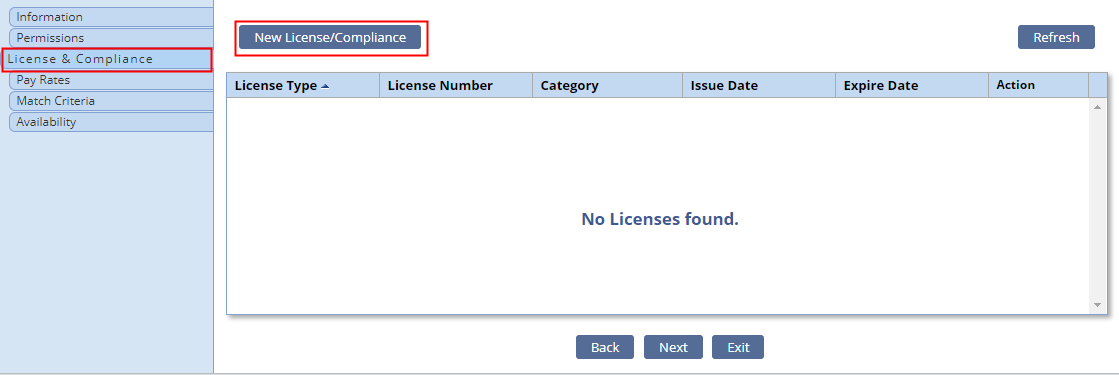
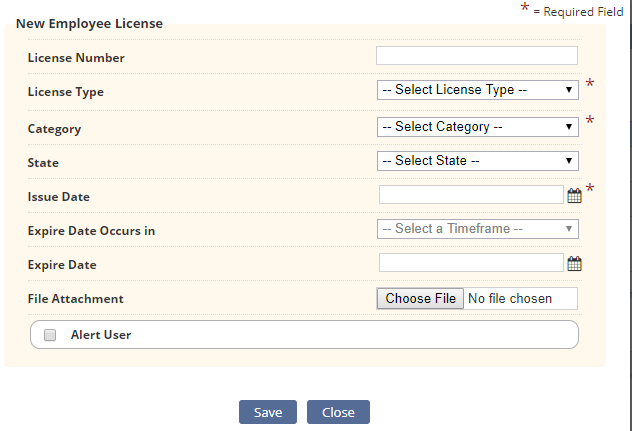
Licenses/Compliance Tab: This tab is used for tracking HR information including Licenses & Certifications/ Compliance and CEU’s.
To add a new compliance item, select New License/Compliance. Input fields include: License Number/Type/Category/State/Issue Date/Expire Date Occur Timeframe/Expire Date/Attachment/Alert User
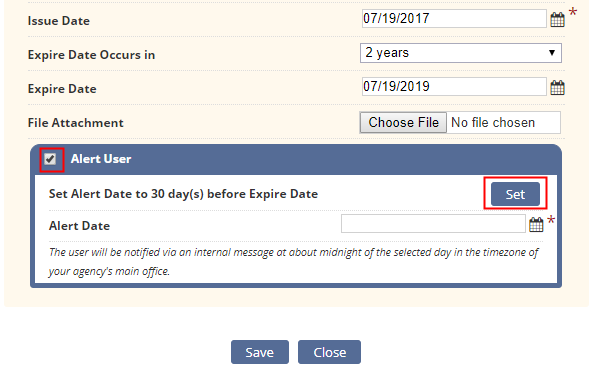
To Alert the user 30 days prior to the Expiring Compliance the agency simply “Checks the Alert User” box and then checks the Button that says “Set”. The Solution will set the Alert Date 30 days prior to the Expire Date. The agency may also manually enter any other Alert date.
** The user will be notified via an internal message at about midnight of the selected day in the timezone of the agency’s main office.**
Existing compliance items are viewable in the License and Compliance page. If you have added an attachment the License type will be a link which opens the attachment.
Actions include the ability to Edit or Delete the License/Compliance Item. Edit opens the Original License Item to Update/Edit

Pay Rates: Provides the ability for the agency to set employee specific rates. If the agency has established default rates under manage company information and the user is paid the same rate as the default task rate we recommend not entering the rates in at the employee level as well.
Pre-requisite: Documents must be established.
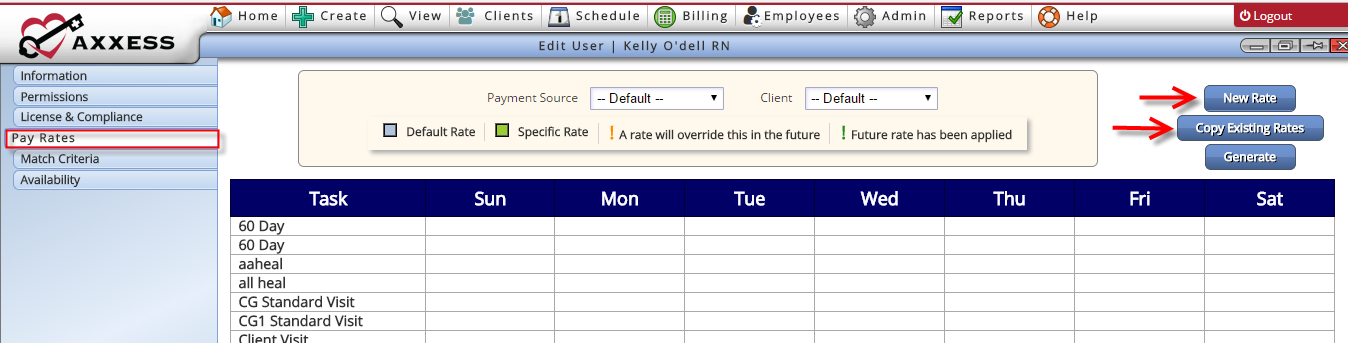
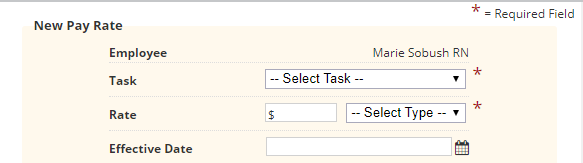
To add an employee specific pay rate select New
The employee’s name will show as display only as it will be an employee rate
Select the task from the drop down list of tasks created in document manager
Enter the Pay Rate and rate Type (Visit/Hour/Day/15 Min)
Effective Date: enter the effective date of the pay rate.
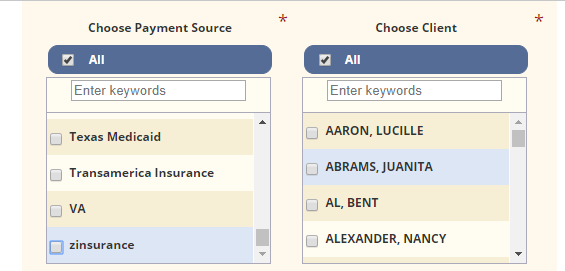
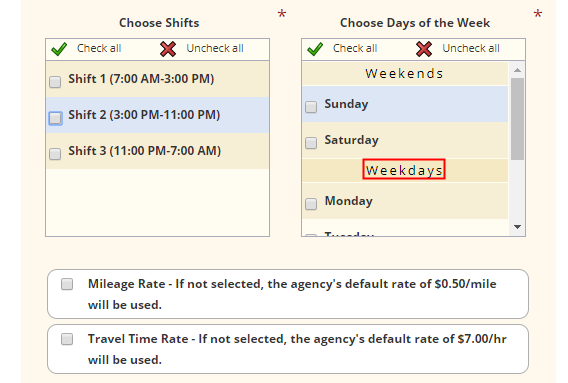
The next section provides the ability to indicate payment sources and/or client’s the rate is associated to. The default is for all payment sources and clients.
Pay Rate Combinations may include
The highest rate specification is by task/employee/payment source/client (other words: a payrate for a specific employee providing a specific task (shift) for a specific client associated to a specific payment source).
 Once completed choose Save & Close or Cancel
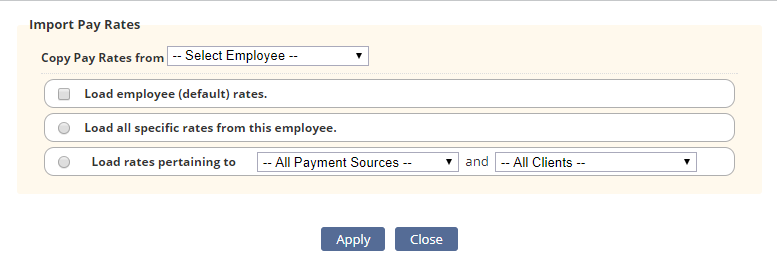
To Copy a Rate from another User select Copy Existing Rates: This allows you to
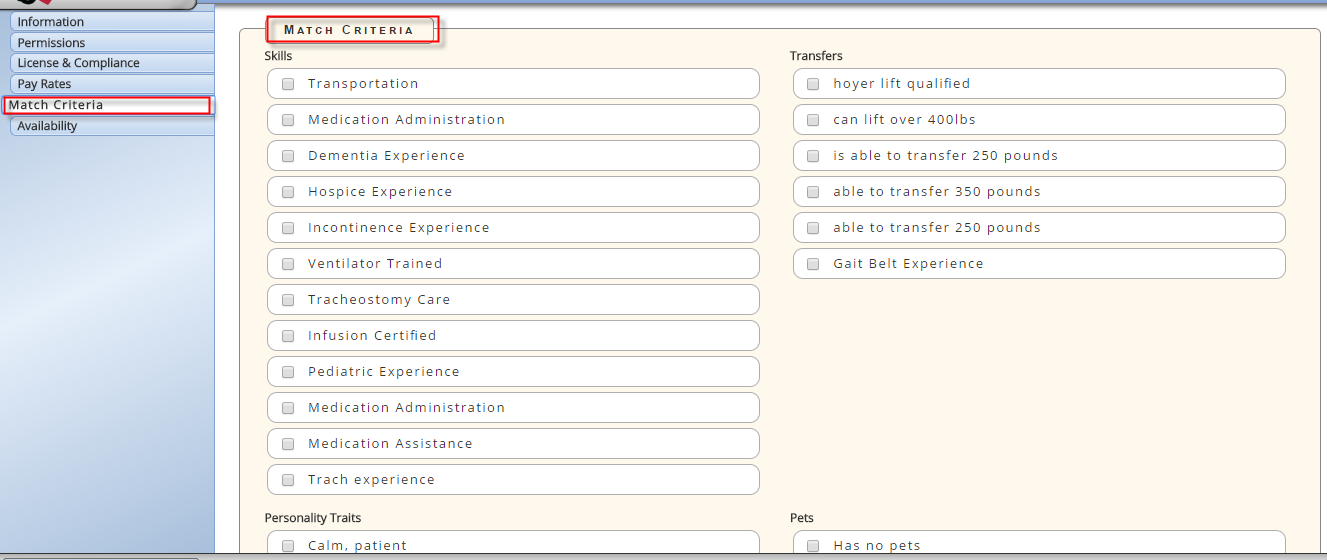
Match Criteria: All employee matching criteria items set up under manage company information will display. Select the items that the employee possesses.
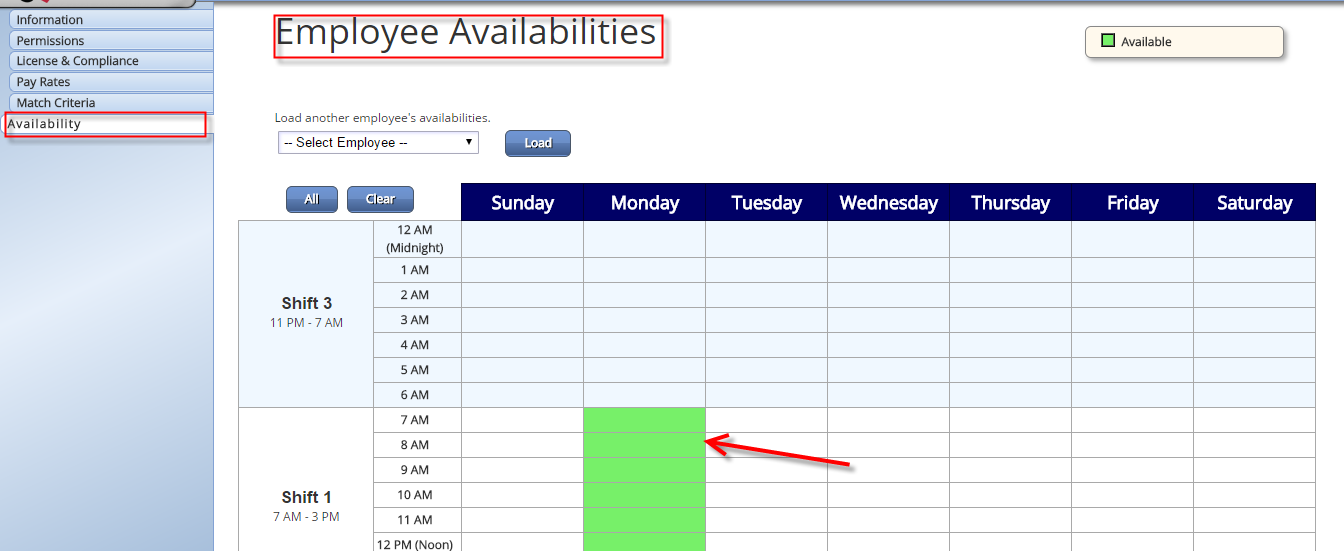
Availability: indicate the user’s general availability by highlighting the days and time the employee is available. If the user’s availability matches another user’s it may be copied using the copy availability function.
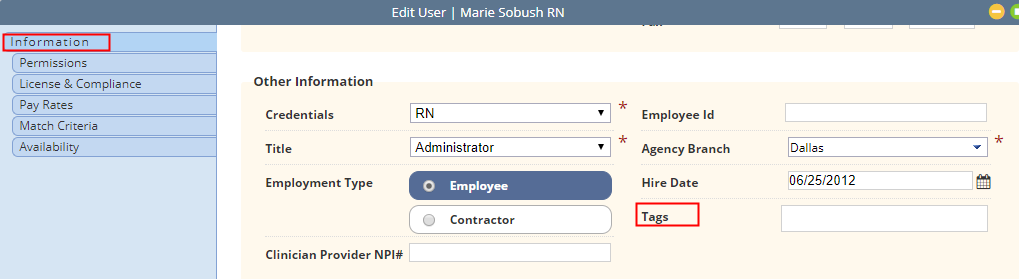
TAGS
Axxess HomeCare includes a tag feature which allows agencies to create customizable grouping categories. The tag option is only available once the user has been added. Locate the employee from either the Employees-Employee Center or Admin-List-Users. The tags can be searched for in the main Employee search center area as well as in reporting.
 Select the employee from the employee list then click Edit to open the Employee Chart. The tag feature is in the Information of the employee file.
Upon completion of adding the user, the user will receive an activation link to the email address entered to create their password.
***This activation link is only valid for 48 hours. If the user does not click on the activation link within the 48 hours and create their password the agency will have to contact Axxess to have a new activation link resent to the user.***
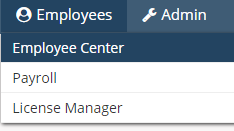
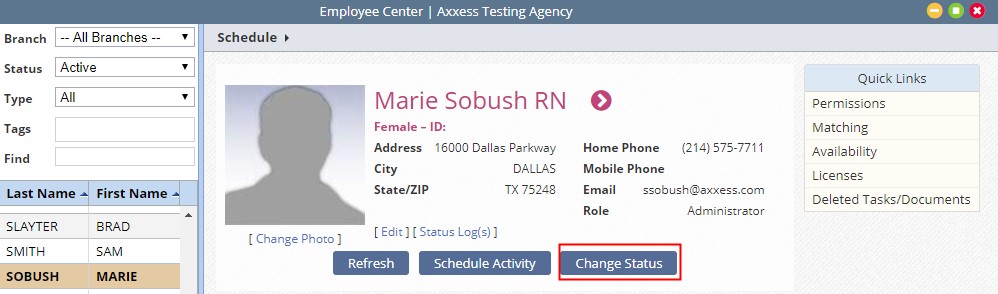
To Edit a user in Axxess HomeCare, go to the Employees tab and choose Employee Center.
Locate the User in the search column to the left.
Once the user is selected click Edit (Permission Based).
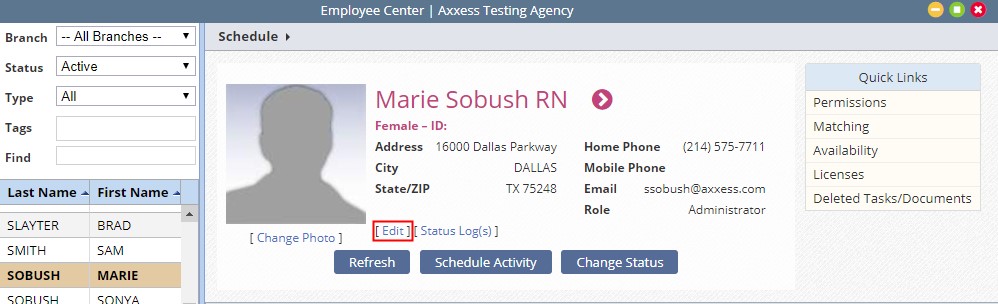
This will open the Employee Chart for viewing/editing.

To update a user’s employment status, select Change Status from the Employee File. The options available will depend on the employee’s current status.
The Second Path to Edit a User is Admin-List-User-Edit:
The Employee display in a list format with a default showing of users which can log into the system.
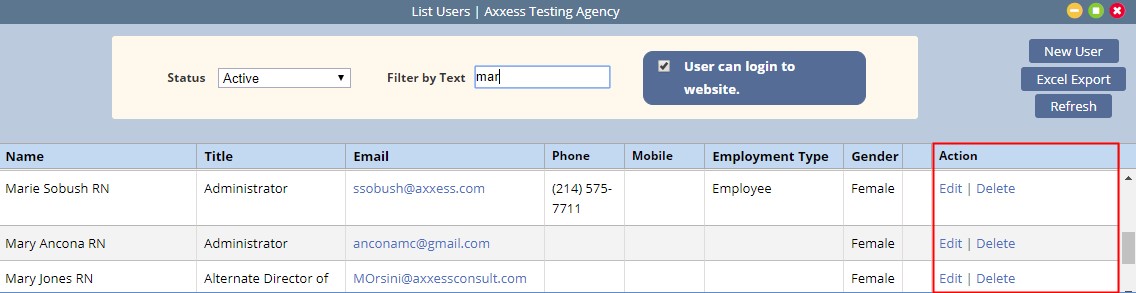
**While agencies have the ability to Delete Users, it is not our recommendation. Instead, we recommend updating the user status to Inactive or Terminate so they may be Reactivated if needed in the future.
