When you start using Axxess Home Care, the first order of business is to identify your organization’s preferences and settings in Company Setup. To do this, navigate to the Admin tab and select Company Setup.
You will be asked to enter your electronic signature before entering the Company Setup page. Your signature is initially set to the password you created to access the application. Once your electronic signature is entered, Axxess Home Care will take you into Company Setup.
It is advised to complete the tabs sequentially during your initial setup, as several tabs are dependent on one another.
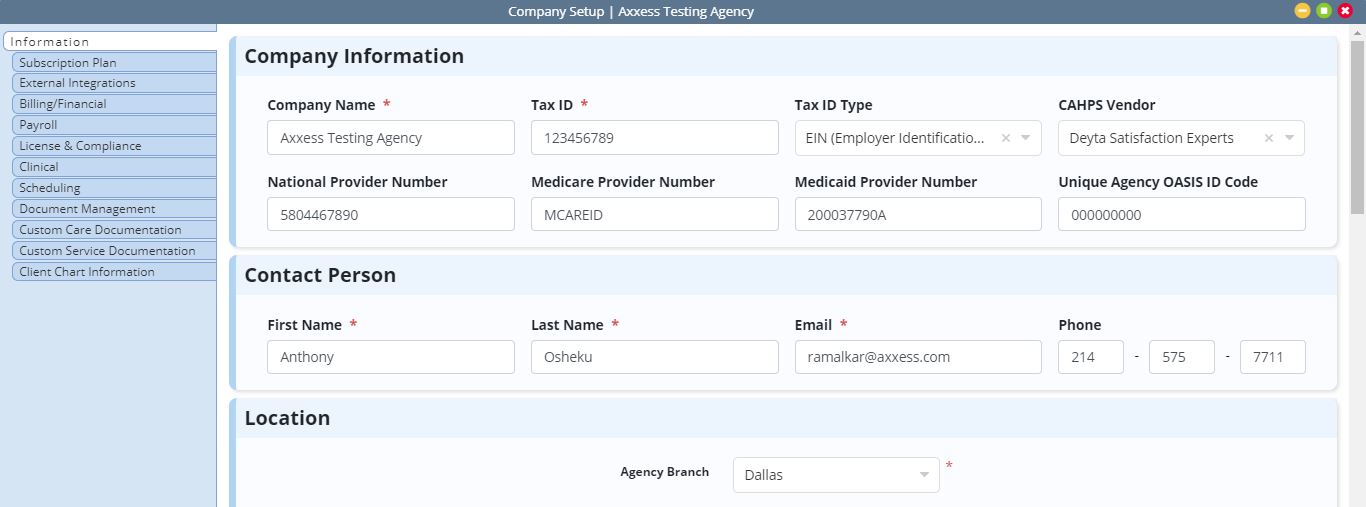
The Information tab pulls information from your signed agreement. Review this information and verify accuracy before using Axxess Home Care.
Required fields for the Company Information section are company name and tax ID.
In the Contact Person section, enter details for a designated contact person for your organization.
In the Location section, you can enter multiple physical addresses, including state, ZIP, phone, time zone, NPI and Medicaid number (if applicable). Claim generation uses information entered in the Location section.
In the Organization Logo section, you can upload company logos to appear on invoices.
Click Save & Next to move to the next tab.
The Subscription Plan tab displays your organization’s current subscription plan and enables you to request subscription upgrades.
We recommend contacting your sales representative when your needs change, as any promotional items/discounts may not otherwise be applied to your changes.

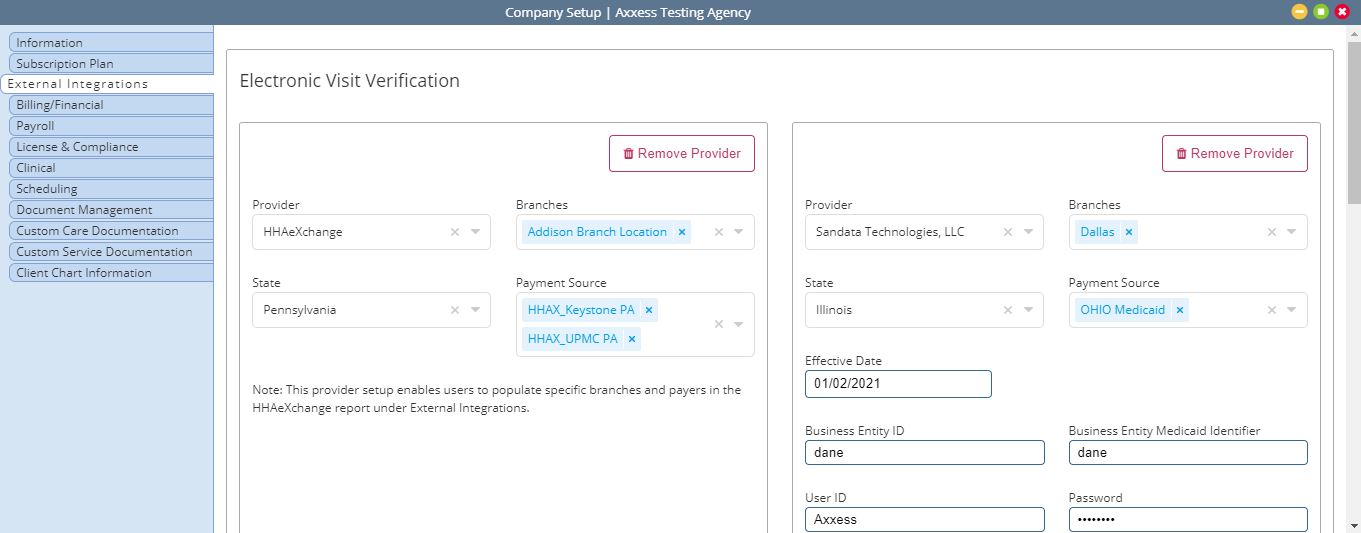
The External Integrations tab enables your organization to manage integrations with external providers. Under Electronic Visit Verification, you can identify EVV providers to accommodate seamless submission of EVV data to external providers, including Tellus, Sandata and HHAeXchange.
For additional information on external integrations, visit the Integrations section of our Help Center.
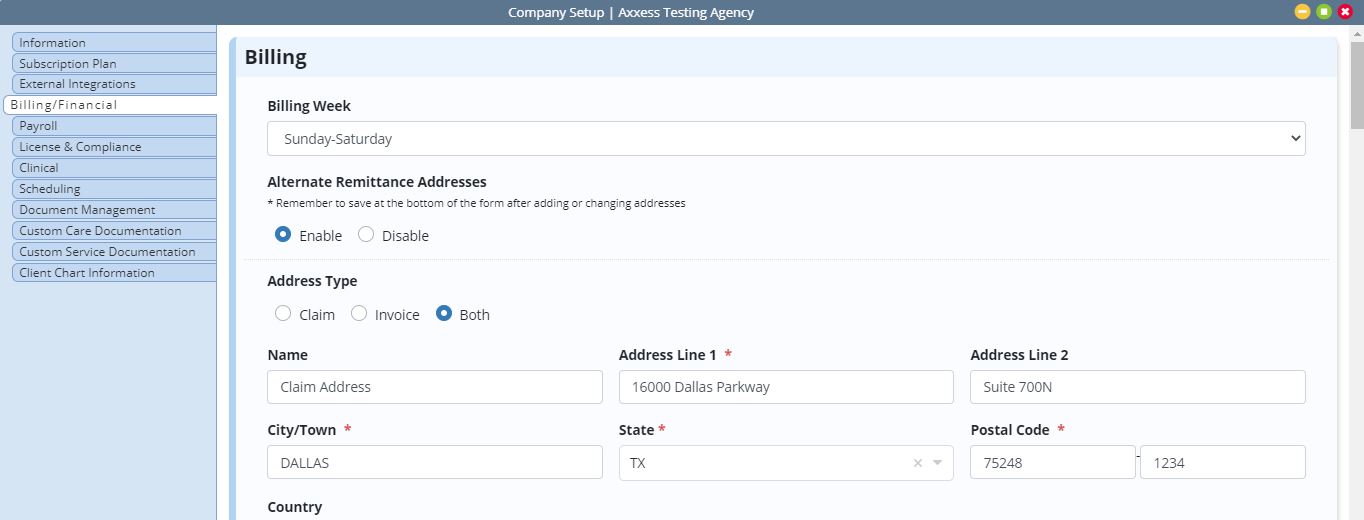
The Billing/Financial tab enables your organization to customize billing and financial settings in the system. The sections on this tab include:
|
Billing: Select a billing week, enter an alternate remittance address. |
|
|
Invoice: Customize invoice columns, enter comments to populate on invoices, set up an email message to accompany invoices. |
|
|
Closed Accounting: Enter a closing date to prevent users from editing accounting information after a certain date. |
|
|
Remittance Posting: Enable or disable remittance posting to manage remittance and electronic fund transfer payments in a central location. Once enabled, users can post line item payments and adjustments from the Remittance Advice screen under the Billing tab. |
|
|
Payer Categories: Add payer categories to assign to payers in the system. |
|
|
EVV Time Management: Manage EVV alerts to notify users of late arrival and late departure. Indicate which users should receive EVV alerts, and enable or disable manual entry of actual visit times. |
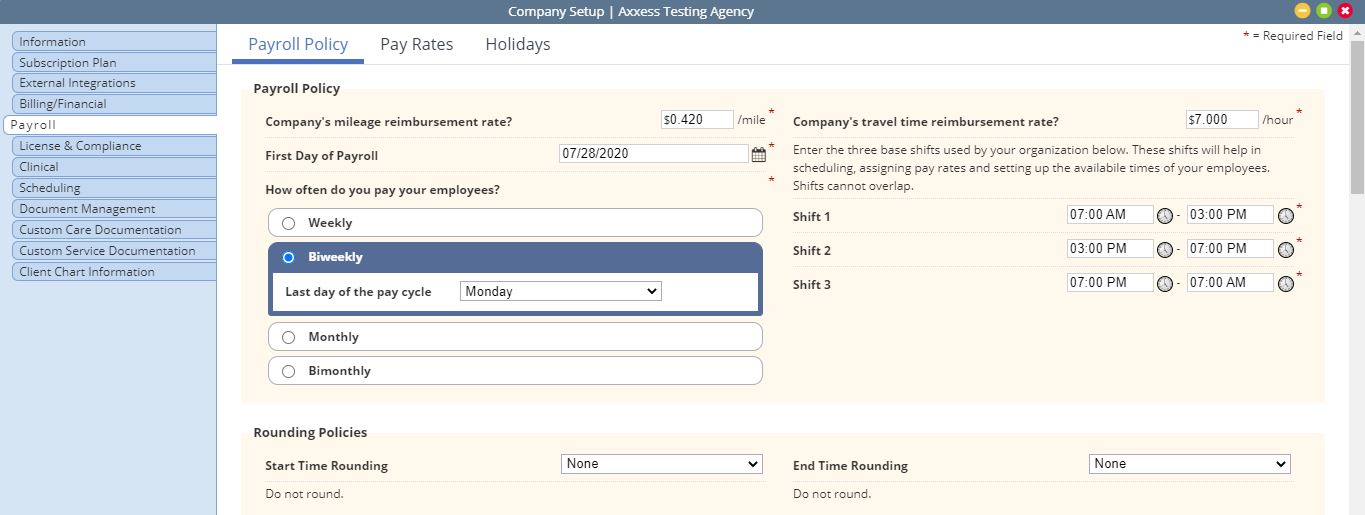
The Payroll tab enables your organization to manage payroll policy, pay rates and holidays. Use the sub-tabs at the top of the Payroll tab to navigate to the respective section.
The Payroll Policy tab enables organizations to enter company payroll information and details. Payroll cannot be generated until this information is set up.
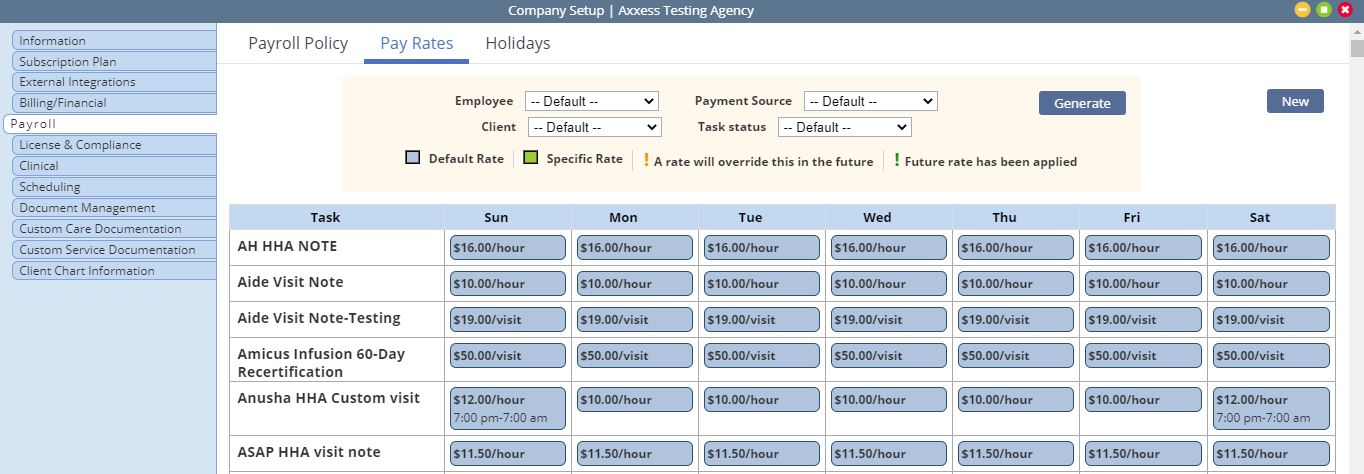
The Pay Rates tab enables users to identify default pay rates for each task. To add a pay rate, click New and select a task from the drop-down menu. Enter the rate, rate type (visit/hour/day/15 min) and effective date. To create company-wide pay rates, keep the Employee, Payment Source and Client fields at the default All setting.
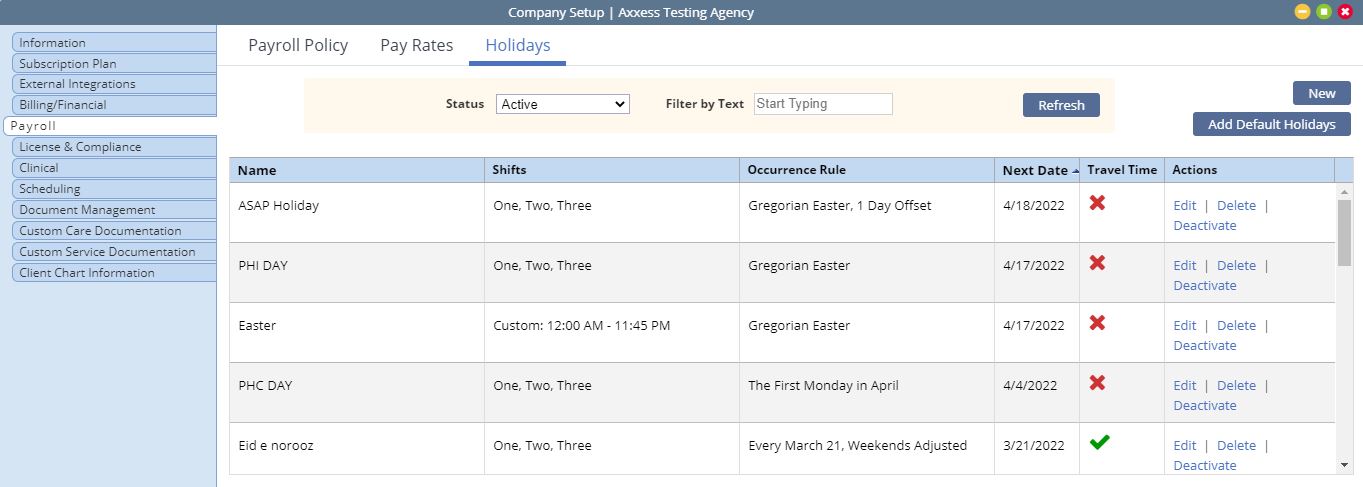
The Holidays tab enables organizations to enter their recognized holidays and the pay structure for each holiday. To add a new holiday, click New. Enter the name of the holiday, indicate the shifts/time affected and set the pay rate for the holiday. To adjust these details for an existing holiday, click Edit under Actions. Selecting Add Default Holidays will reset your organization’s list of holidays to the default list provided by the system.
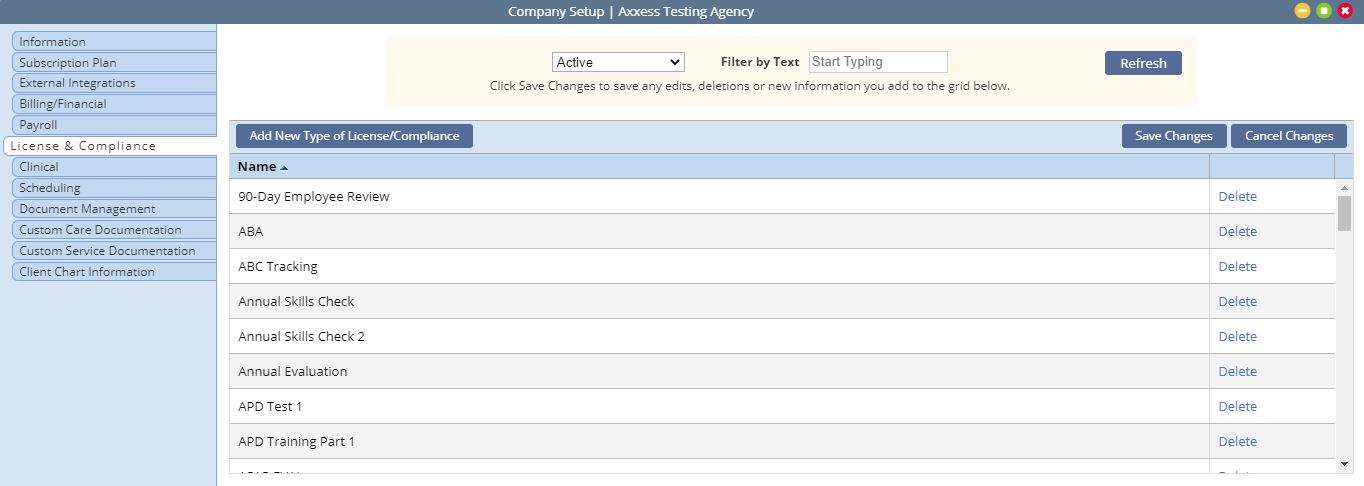
Axxess Home Care provides a comprehensive list of compliance and license tracking items that apply to a wide range of organizations. The License & Compliance tab enables organizations to customize this list by adding, editing and/or deleting license and compliance items on this tab.
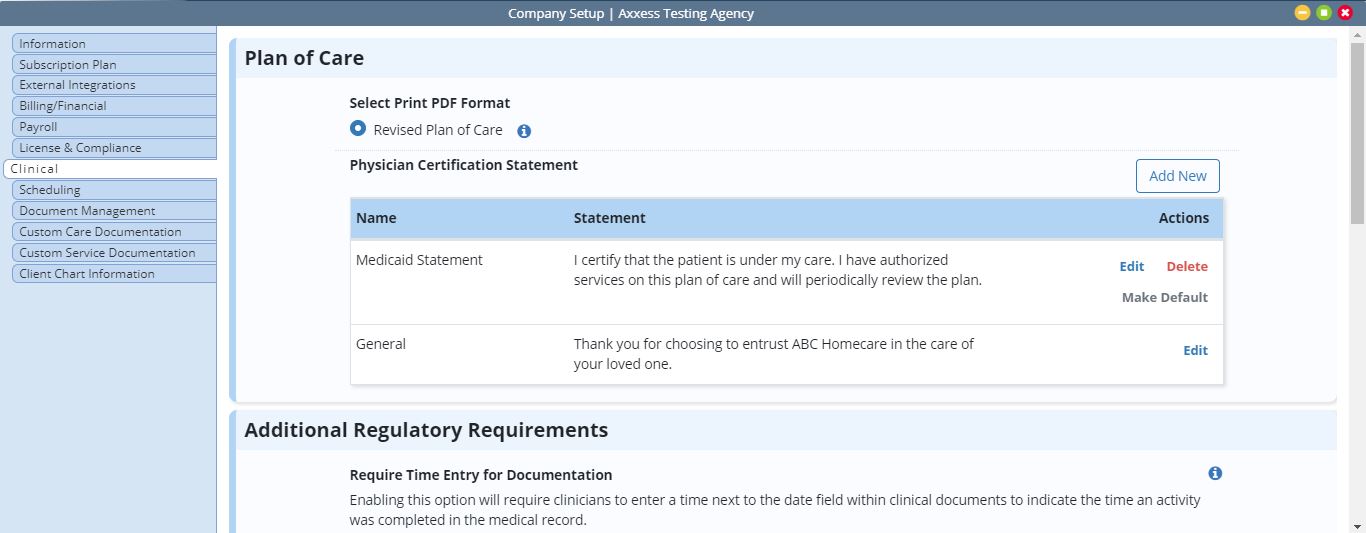
The Clinical tab enables your organization to customize clinical settings in the system. The sections on this tab include:
|
Plan of Care: Add, edit and delete physician certification statements to appear on Plans of Care. |
|
|
Additional Regulatory Requirements: Enable/disable features that accommodate clinical regulatory requirements. Enable the Require Time Entry for Documentation feature to require clinicians to enter a time next to the date field in clinical documents. |
|
|
Documentation Requirements: Enable/disable documentation features. Enable the Prevent Future Documentation feature to prevent caregivers from viewing or editing documentation on a task until the date of the scheduled task. |
|
|
Custom Service Documentation: Enable the Custom Service Documentation feature to activate the corresponding set of features in the application. |
The Scheduling tab enables your organization to customize scheduling settings in the system. The sections on this tab include:
|
Scheduling: Activate scheduling alerts to notify the user when billable tasks are unauthorized. The first option will alert the user but allow tasks to be scheduled. The second option will alert the user and prevent tasks from being scheduled without appropriate authorizations. Enter a crossover time limit for multi-day visits. Enable schedule conflict filtering to filter caregivers by availability when scheduling visits. |
|
|
Family Care: Select Client Advocate Role to designate advocates in client files. Select Family Provider Limits to limit the number of weekly hours that select caregivers can provide care. The limit will not apply to caregivers that you do not identify in the Family Providers section of the client chart. Select Prevent Scheduling to prevent scheduling beyond the identified limit. |
|
|
Visit Management: Add, edit and/or deactivate visit types. |
|
|
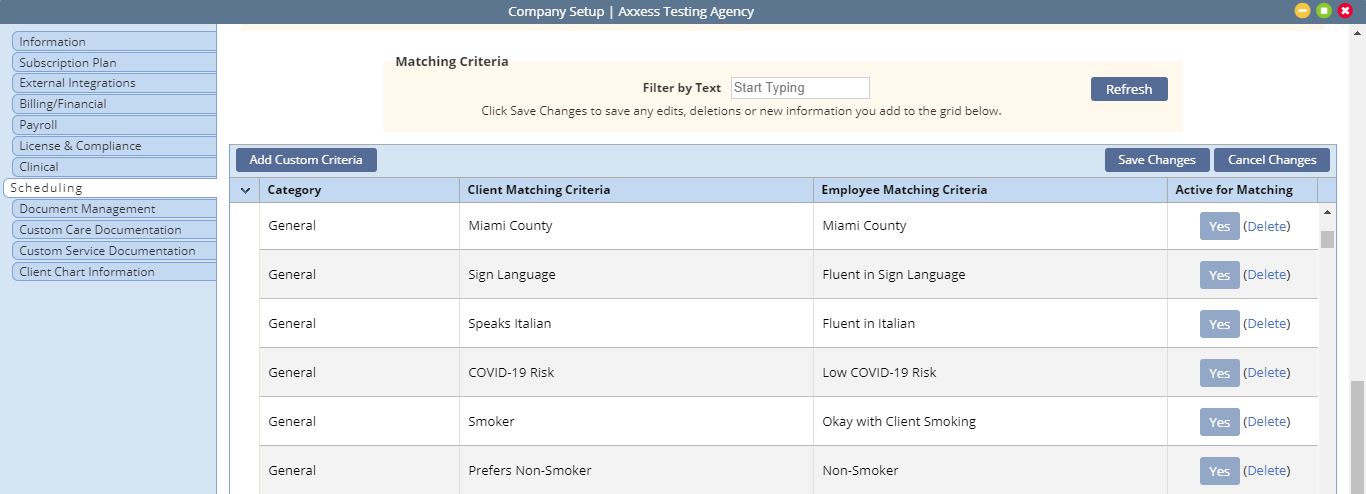
Matching Criteria: Create a list of items to match caregivers to clients. When scheduling tasks, schedulers can use the matching feature to view caregivers that have the qualifications, skills and traits the client needs. All active license/compliance items pull to the matching list by default. Click Add Custom Criteria to add matching criteria to the list. Select a category (general, personality traits, pets, skills or transfers), enter the client criteria and employee criteria, and click Save Changes. |
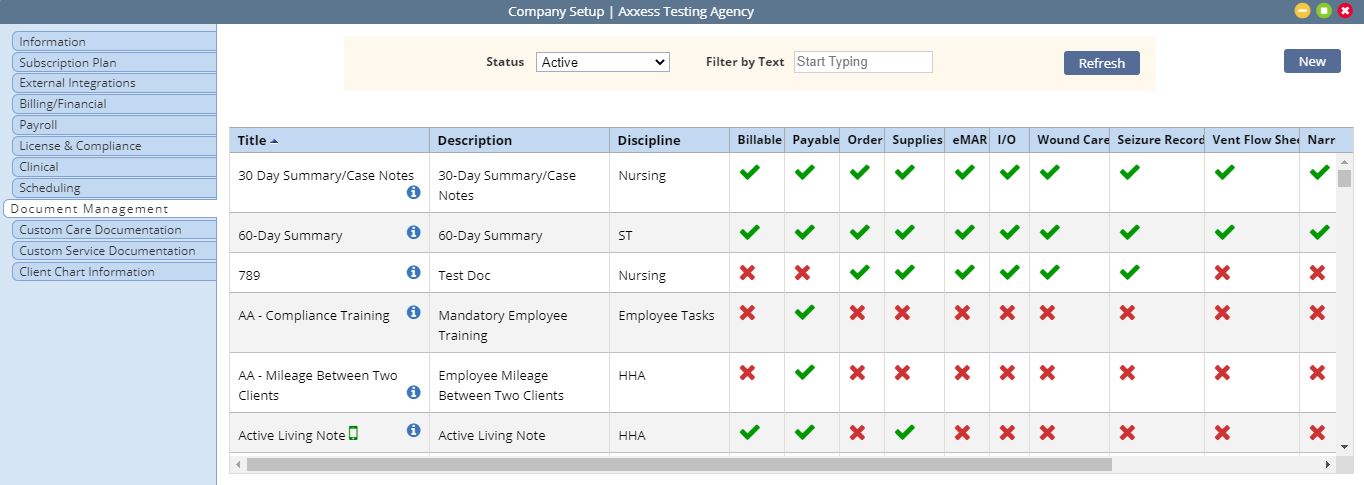
The Document Management tab enables organizations to manage task types that users can schedule and complete in the system. To add a new task type, click New. Enter a name, assign a discipline and associate an existing document type to the task. Once the task is created, it will be available for scheduling and completion.
The Custom Care Documentation tab enables your organization to manage daily living tasks and care plan/note associations. Use the sub-tabs at the top of the Custom Care Documentation tab to navigate to the respective section.
The Daily Living Tasks tab provides a list of paraprofessional tasks organized by category. Users can add, edit, delete and reorder categories and tasks on this screen. To add a new category, click Add New Category. To add a new task, expand the respective category and click Add New Task.
To delete a task or category, click Delete. Use the arrows on the right side of the screen to reorganize tasks/categories in the preferred order. The daily living task list is linked to two document types in the system: Custom Care Plan and Custom Visit Note.

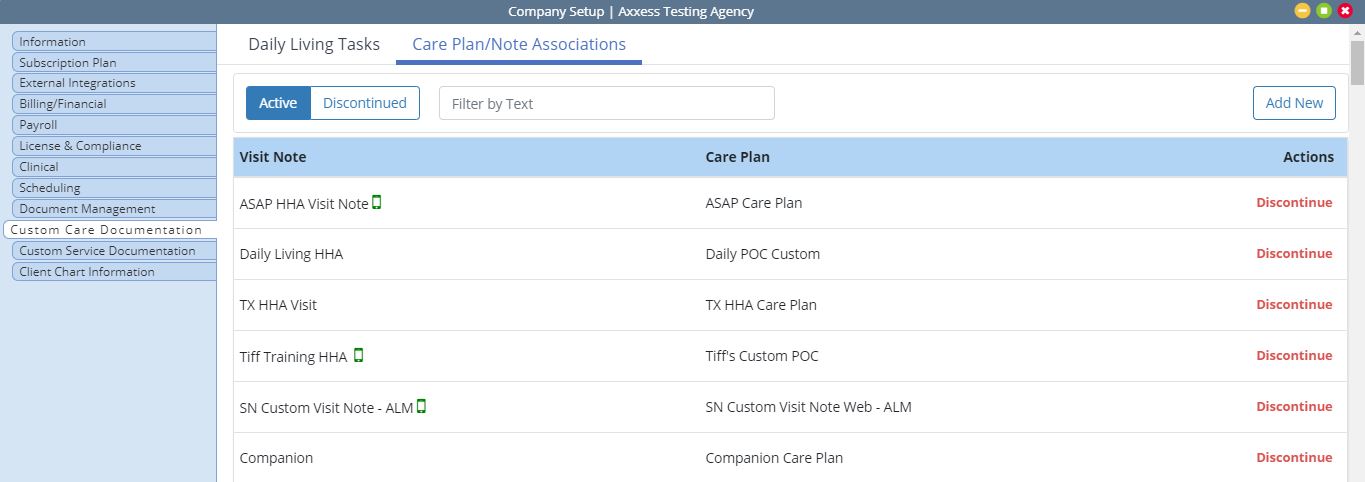
The Care Plan/Note Associations tab enables users to link custom care plans to custom visit notes. Custom care plans can be linked to one or multiple custom visit notes. This feature is only available for documents associated to the Custom Care Plan and Custom Visit Note on the Document Management tab.
To add a new association, click Add New. Select the visit note and care plan to link, and click Save & Close or Save & Add Another to add another association.
The Custom Service Documentation tab enables your organization to manage scoring lists and service plan/note associations. Use the sub-tabs at the top of the Custom Service Documentation tab to navigate to the respective section.
The Scoring Lists tab enables organizations to add, view and discontinue scoring lists. To add a new scoring list, click Add New. Enter the list name, scoring type (yes/no or numeric), scoring details and click Save & Close or Save & Add Another to add another scoring list.
To view scoring details for an existing list, click View under Actions. To discontinue a list, click Discontinue.

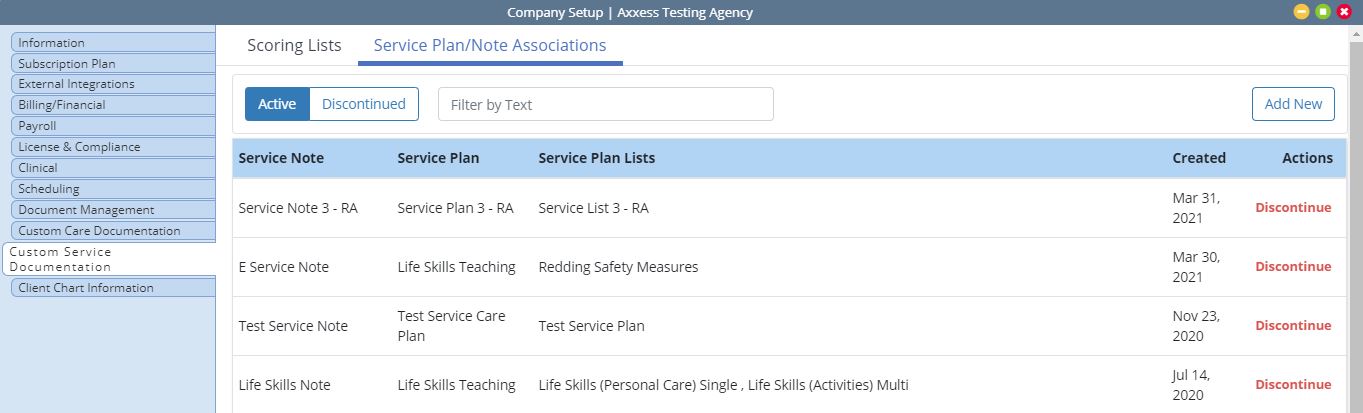
The Service Plan/Note Associations tab enables organizations to link visit notes to service plans. To add a new association, click Add New. Select the visit note and service plan to link, and click Save & Close or Save & Add Another to add another association.
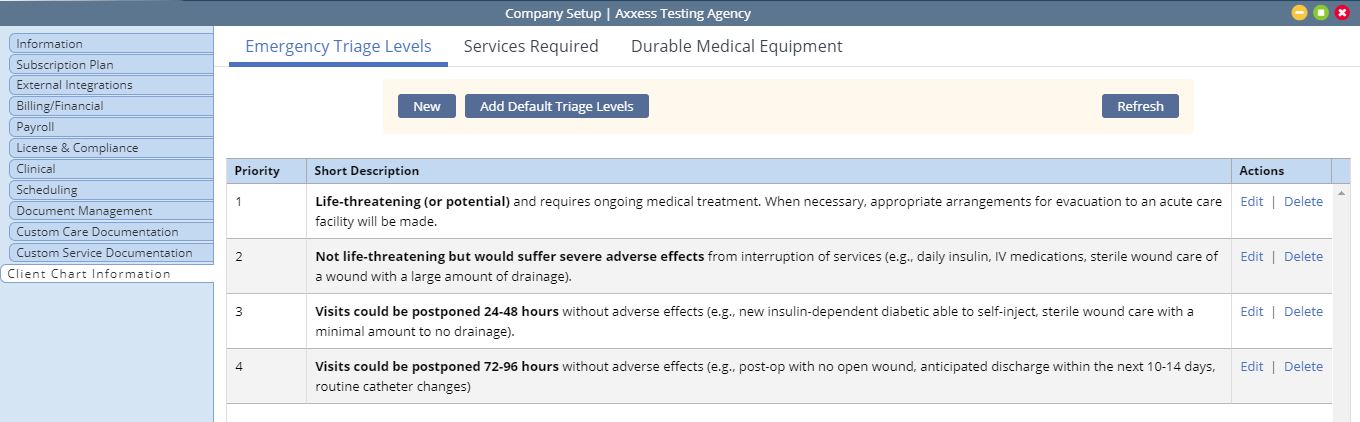
The Client Chart Information tab enables your organization to manage emergency triage levels, services required and durable medical equipment (DME) in client charts. Use the sub-tabs at the top of the Client Chart Information tab to navigate to the respective section.
The Emergency Triage Levels tab enables users to add and manage emergency triage levels. If your organization provides skilled services, you are required to add emergency triage levels to the system. To load a default list of levels provided by the system, click Add Default Triage Levels. To edit triage levels, click Edit under Actions. To add custom triage levels, click New, enter a title and description for the triage level and click Save.
The list of emergency triage levels created on this tab will be available for selection during the intake process.
The Services Required tab enables users to customize the type of services your organization provides. To add a new service, click New. Enter the service name, select a client type (medical, non-medical or both) and enter a description. Click Save to add the service to the required services list. Selecting Add Default Services Required will load a default list of services provided by the system. To edit a service, click Edit under Actions.
The list of services created on this tab will be available for selection during the intake process.

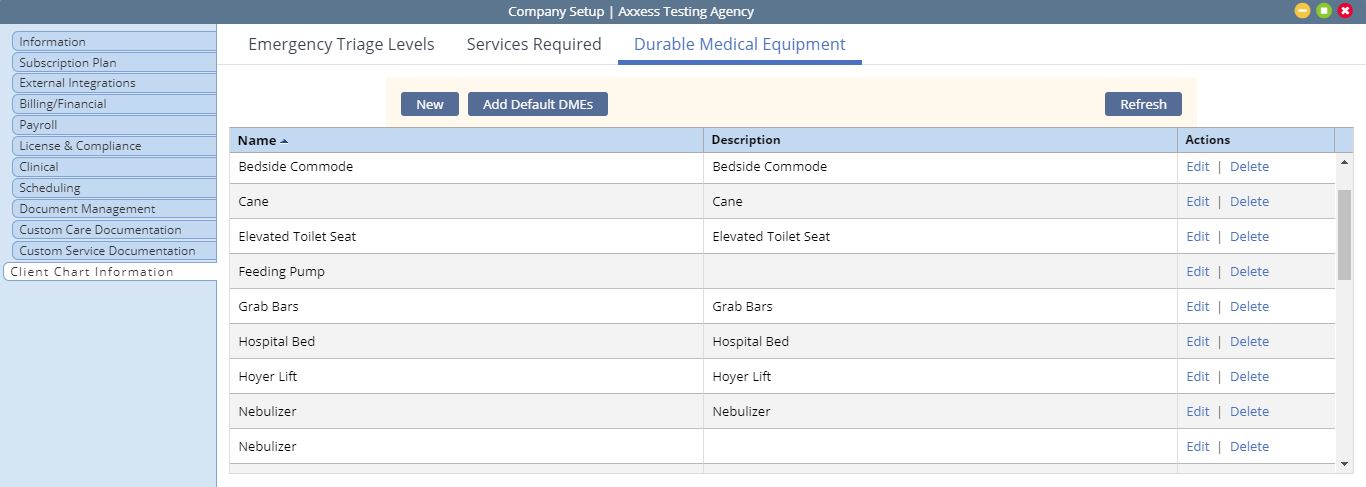
The Durable Medical Equipment tab enables users to add, edit and delete durable medical equipment. If your organization provides skilled services, you are required to add a DME list to the system. To load a default list of durable medical equipment, click Add Default DME. To add custom DME, click New, enter a name and description and click Save. To edit DME, click Edit under Actions.
The list of durable medical equipment created on this tab will be available for selection during the intake process.
Once your organization’s settings are established in Company Setup, you’re ready to begin using Axxess Home Care.
Users with permission to edit Company Setup can return any time to modify your settings. To return to Company Setup, navigate to the Admin tab, select Company Setup and enter your electronic signature.
