Axxess has used the OASIS Scrubber powered by Home Health Gold for several years to audit OASIS for Clinical Inconsistencies, Coding Inconsistencies, Fatal Audits and CMS Warnings.
Now you have the ability to customize the scrubber to trigger audits and alerts for many more categories.
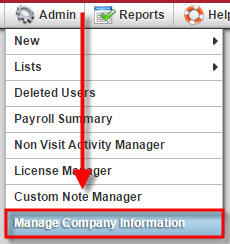
To review currently selected scrubber categories and add the new scrubber categories as desired, you will need to hover over Admin and select Manage Company Information. After entering your electronic signature and selecting proceed, you will be logged into the Manage Company Information screen.
Select the tab on the left labeled Scrubber Information.
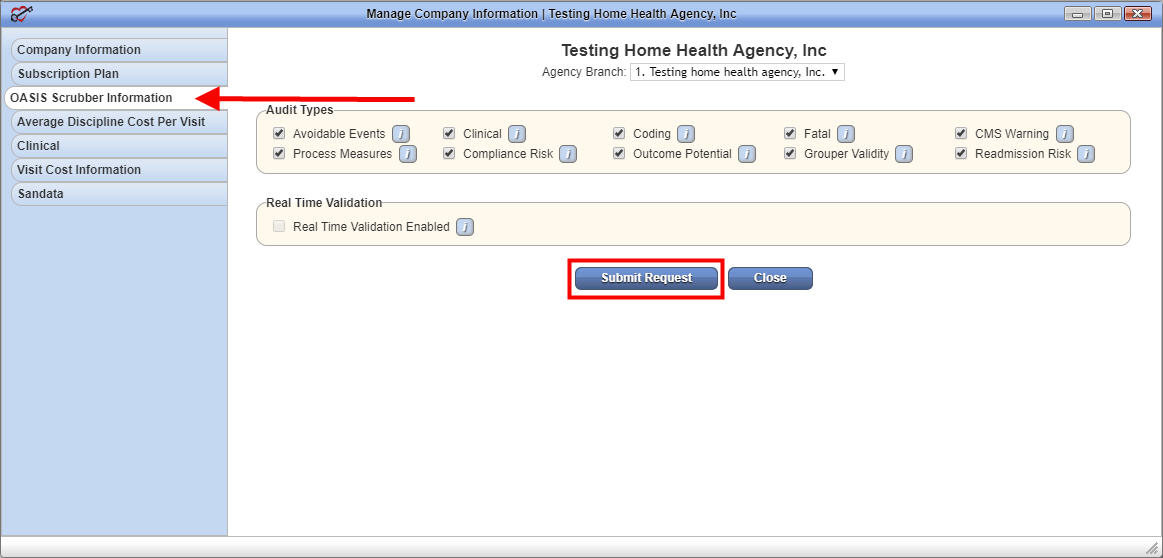
After selecting or deselecting the preferred Scrubber Categories, click on Submit Request to save the changes.
A green box should appear in the top right corner stating "Scrubber info is saved successfully".
The first 4 listings shown below are the original audits which previously have automatically flagged without user intervention. These will be selected by default in the Scrubber Information page but those with access to manage company info will be able to choose to leave them selected, add other options, or deselect, as they may choose to do so.
The Clinical Audits, called an Inconsistency Flag, focus on possible inconsistencies between OASIS responses on a particular assessment. These may or may not need to be altered depending on the inconsistency and patient functionality.
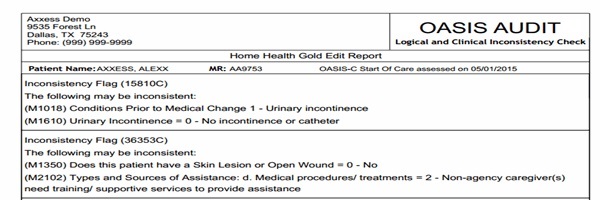
Diagnosis Coding Audits focus on possible inconsistencies between a diagnosis and other OASIS items. They also identify instances where the diagnoses may not conform to coding rules, particularly as they relate to PPS Reimbursement.


Fatal Audits focus on the rules CMS uses to reject OASIS Assessments. They apply to all assessments an agency plans to submit to CMS. Fatal audits show on both the signature page and on the full audit page. Fatal audit errors will typically not allow you to complete the OASIS until corrected.


The CMS Warning Audits are derived from CMS consistency rules for submitting OASIS data. They consist of audits that generate a warning but do not cause rejections. This will also appear on the signature page of the OASIS with a yellow triangle symbol beside it.

![]()
The Grouper Validity audits identify OASIS responses or omissions that block the generation of a valid HIPPS score. Such omissions may also create a "Fatal" Audit. Typically this is going to generate an error on the signature page as well and will not allow the OASIS to be completed, if not completed properly.


The Process Measure Audits identify responses to process items that signify that "best practice" has not been followed. These issues will eventually reflect on the agency via their CASPER reports.
Outcome Potential Audits show the 7 OASIS items where improvement over the course of care is measured. These audits are designed to help an agency identify situations where they have potentially under-assessed a patient's needs, assessing the patient as doing so well at SOC or ROC that later ratings cannot reflect improvement.
The Compliance Risk Audits focus on instances where the pattern of OASIS responses and planned care patterns has strong potential for triggering a post-payment review.

The Potentially Avoidable Events Audits identify responses on an assessment that will trigger a Potentially Avoidable Event flag at CMS.
The Readmission Flags show, for a particular OASIS assessment, responses which are common to patients who are especially likely to experience an early return to the hospital.

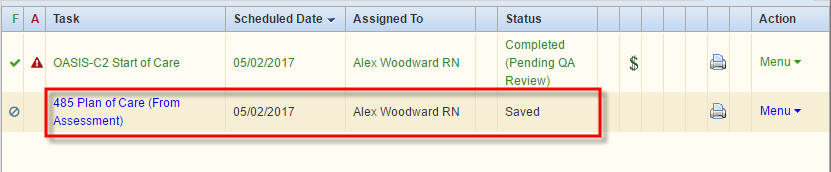
If all applicable fields within a SOC OASIS Assessment or a Recertification OASIS Assessment are completed, a Plan of Care will be automatically generated with all applicable data pre-populated.
Note: A ROC (Resumption of Care) will generate a POC only when it is completed in the last five days of an episode as it takes the place of the Recertification. Otherwise, an entirely new POC is not created, as only new orders are needed when a patient is resumed.

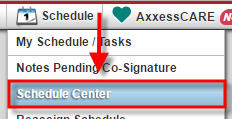
To manually complete a POC, it first has to be scheduled. You can do this in the Schedule Center. Go to the Schedule tab and choose the Schedule Center.
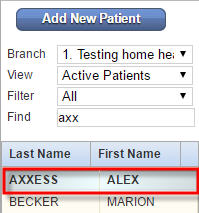
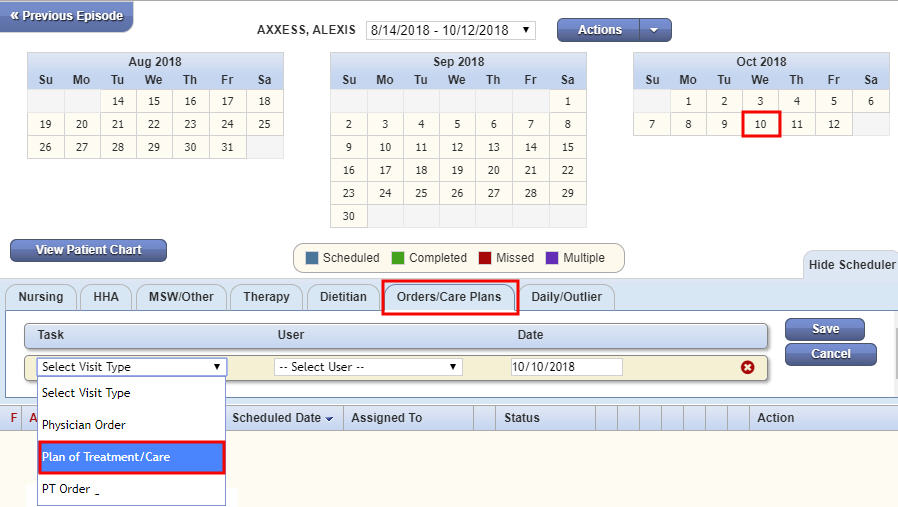
Find the patient for whom the 485/POC is needed. Select the date to schedule the POC. You may also click on the Show Scheduler tab. Then choose the Orders/Care Plans tab and select the Plan of Treatment/Care task.
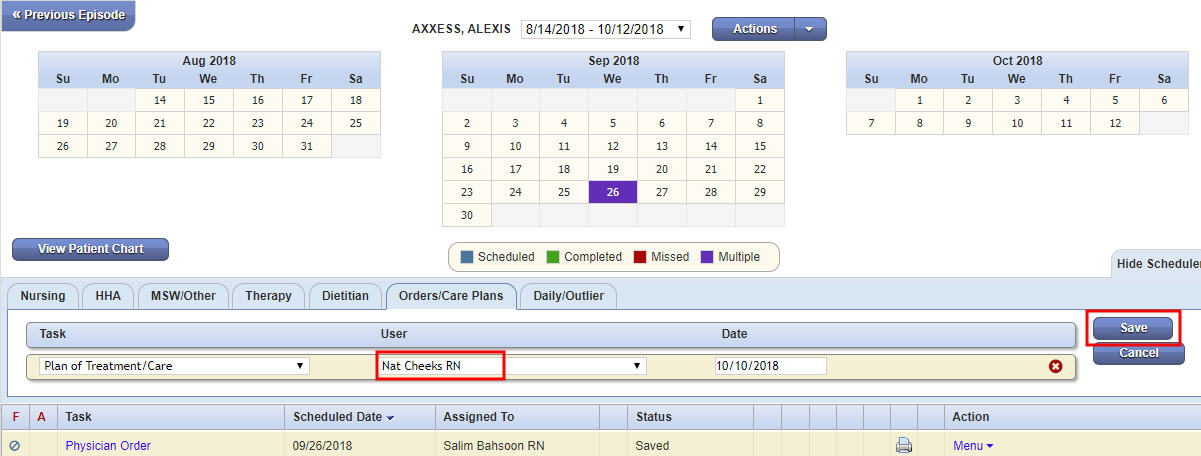
Choose the user to whom you want to assign the task.
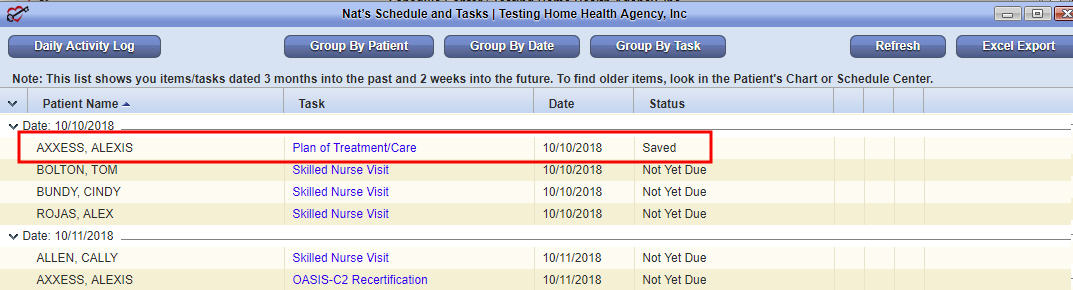
Click Save to add the POC to the schedule. Now the Plan of Treatment/Care is scheduled and can be edited by clicking on the blue hyperlinked task name in the Schedule Center.
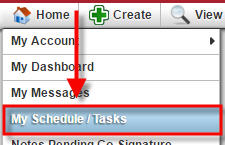
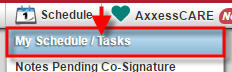 Note: If returning to the POC at a later time, you can also find it on the Patient’s Chart (Go to the Patients tab, choose Patient’s Charts and find patient by name), or in My Scheduled Tasks found under the Home tab and the Schedule tab.
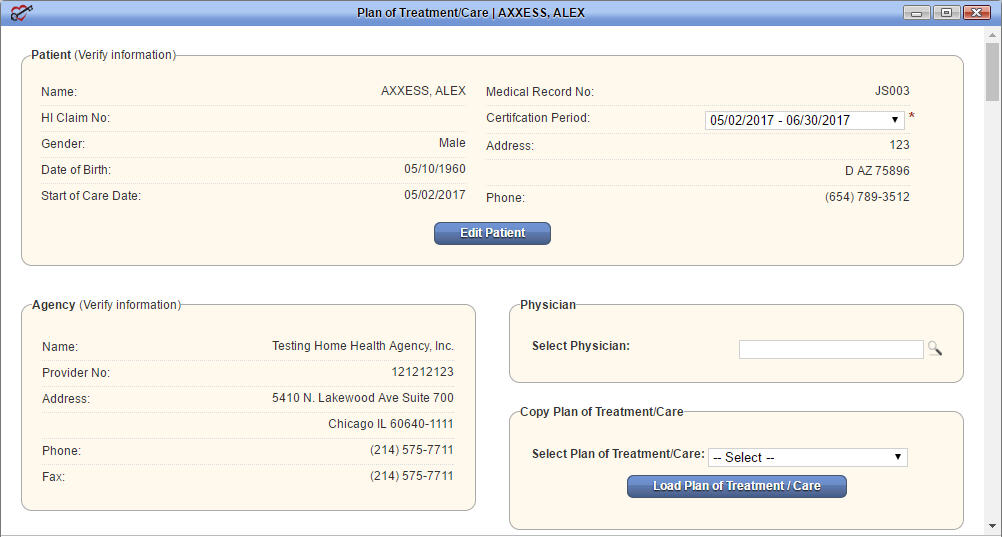
When filling out the Plan of Treatment/Care, the first page will contain information from the patient’s profile.
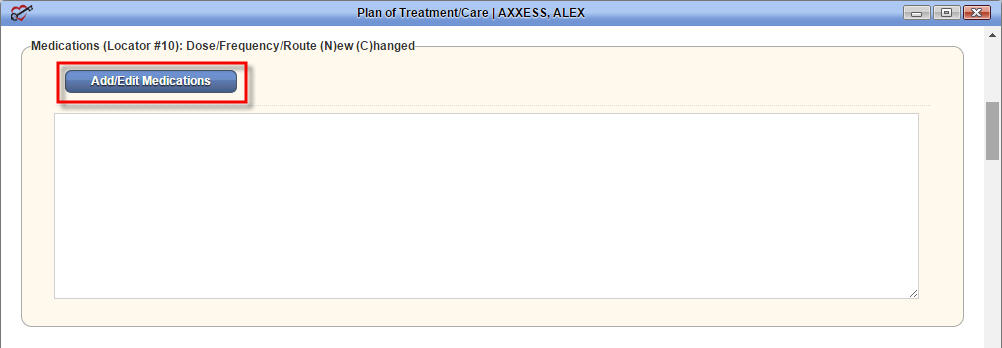
As you scroll down, you will see the Medications section. To add new or change medication to the POC, click the Add/Edit Medications button.
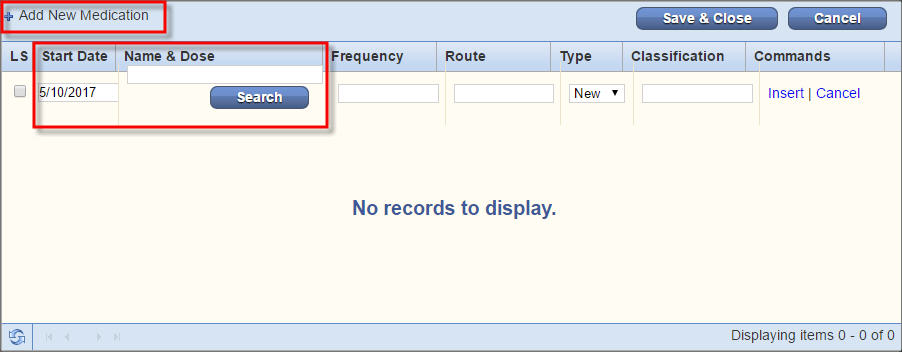
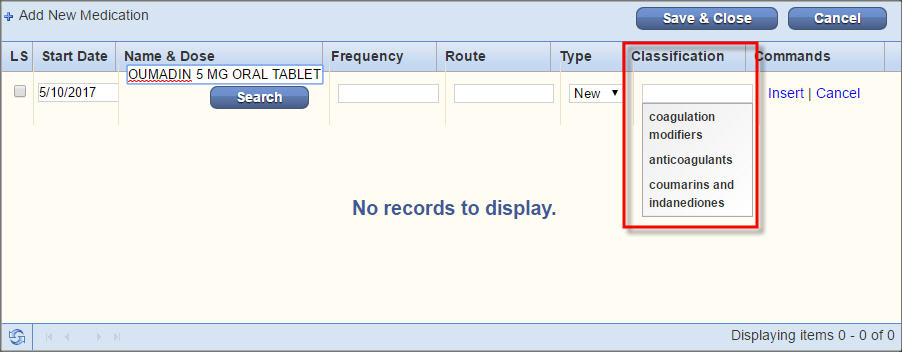
Another window will pop up, click the + (plus) sign to add a new medication. A new blank line will populate for you to fill out with the medication information. Enter the start date for the medication, part of the medication name, and click Search.
This will pull a list of medications that start with the letters entered. Select the appropriate medication name and dosage to populate it to that field.
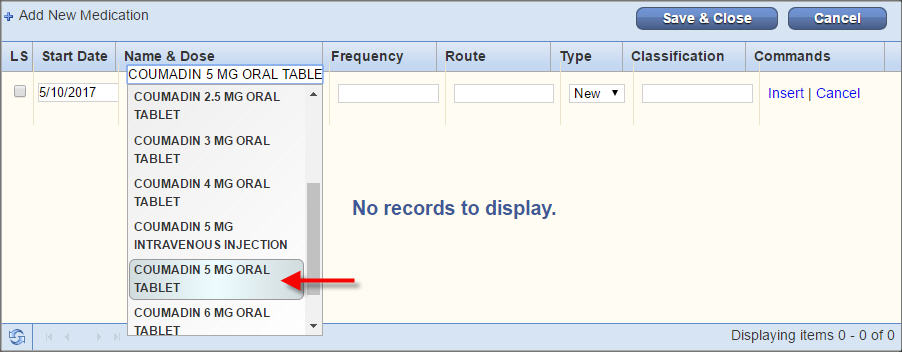
This will automatically trigger the Classification field. Selecting the desired classification will populate that field, as well.
Now, the Frequency and Route can be added.
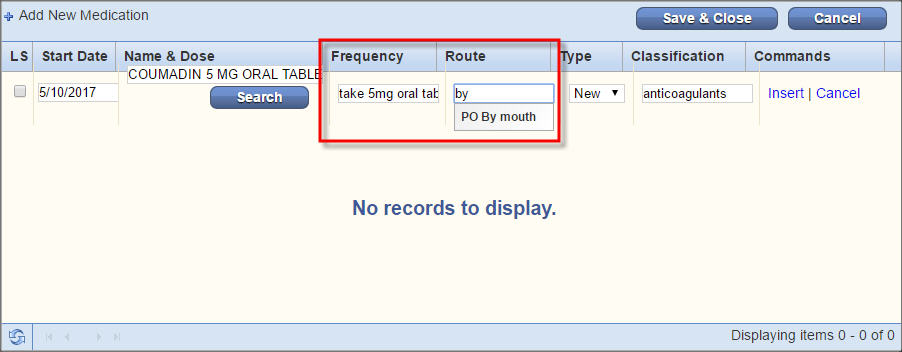
Once all fields are completed and all new or changed medications have been added, select Insert, then select Save & Close to update the medication list. All medications from the medication profile will show in the Update Medication screen, but they can be removed after all new medications have been added and saved.
Note: if the POC is being created to accompany a Resumption of Care, only new or changed medications should be added to the POC. If you delete the medications from the update screen, it will delete them from the medication profile completely. Wait until the new additions have been saved, then delete the medications that were previously included in an active POC or for which new orders have already been obtained.
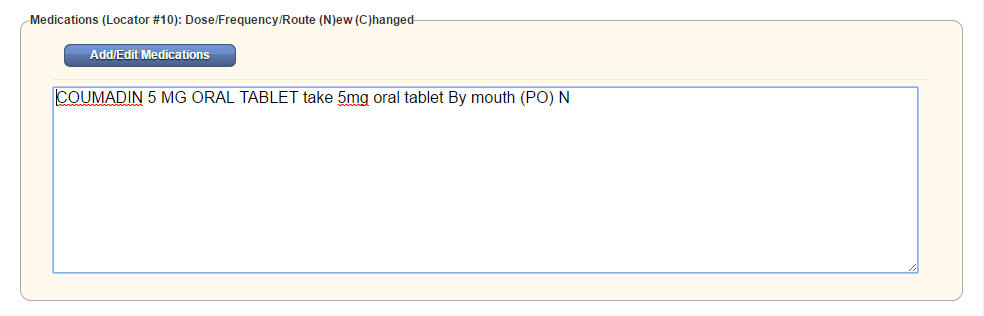
Example: the first Coumadin was included in the original 485 created for the episode. They need to be deleted after saving the changes to the medication profile as they are not new or changed. You can delete by selecting the row that is to be removed and click backspace on your keyboard or click the Add/Edit Medications button and update accordingly.

Only the new Coumadin will be included in the NEW POC.
Moving on to diagnosis in the POC, there are two ways to add these details (Principal, Surgical, or Other Pertinent).
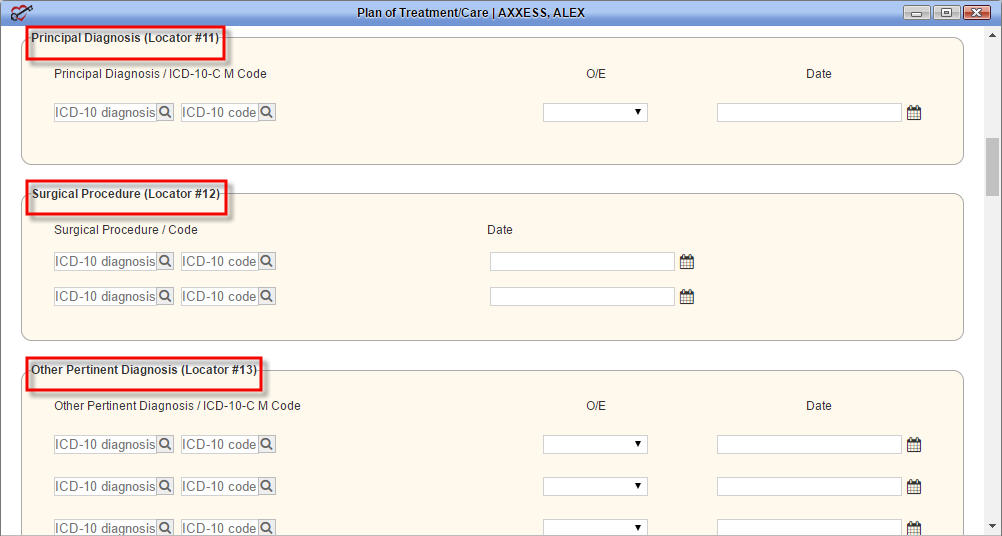
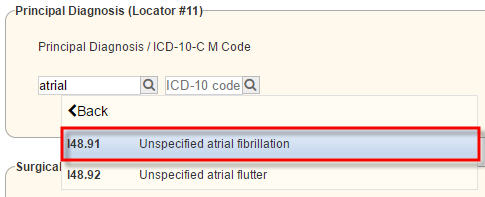 1. Type in the ICD-9 (ICD-10 starting October 1, 2015) and select the correct option in the drop-down. Example: Atrial Fibrillation
2. 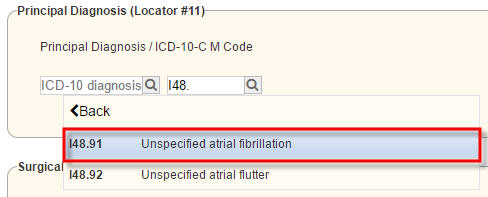 Type in the ICD-9 (ICD-10 starting October 1, 2015) and select the correct option in the drop-down list. Example: I48.91
Either option will populate the description and code to the appropriate boxes. Onset/Exacerbation and applicable date can then be entered.
Once all necessary information has been entered into the POC in the corresponding fields, the document can then be saved for additional review and update, or if the clinician is done entering POC information, then he/she can enter his/her electronic signature and select Complete.

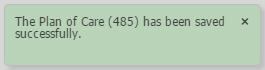
You will receive a confirmation notification that your Plan of Care has been successfully saved.
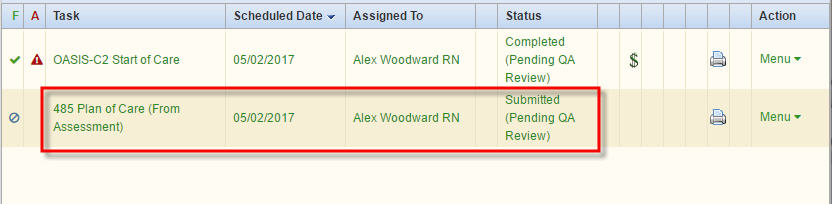
The document should then be in a Completed (Pending QA) status for review and approval.