x
Join our new Axxess User Community to connect, share, learn and grow together.Learn More
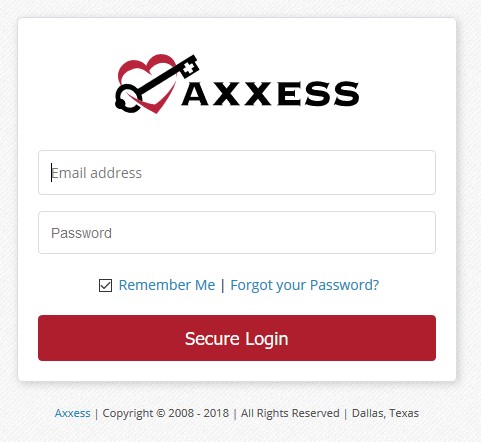
Navigate to www.axxess.com. Select “Client Login”

User inputs credentials nd selects “Secure Login.”
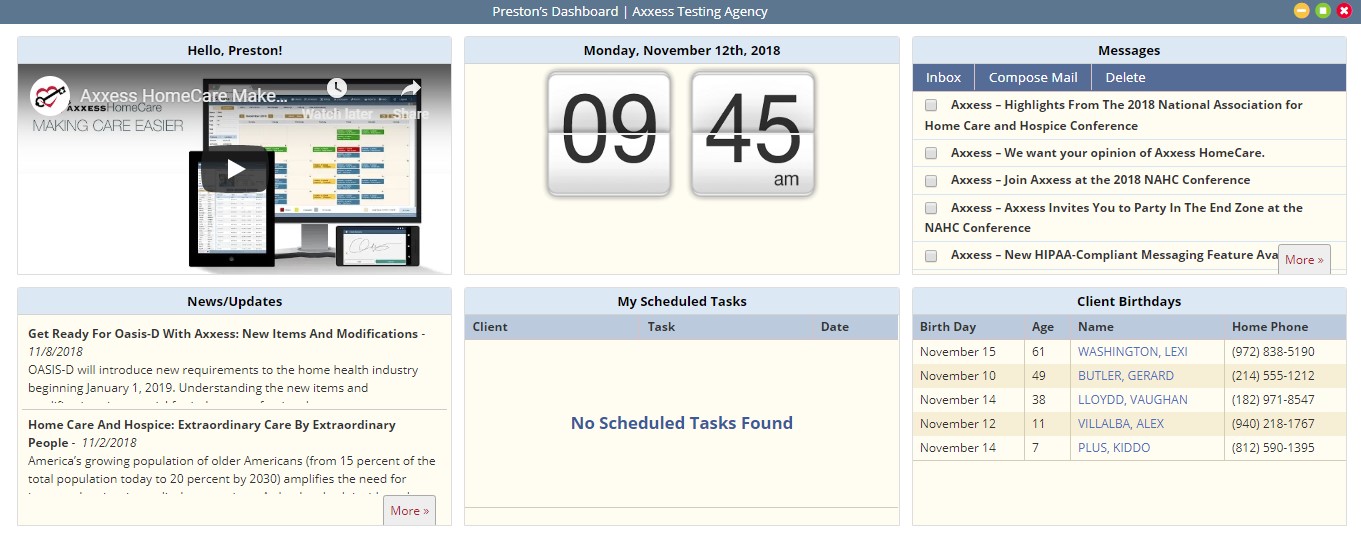
The Clinician Planner displays pertinent information specific to a user. Shortcuts have been placed on the left side of the page to allow for easy access to the Axxess applications the agency is using. Clinicians are also able to see upcoming visits, past due visits, unread messages, and a map of today’s visits. To access client charts, document a visit or bill for a particular client, select the appropriate Axxess application on the left side of the page.
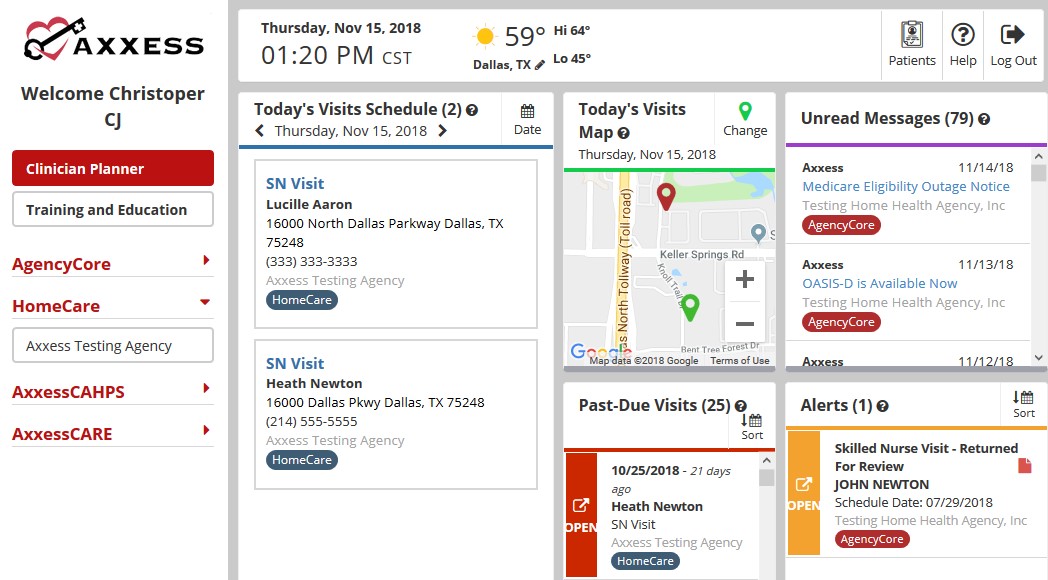
Once logged in, the navigation menu at the top will allow for easy access to the data.
![]()
The Home menu allows access to the following actions based on permissions granted to the user.
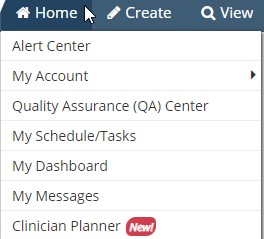
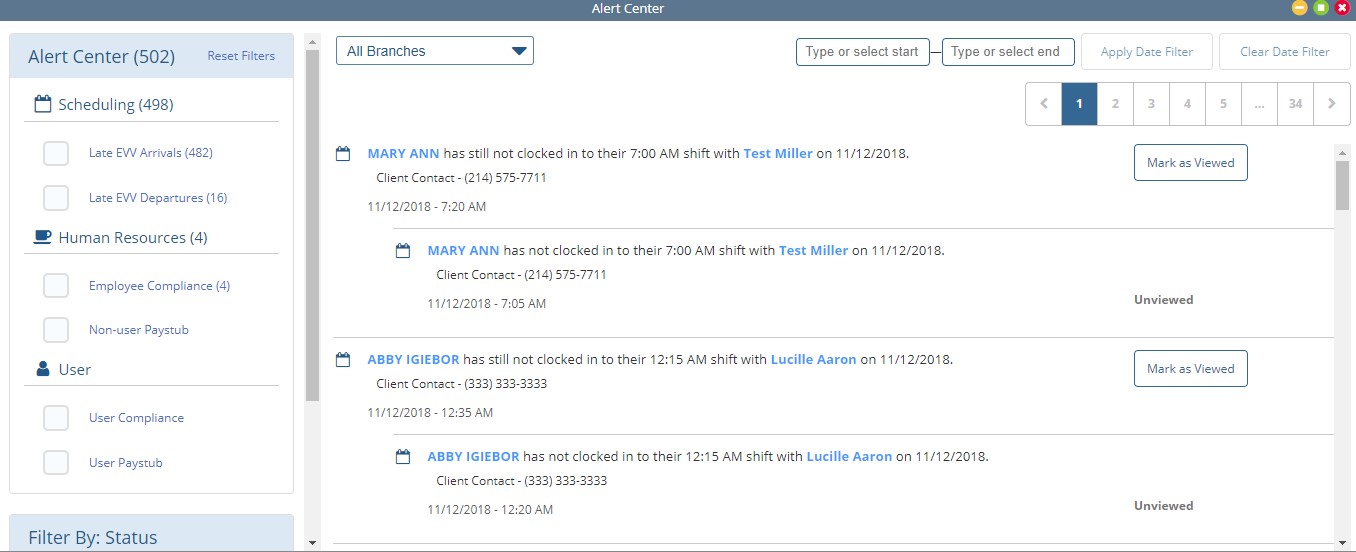
Various administrative alerts are generated in this screen for an agency to act on.
User can quickly edit their profile or reset their signature.
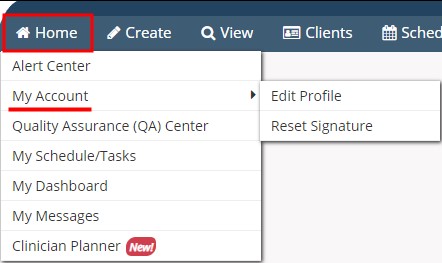
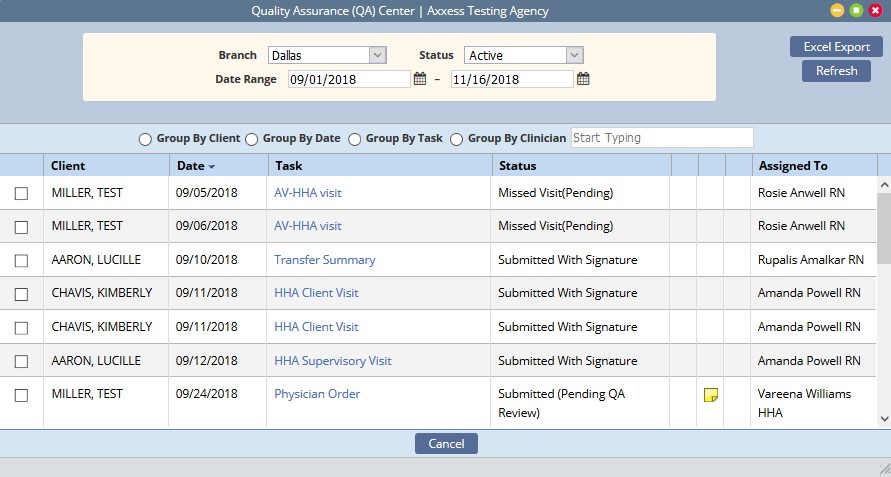
View tasks that are pending approval by the QA Nurse.
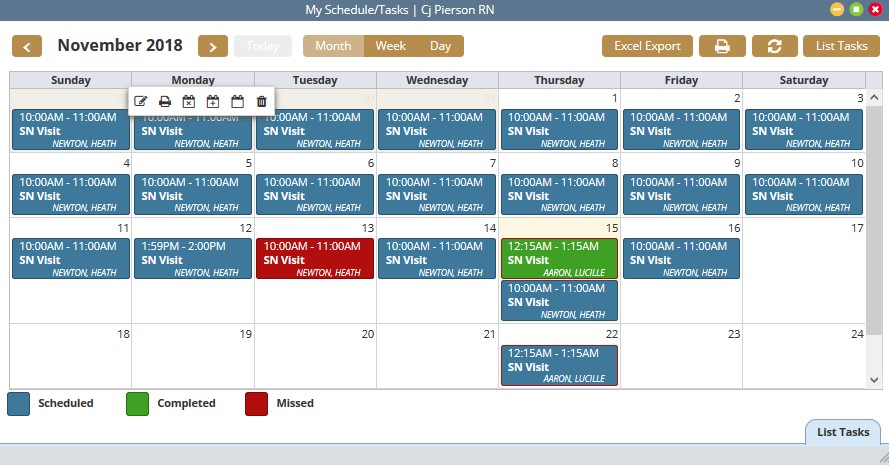
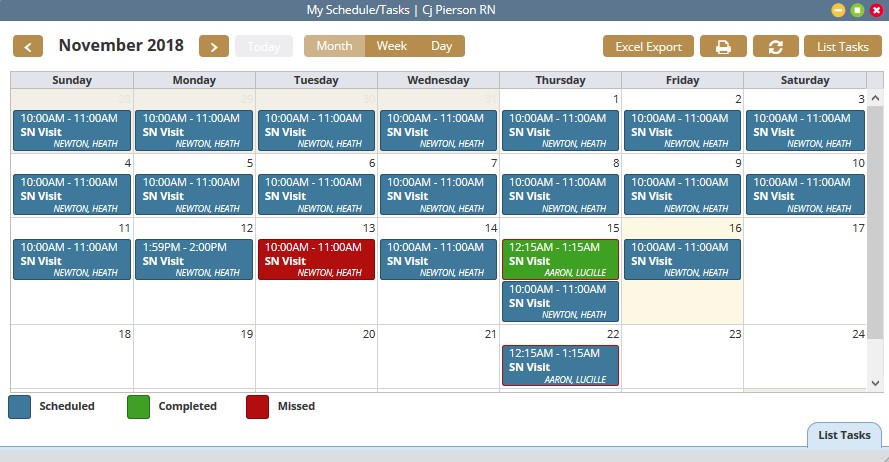
View the schedule/tasks in a list view.
Opens the HomeCare dashboard.
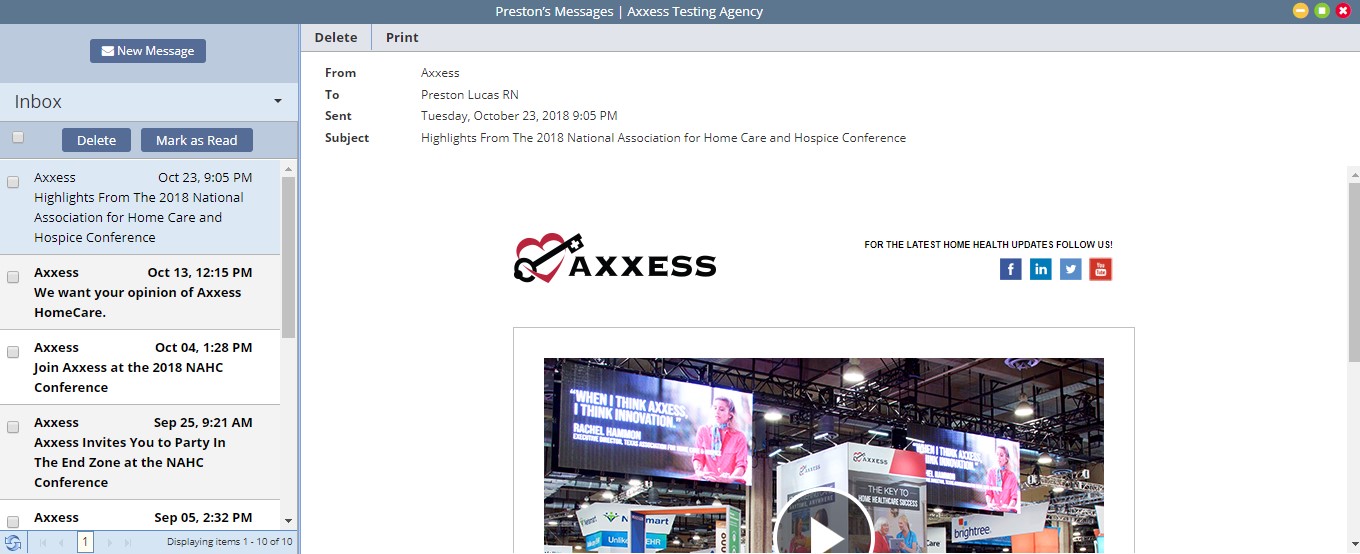
Opens the Message Center to view/send messages.
Access the previously seen clinician planner dashboard.
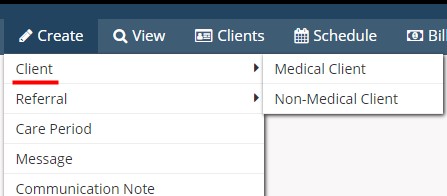
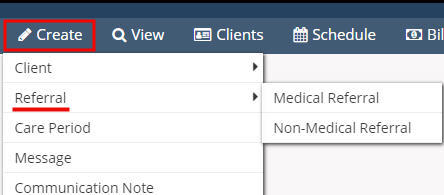
The Create menu allows access to the following actions based on permissions granted to the user.
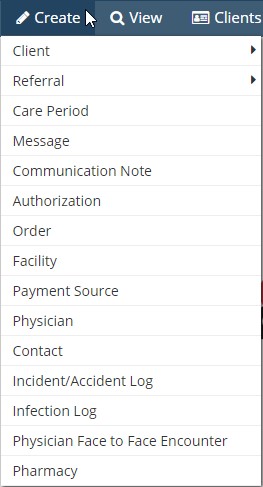
Allows a user to create either a Medical or Non-Medical Client.
Create either a Medical or Non-Medical Referral.
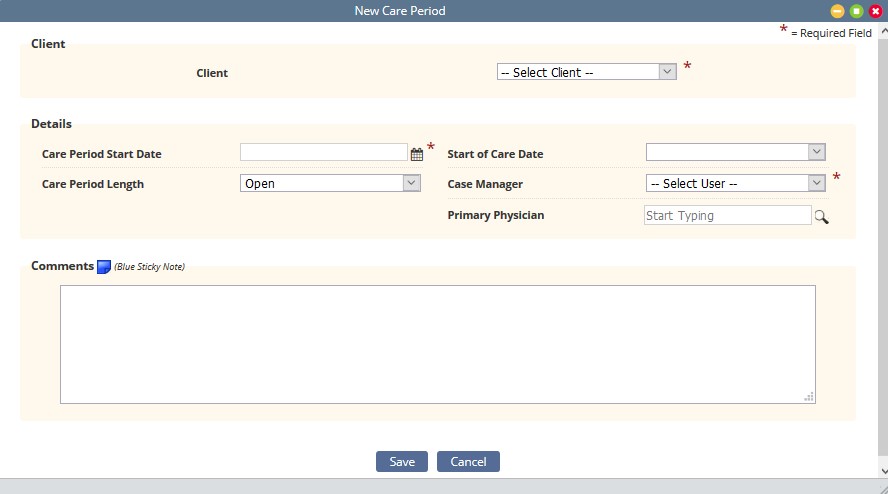
Opens a new window that allows a user to create a care period for a client.
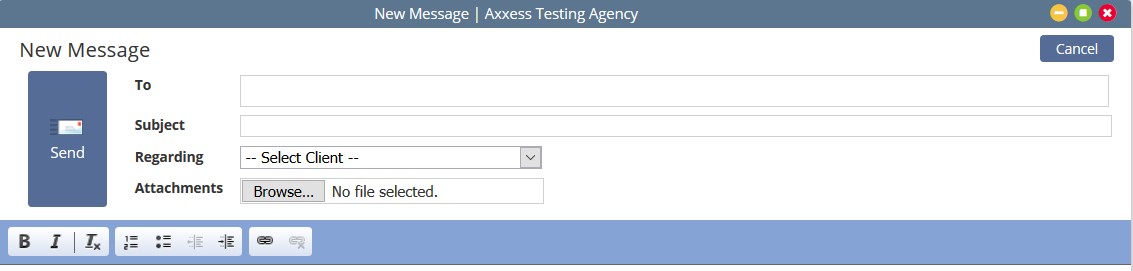
Opens a blank message to compose to another user in the system.
Creates a new communication note for a specific client/care period.

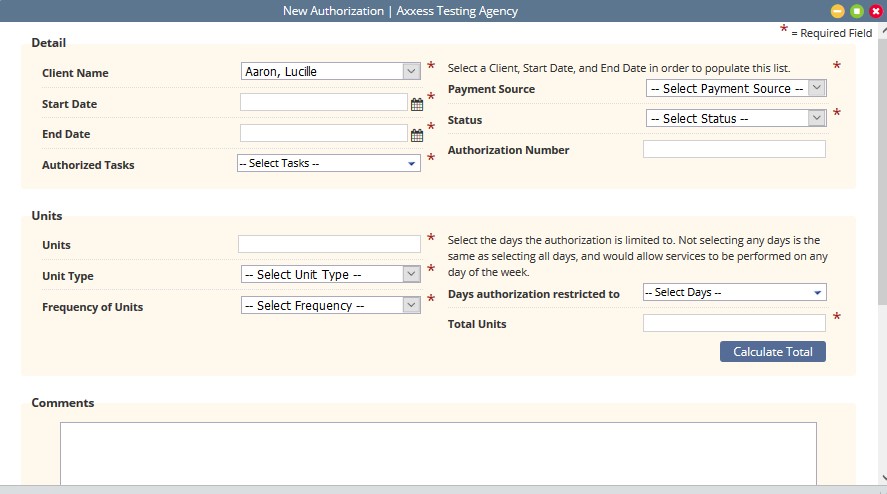
Creates a new authorization detail for a specific client.
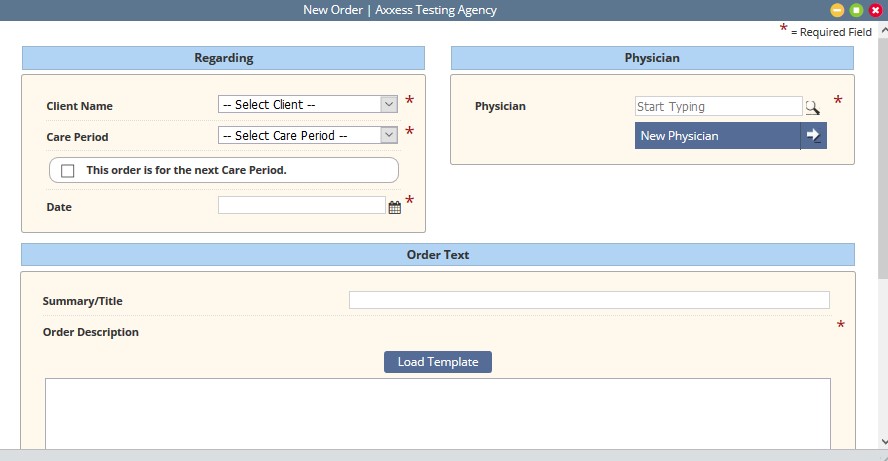
Creates a new order for a specific client.
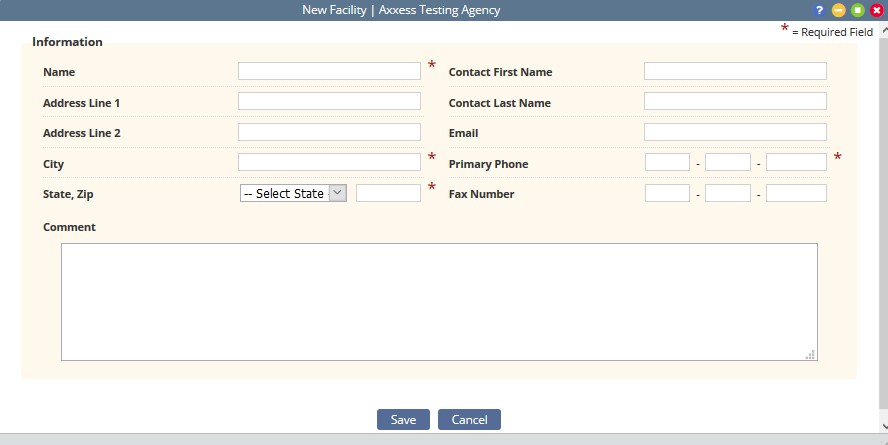
Creates a new facility within the HomeCare system for selection.
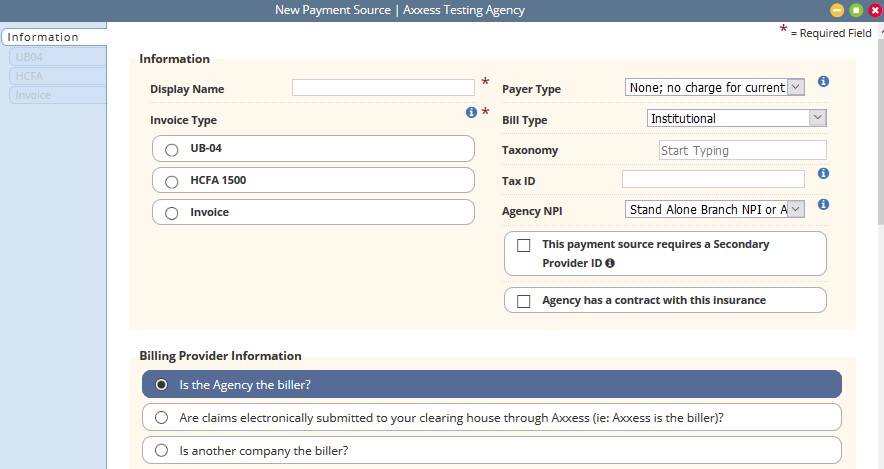
Creates a new payment source within the HomeCare system.
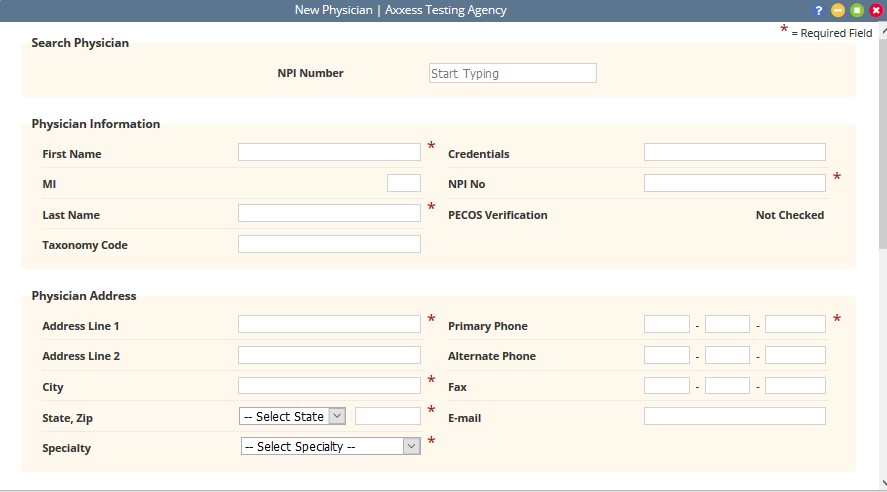
Creates a new physician within the HomeCare system.
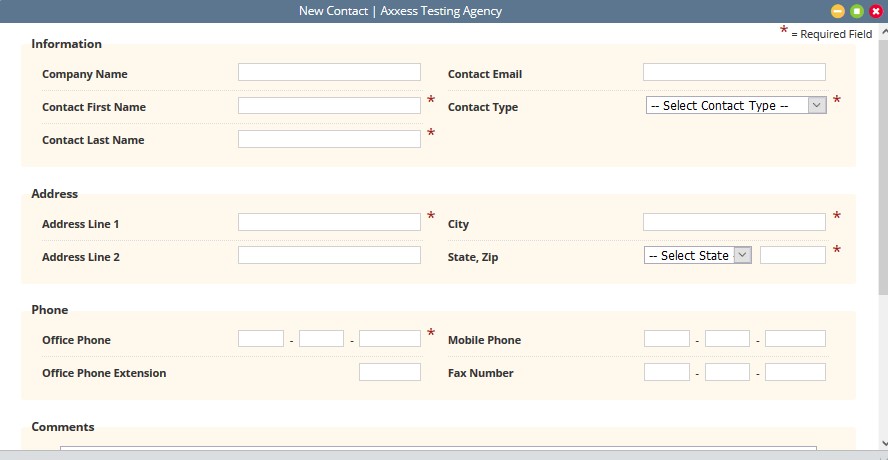
Creates a new contact within the HomeCare system.
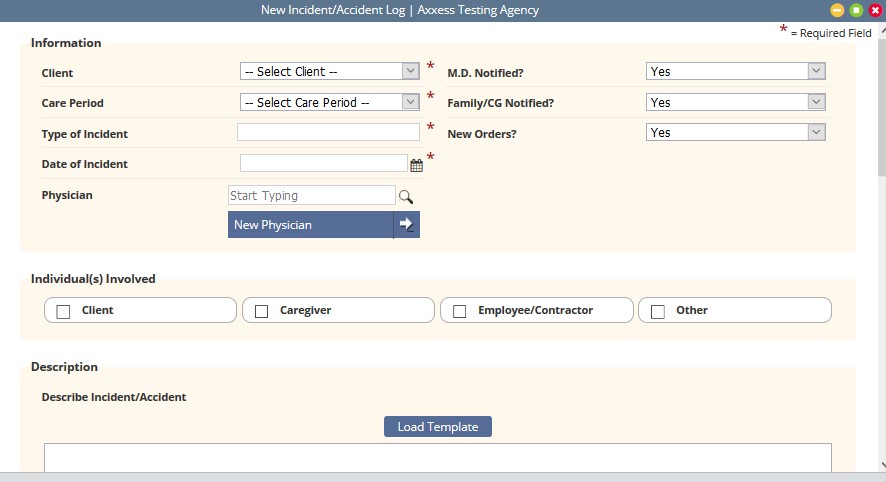
Creates a new incident/accident log specific to a client.
Creates an infection log record for a specific client.

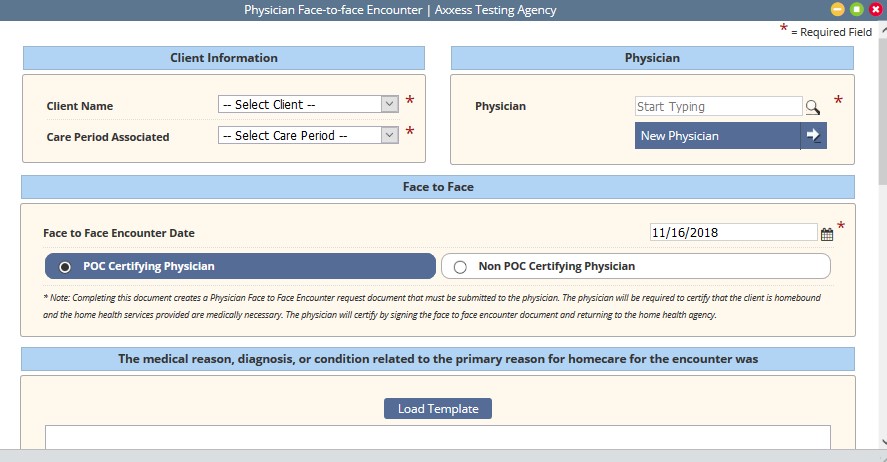
Creates the face to face encounter documentation for a specific client/care period.
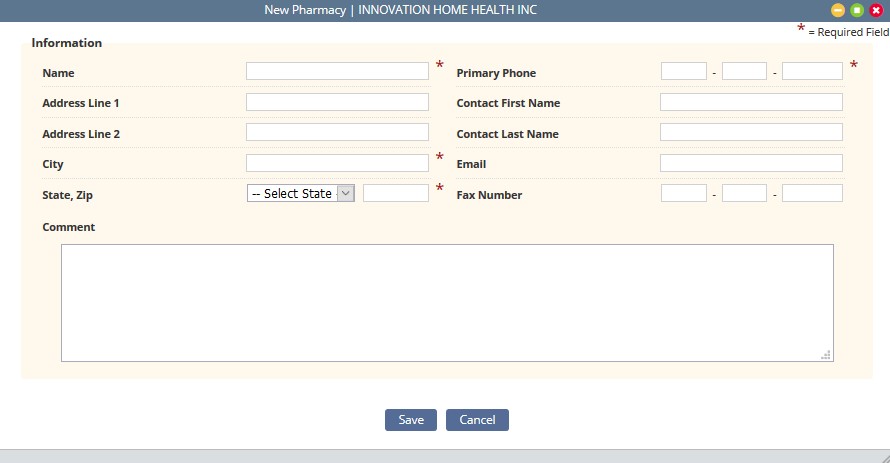
Creates a new pharmacy within the HomeCare system.
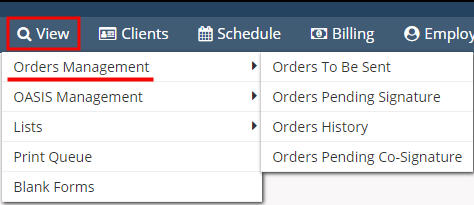
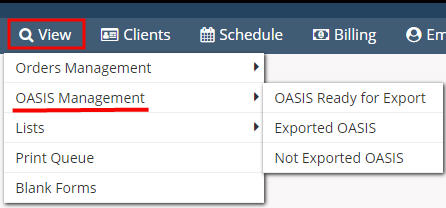
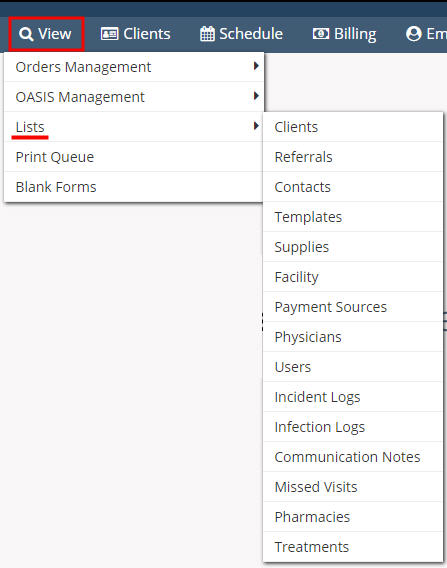
The View menu allows access to the following actions based on permissions granted to the user.
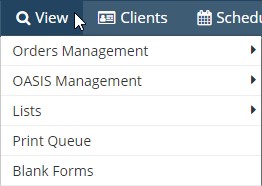
View orders that are pending co-signature, pending physician signature, orders to be sent and orders history.
Location to review OASIS ready for export, OASIS previously exported and OASIS that have not been exported.
View items in the system, such as a list of Referrals, Clients, Physicians, Payment Sources, etc.
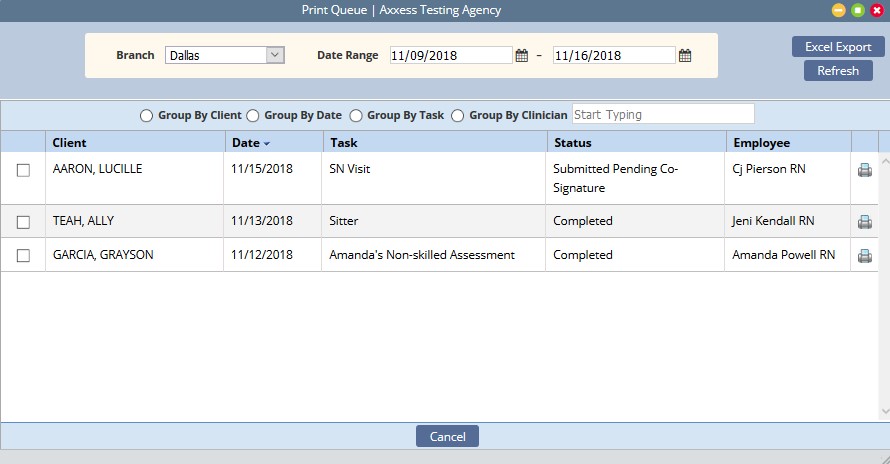
Displays tasks that are ready to be printed and delivered to the appropriate recipient.
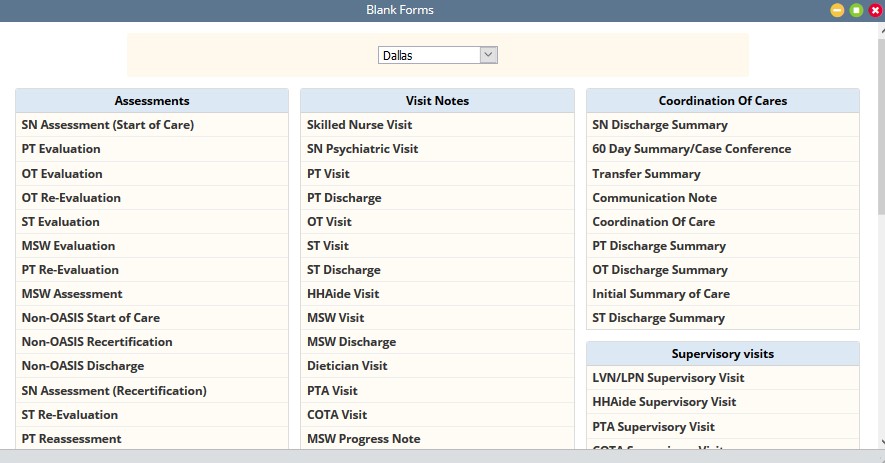
View blank versions of visits to be printed and filled out manually.
The Clients menu allows access to the following actions based on permissions granted to the user.
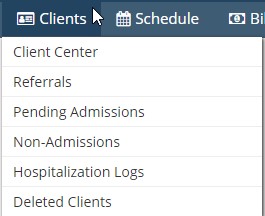
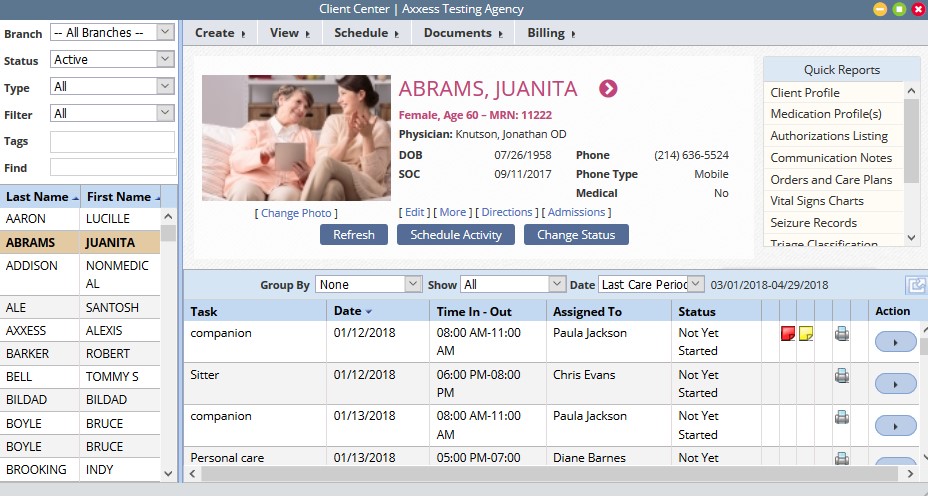
View client charts within the system, including active, pending, discharged and non-admitted clients.
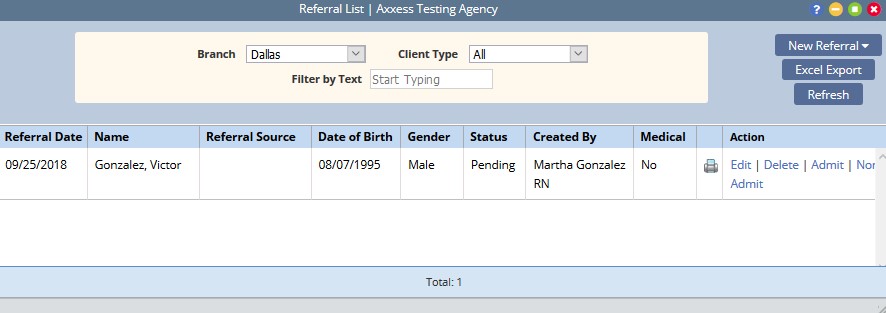
View a list of pending referrals and begin the admission process.
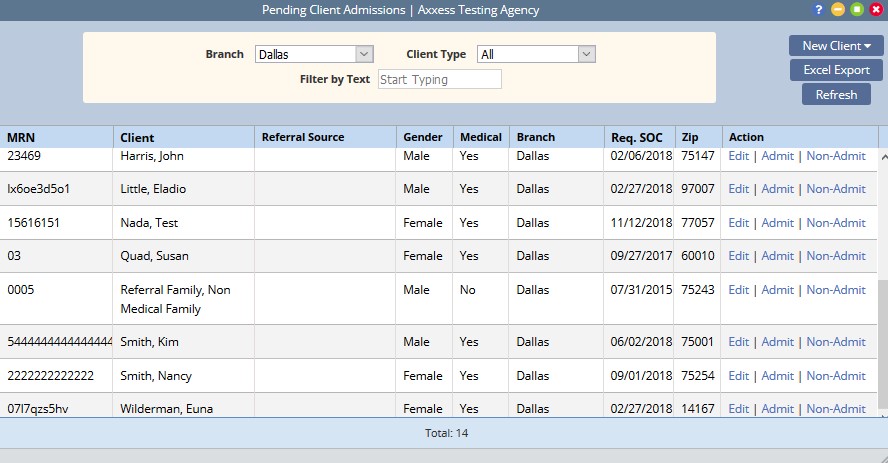
View and add new clients for admission into the system.
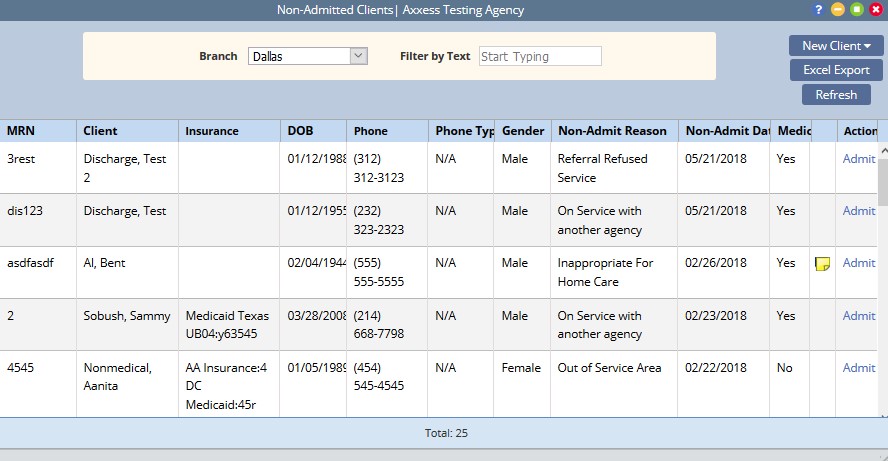
Inclusive list of all non-admissions logged in the system. From this screen, a user can also admit a client if they were marked incorrectly.
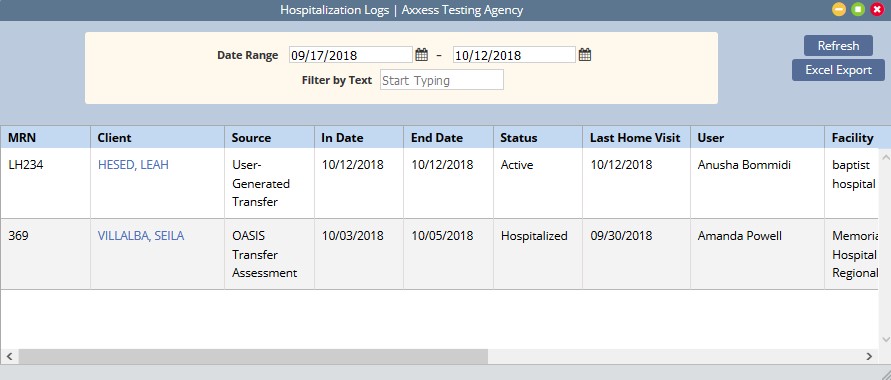
Clients that have been transferred to the hospital by completing a Transfer OASIS are visible in this screen for tracking purposes.
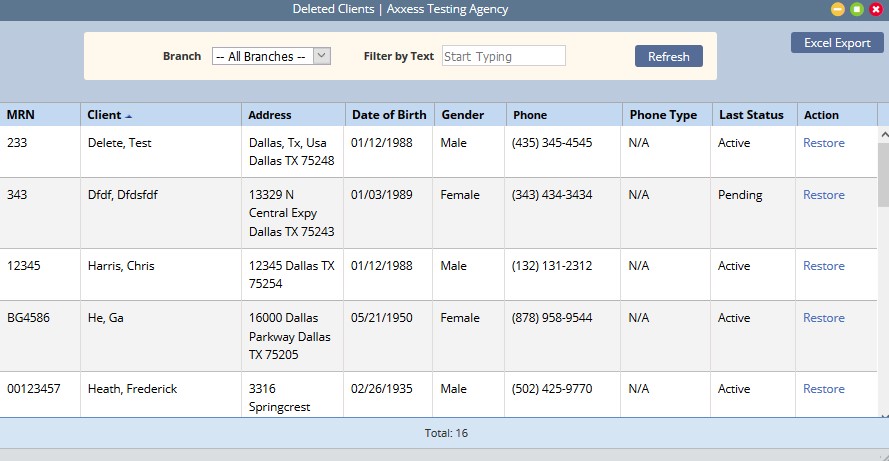
Clients that have been deleted from the system are visible in this screen and are able to be restored, if necessary.
The Schedule menu allows access to the following actions based on permissions granted to the user.
NOTE: See Intake/Scheduling manual for further details.

View the schedule/tasks in a list view.
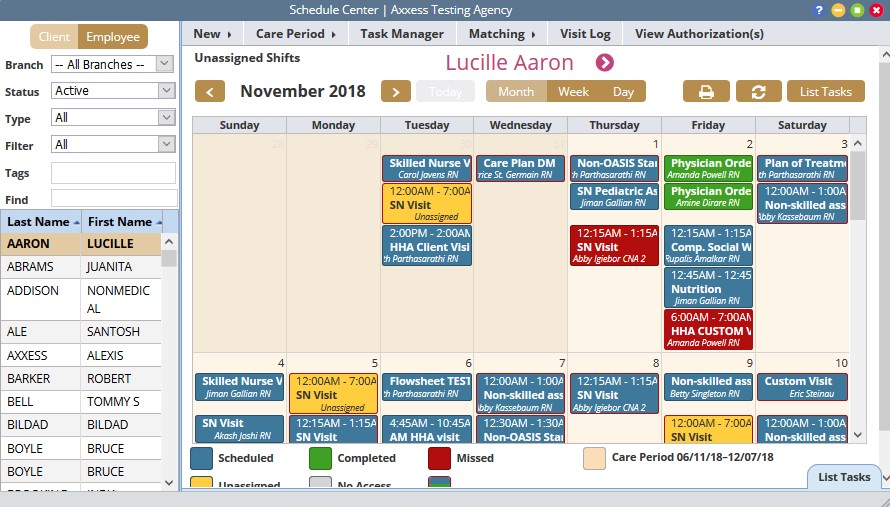
Client-specific schedule is accessible from this screen which also allows a user the ability to add additional visits to the schedule.
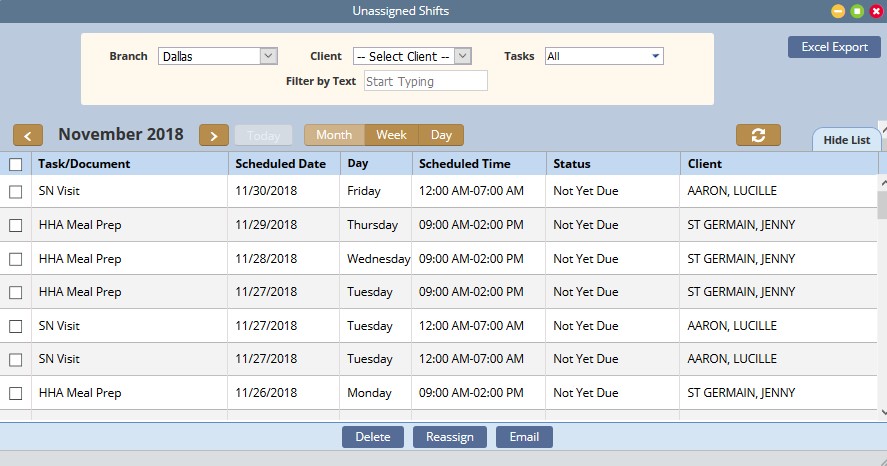
Central location to identify upcoming shifts that have not been assigned to a worker.
Overview of all visits occurring throughout the agency for a given date.

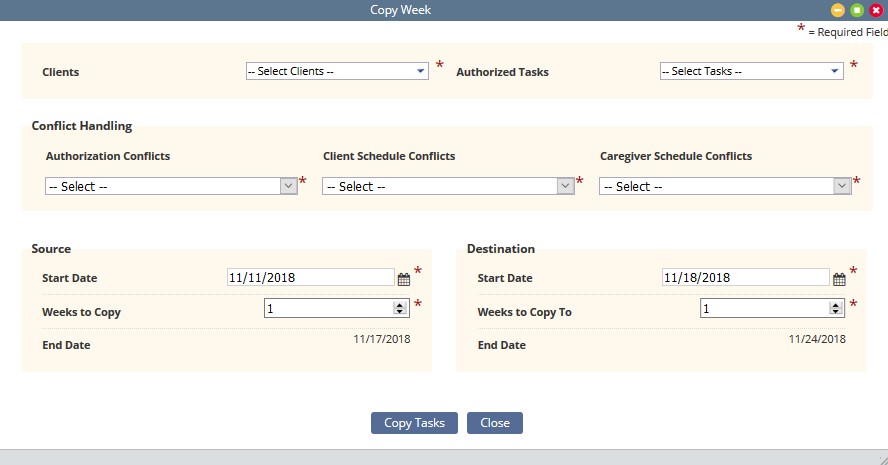
Allows a user the ability to copy a scheduled week of visits for a client.
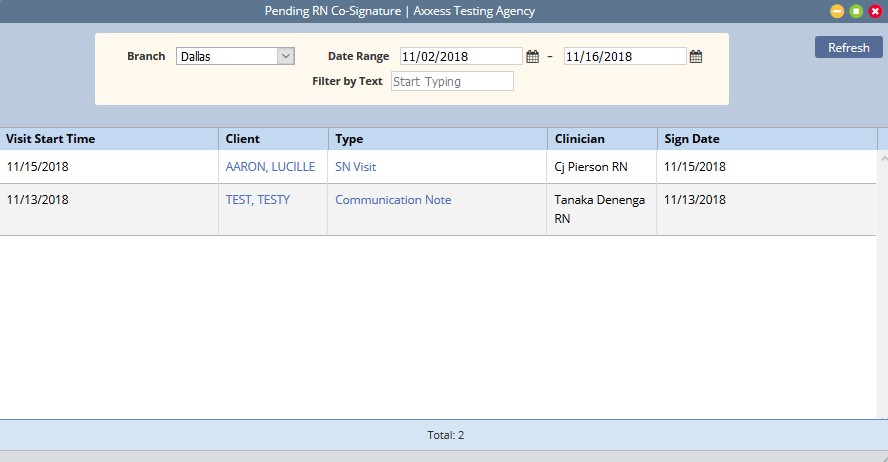
Notes that require a Co-Signature will be listed in this section until signed by the responsible co-signer.
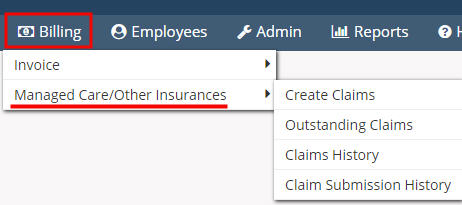
The Billing menu allows access to the following actions based on permissions granted to the user.
NOTE: See Billing manual for further details.
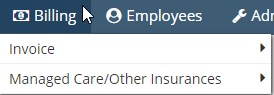
Allows a user to create invoices, review outstanding invoices and invoice history for clients on private pay.

This menu provides a user access to create claims for managed care/other insurances as well as review outstanding claims, claims history and claim submission history.
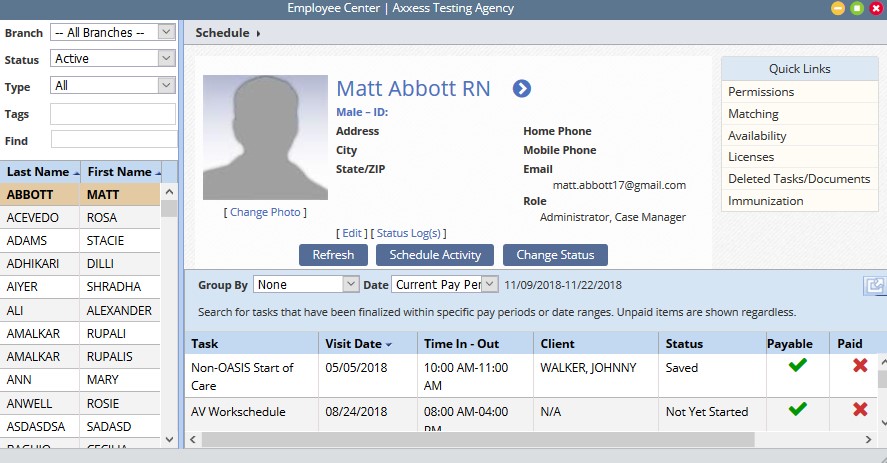
The Employees menu allows access to the following actions based on permissions granted to the user.
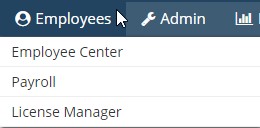
Employee records and access permissions are managed from this screen.
Reports for payroll purposes can be run from this screen.

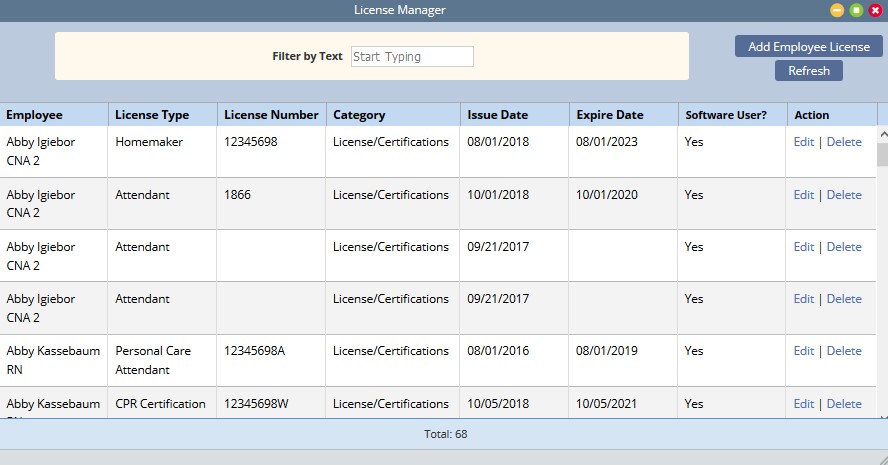
Administration of employee licenses is handled from this screen, allowing quick identification of an expiring license.
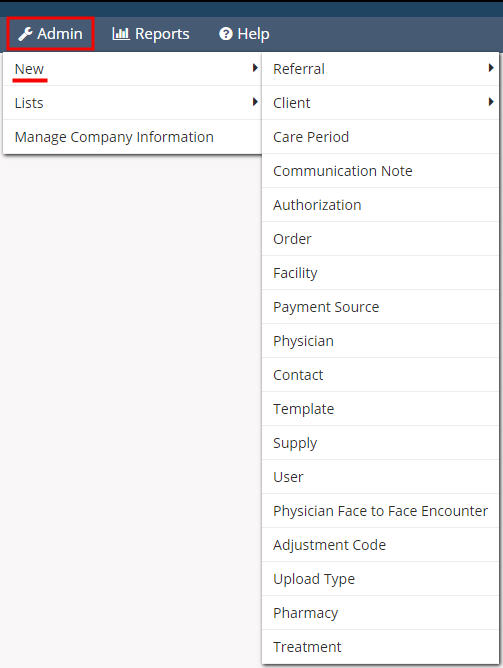
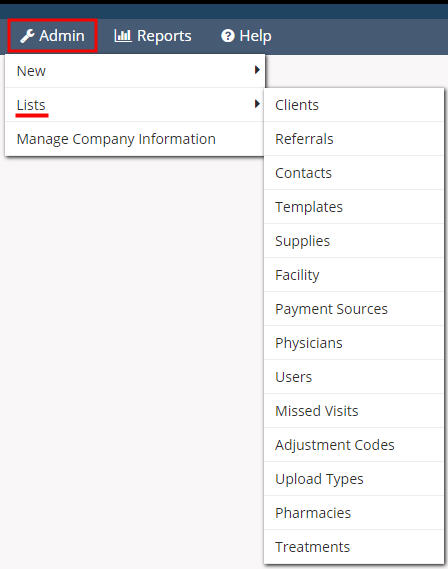
The Admin menu allows access to the following actions based on permissions granted to the user.
NOTE: See Admin manual for further details.
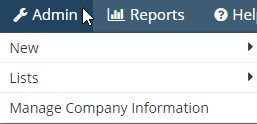
Add new items into the system, such as a Referral, Facility, Pharmacy, Payment Source, etc.
View items in the system, such as a list of Referrals, Clients, Physicians, Payment Sources, etc.
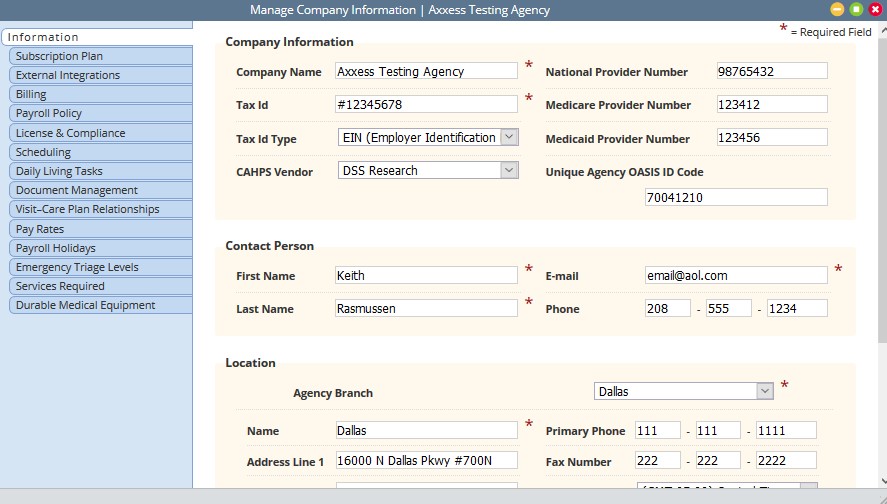
Company-wide settings and information are managed from this screen.
NOTE: An Administrator/DON (permission-based) signature is required to access this screen.
The Reports menu allows access to the following actions based on permissions granted to the user.
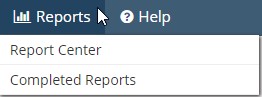
Provides access to reports available within the system.
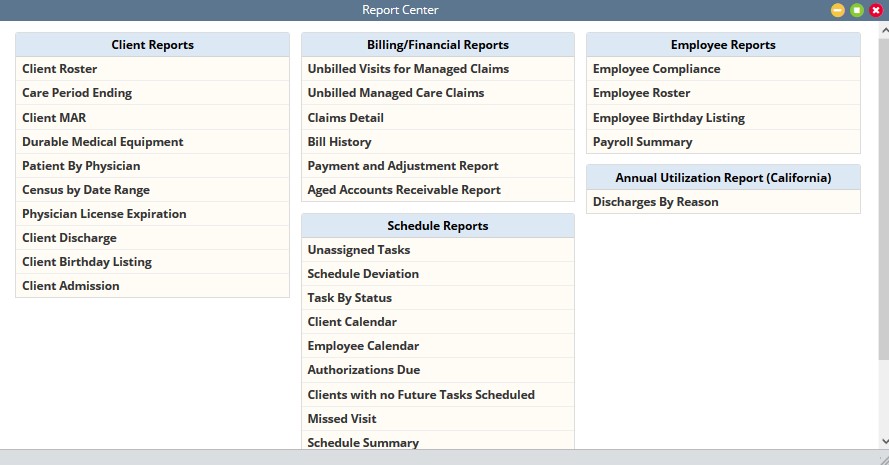
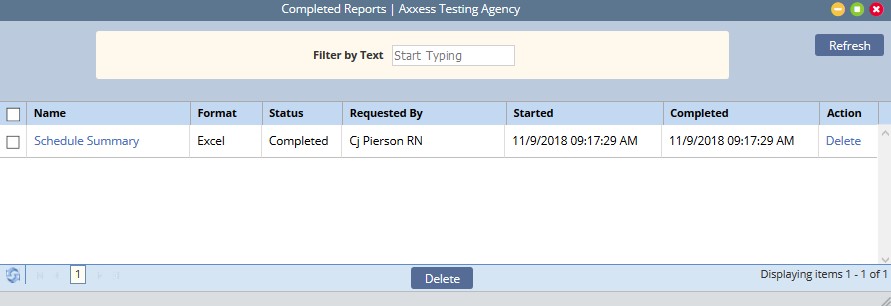
Some reports will be queued until compiled. Once the data has been compiled, the report will be available from this section.
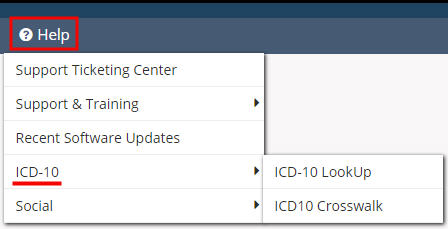
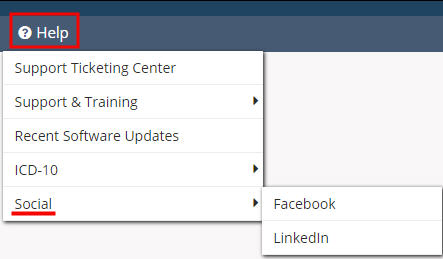
The Help menu allows access to the following actions based on permissions granted to the user.
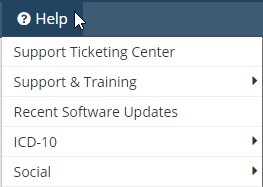
Direct link to submit a support ticket for a current issue.
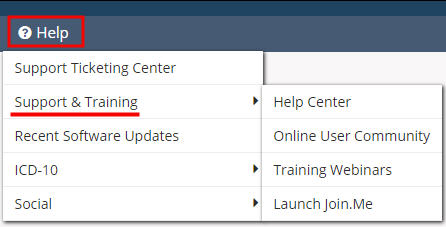
Allows access to the help center, training webinars and the community.
Identifies recent updates made to the software, including bug fixes and new features.
Reference material for ICD-10 including a lookup and a ICD-9 to ICD-10 crosswalk are available from this menu.
Connect with Axxess on Social Media using the quick links provided in this menu.
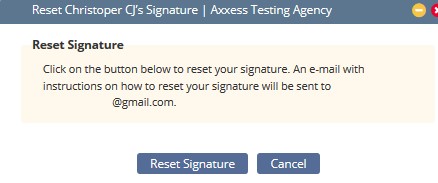
Home/My Account/Reset Signature.
A new window will display, as seen below. Select “Reset Signature” and a link will be sent to the email address associated with the account. Review the system generated email that was sent to the users email address for a personalized link to reset the signature. Upon selecting the link, a screen will appear in the web browser prompting to verify the information and to enter a new signature.
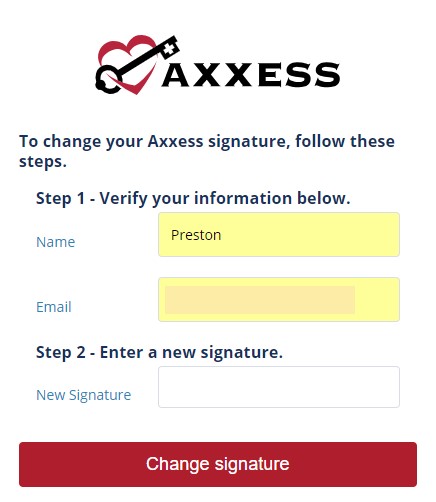
After inputting a new signature, select “Change Signature” and a prompt will display confirming the change was successful. Close the internet browser window and log back in to Axxess to use the newly updated signature
To reset the Axxess login password, follow one of the methods listed below.
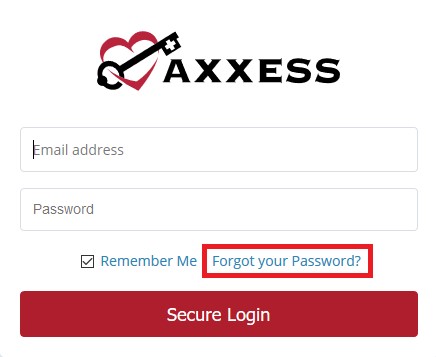
Navigate to the login page and select “Forgot your Password?” Continue to follow the prompts to enter the email address used to login to Axxess and select “Send.” This will send a password reset link to the user’s email address.
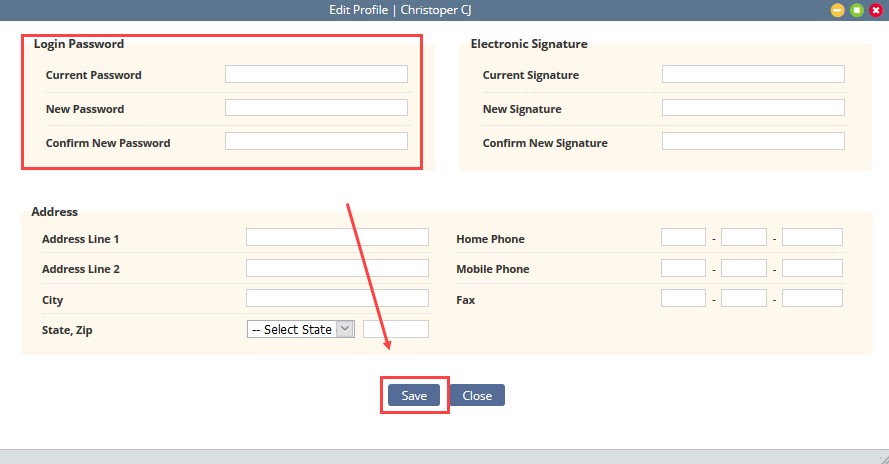
Home/My Account/Edit Profile
On this screen, input the current password and new password desired in the boxes provided. Select “Save” to confirm the change.