x
Join our new Axxess User Community to connect, share, learn and grow together.Learn More
View/OASIS Management/OASIS Ready for Export
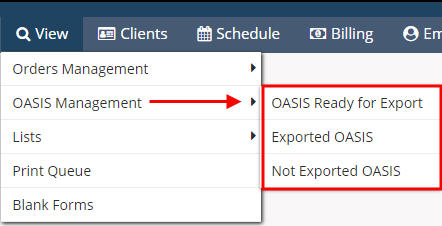
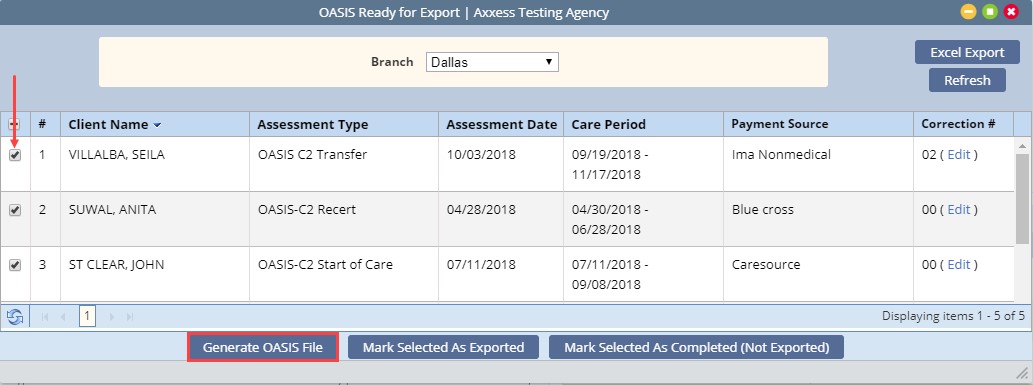
Once OASIS documentation is complete and approved in the QA Center, go to OASIS Ready for Export. Within the OASIS Export Screen, sort and filter by the below items & column headers.
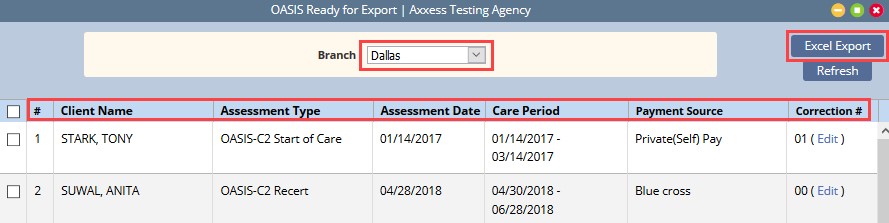
Select (check) the client OASIS records that will be submitted and select the “Generate OASIS File” button.
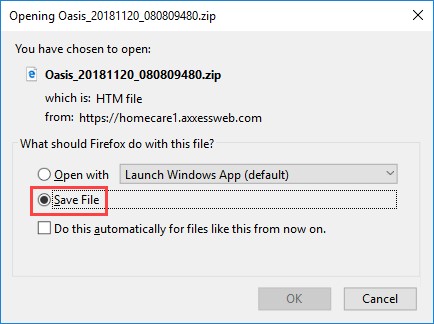
This action will generate a zipped XML file instead of a text file format used for state submission. Select “Save” and “OK” if prompted by your browser
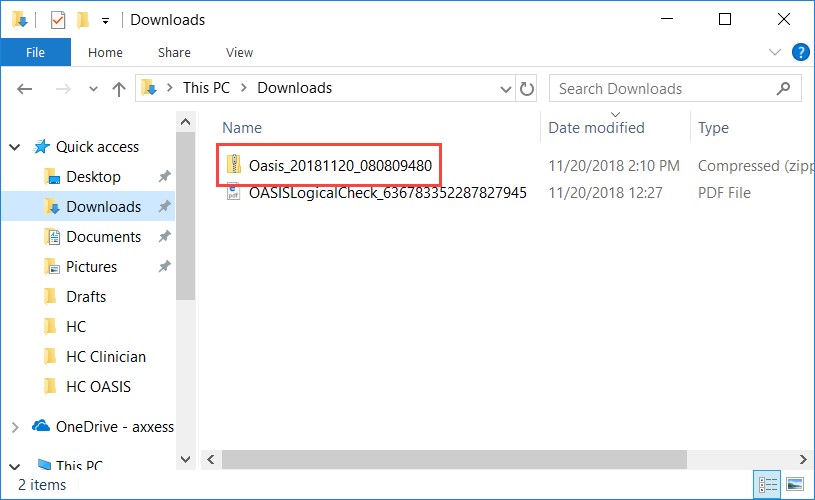
The file will automatically save to the Downloads file folder on the computer. Once a specific folder is created for OASIS submissions, simply drag and drop the zip folder into the designated folder.
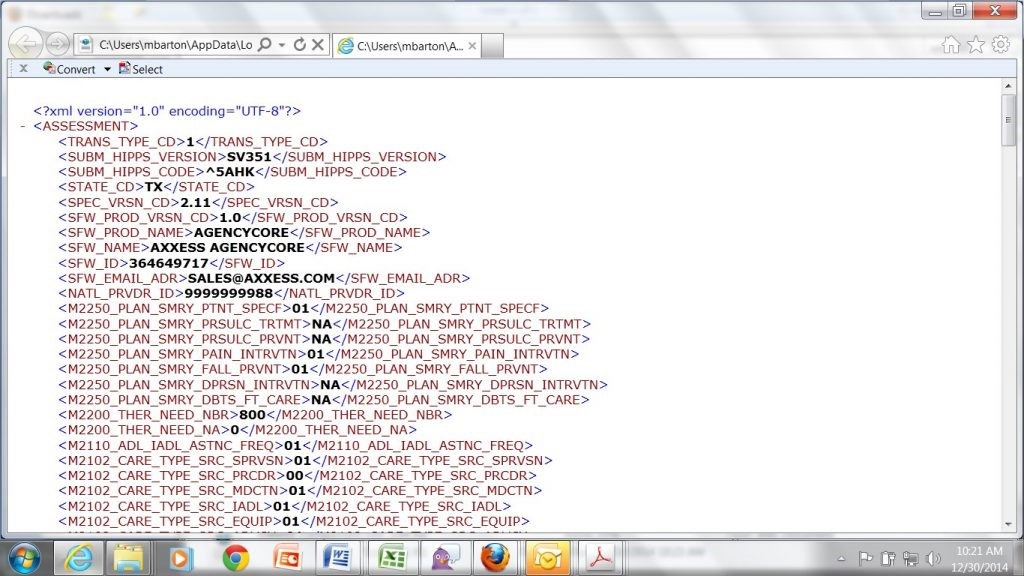
While it is not necessary to open the file before submission, to open the zipped XML file, a zip file version software will be needed such as win-zip or 7-zip. If opened, the file will need to be “rezipped” before uploading to CMS. When opened, the XML OASIS file follows this format:
Once the OASIS files have been exported, users may upload the file to CMS (QIES/QTSO) https://qtso.cms.gov/ that follows internal agency processes.
Once an OASIS is transmitted, the Final Validation Report is received, and the record was Accepted, the file should be marked as exported in the OASIS Export screen.
NOTE: This step is critical for agencies’ ability to bill.
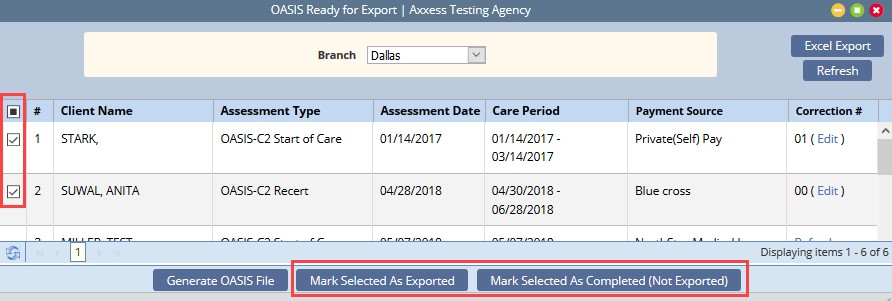
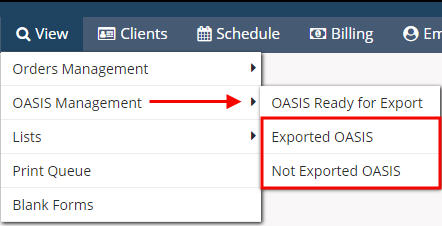
To mark an OASIS as exported, select “Mark Selected as Exported.” If the OASIS does not need to be exported, select “Mark Selected as Completed (Not Exported).” To view and edit the list of Exported and Not Exported OASIS, access View/OASIS Management/Exported OASIS or Not Exported OASIS.
For both Exported and Not Exported OASIS, a grid will populate with the below available search filters.
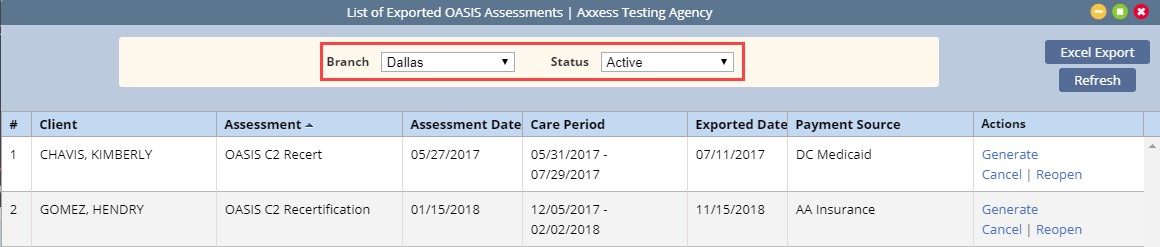
View/OASIS Management/List of Exported OASIS
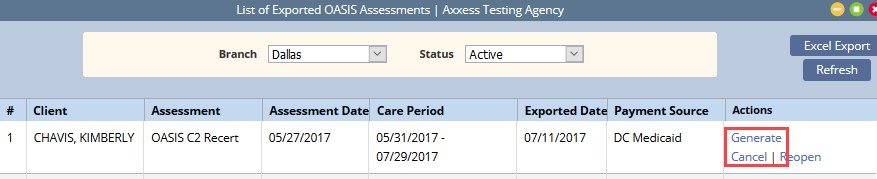
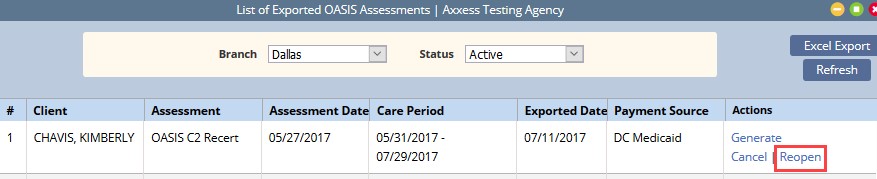
If an error has been made in one or more key fields, or if an assessment was submitted in error, a cancellation should be generated and submitted to CMS. To generate the cancellation, access the exported OASIS through List of Exported OASIS Assessments and select “Generate Cancel.”
This action will generate a zipped XML file instead of a text file format used for state submission. Follow the prompts to save the file to the appropriate file folder. Once the OASIS Cancellation files have been exported, users may upload the file to the CMS (QIES/QTSO) following internal agency processes. Once the cancellation has been uploaded to CMS (QIES/QTSO) https://qtso.cms.gov/ and was Accepted per the Final Validation, select “Reopen.”

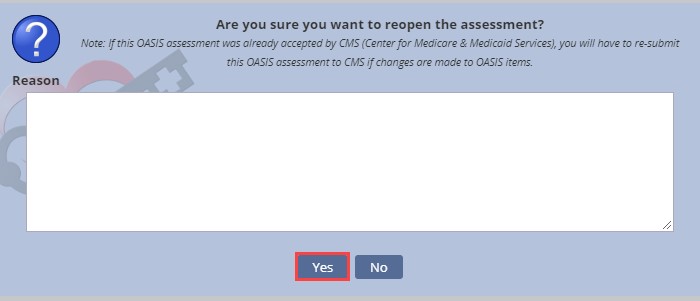
A confirmation box will appear to remind users the OASIS will need to be resubmitted if already accepted by CMS. Enter the reason for the reopening and select “Yes.” Selecting “No” will take the user back to their list of exported OASIS.
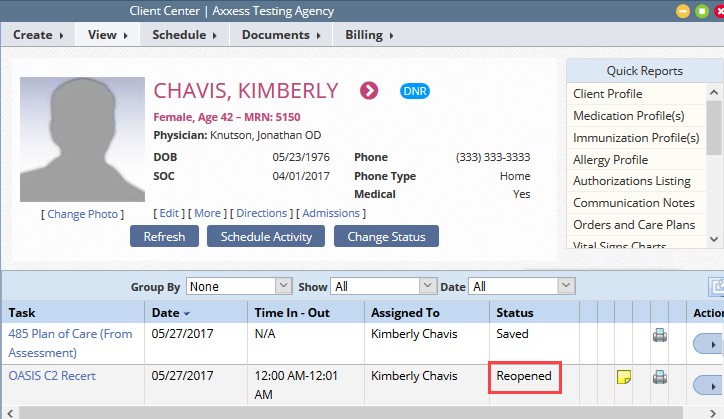
Once “Yes” is selected, access the client chart through Clients/Client Center. In the client chart, the status of the OASIS is now listed as Reopened.
NOTE: Only the assigned clinician will have the ability to make the update. Pending specific agency policy, select Action Menu/Details/Assigned To for updating the user assigned this task.
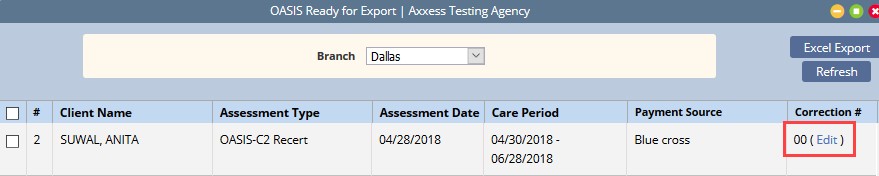
Reopen the OASIS by selecting the appropriate blue highlighted Task. Complete the required updates to the OASIS and Select “Save & Continue” at the end of the OASIS. The OASIS will now flow to the QA Center for approval and once approved, back to the OASIS Export Screen. Locate the OASIS and under the Correction # column, select “Edit” and change the correction number to 00 and continue the export process outlined above.
In the event, the OASIS had been accepted by CMS, locate the OASIS and under the Correction # column, select “Edit.” A popup box will appear explaining the correction number procedures. For the OASIS that was accepted, select the drop-down and update the correction number to 01. Select “Save” at the bottom of the popup.

If an error has been made in one or more Non-Key Fields, a cancellation file is not required, however, if the OASIS was accepted by the CMS, the corrected file will need to be exported and resubmitted. To correct Non-Key Fields, reopen the assessment from the exported OASIS screen.
A confirmation box will appear to remind that the OASIS will need to be resubmitted if already accepted by CMS. Enter the reason for the reopening and select “Yes.”

Once “Yes” is selected, access the client chart through Client/Client Center. In the client chart, the status of the OASIS is now listed as Reopened. Reopen the OASIS by selecting the appropriate blue highlighted Task. Complete the required updates to the OASIS and Select “Save & Continue” at the end of the OASIS. The OASIS will now flow to the QA Center for approval and once approved, back to the OASIS Export Screen.
Upon return to the OASIS Export screen, the Correction number will automatically update from 00 to 01. If the correction number needs to be updated prior to generating the OASIS file. Select “Edit” under the Correction # column and update the number accordingly.


Select “Save” to close the box and continue to the export process outlined above.
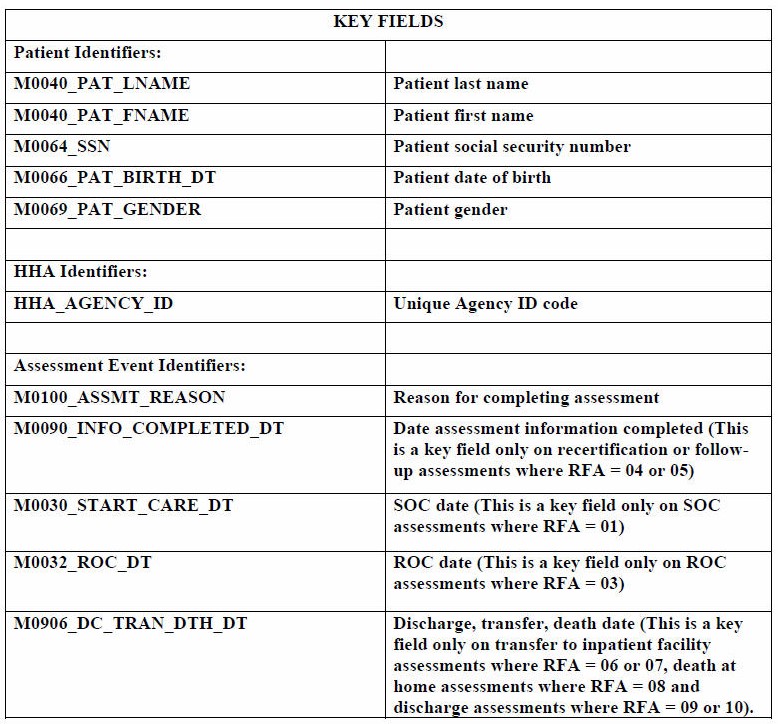
Below are key field descriptions. Non-Key fields are all other fields comprising the OASIS data set.
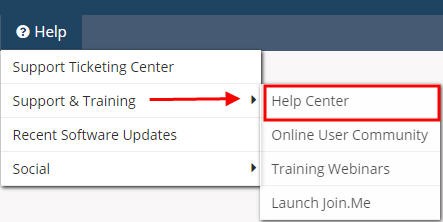
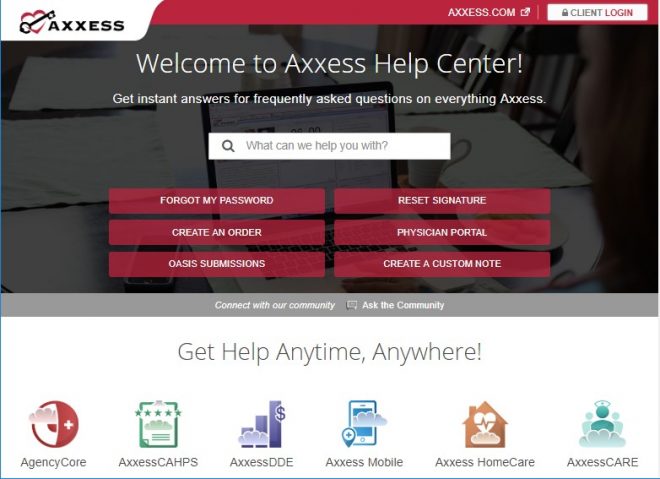
A great resource that is available 24/7 is our Help Center. It is a place to get answers to frequently asked questions or watch videos on all Axxess products. Our Help Center can be accessed by going to Help/Support & Training/Help Center or https://www.axxess.com/help/