Axxess is very excited to offer our clinical notes offline to allow clinicians the ability to provide care where ever the client might be. They download their notes using the following options: • Offline mode – downloads 3 days worth of notes. • Task list – Click on the download icon. • Task details – Click on the download icon. • Green check mark indicates its ready to go.
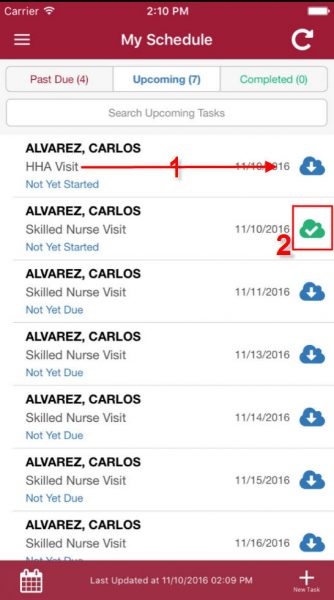
Open MY SCHEDULE to download the notes and click on the blue cloud (1) next to the particular task. The note is downloaded and available for offline documentation when the cloud is green (2).
To begin documentation click on the task that you want work on. (Only tasks that have been downloaded will be available when you are offline (not connected to a wireless or 3/4G connection).
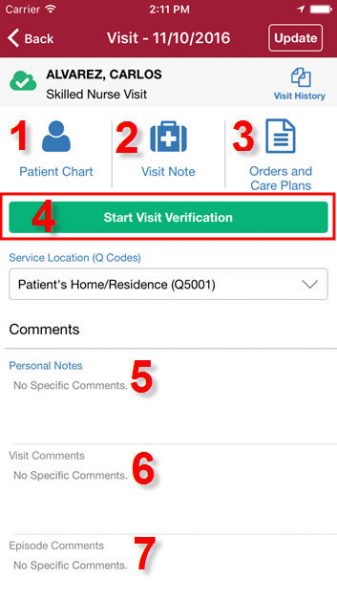
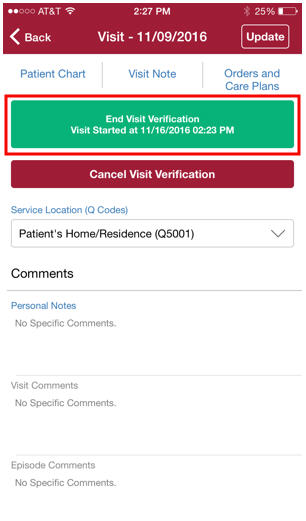
After clicking the task you will have several option available to start the visit verification if you are working with a wireless connection: 1. The PATIENT’S CHART contains the patient demographic, medication profile, physician, pharmacy and emergency contact information. 2. VISIT NOTE allows you to complete your clinical documentation via the mobile app. 3. ORDERS AND CARE PLANS has all the orders and care plans associated with the task. 4. Click START VISIT VERIFICATION records your location and time that you are starting the task. 5. You can also make PERSONAL NOTES about your visit. 6. VISIT COMMENT (yellow sticky notes) appear here 7. EPISODE COMMENTS (blue sticky notes) appear here
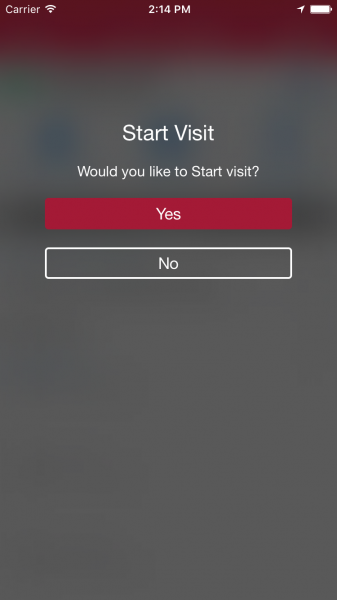
Clicking VISIT NOTE opens a window asking you if you want to start your visit this is the same function as clicking START VISIT VERIFICATION.
The time and date that you visit was started will be recorded in the green box.
Click VISIT NOTE again to start your clinical documentation. You have the ability to pull in a previously completed task by selecting the date of the task under LOAD PREVIOUS NOTE (1). The blue flag (2) is an indication that there something has been filled out in that section the text will also be blue. When a section is complete the text will be bold green (3). The current section is highlighted blue (4).
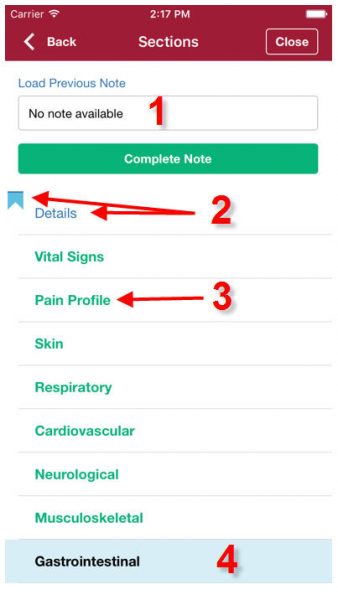
Clicking on a section will open that section and allow you complete the related information You can also use the arrows (<>) at the bottom of the section (page) to move from section to the next.
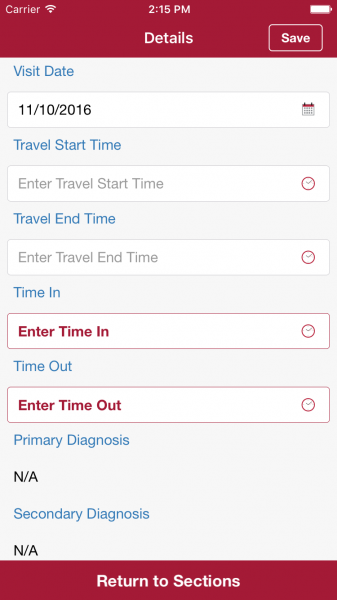
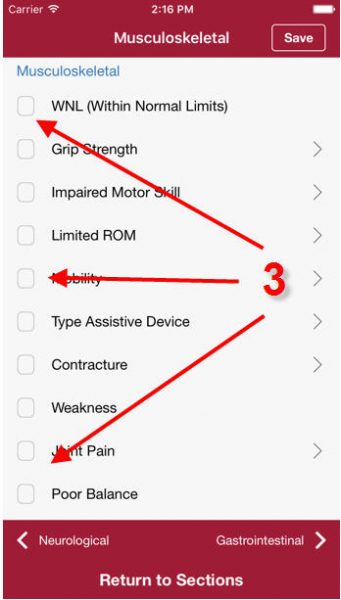
Each section has different ways to answer. Some have standard open ended questions like vital signs or documentations, there are drop down menus that have pre-filled selections (1), sections that just need to be clicked on and when selected will turn green (2) and choices that can be clicked (3).
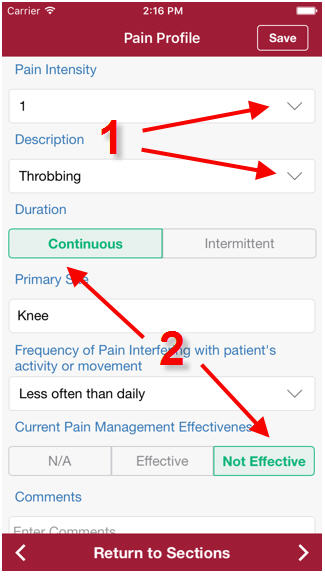
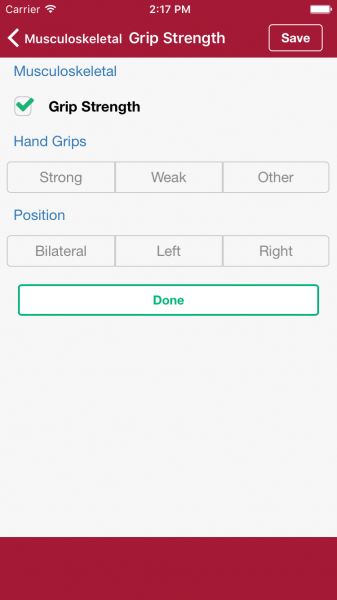
Selecting answers that require more detail will open another window allowing you to provide specific details to your responses.
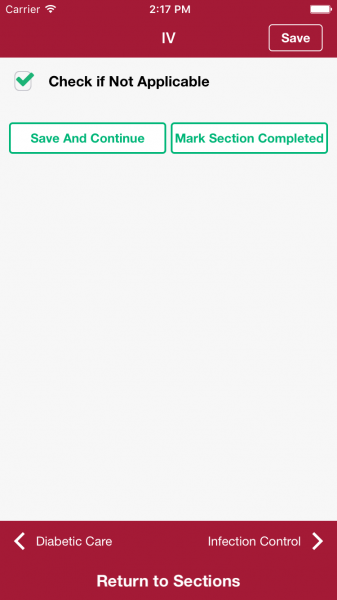
At the bottom of each page you will have the option to SAVE AND CONTINUE or MARK SECTION COMPLETED. SAVE AND CONTINUE will advance you to the next page as will clicking the arrows at the bottom of the page. MARK SECTION COMPLETE will cause that section to show green in the task main menu section.
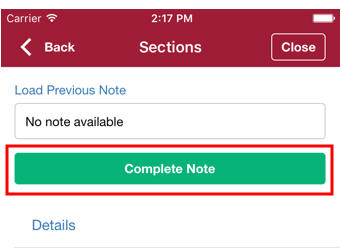
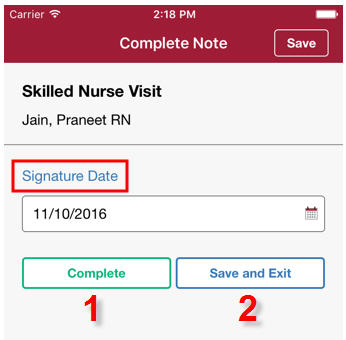
Clicking on COMPLETE NOTE will open the page to capture SIGNATURE DATE.
Clicking on the calendar icon will allow you to choose the date. Clicking COMPLETE (1) will open will open the VISIT VERIFICATION screen (if your agency signed up for that service.) Clicking SAVE AND EXIT (2) will allow you to return to the note to make changes.
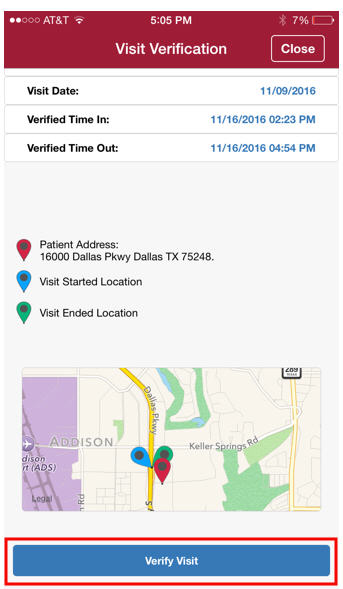
If the information on the VISIT VERIFICATION page is correct click the blue VERIFY VISIT link at the bottom of the page.
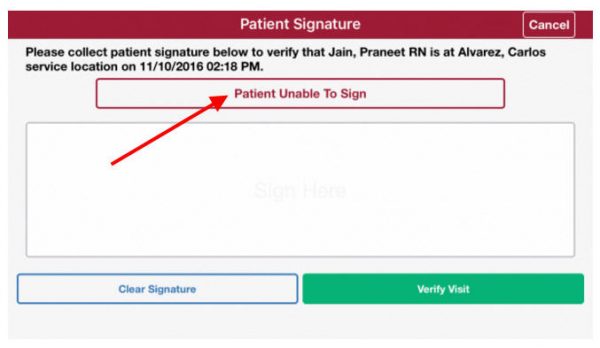
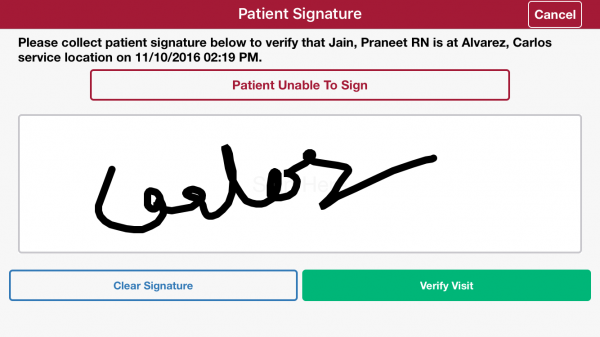
To verify the visit, you will need to capture the patients signature. Click VERIFY VISIT, on the next screen you will be able to capture the patient signature by using their finger as a stylus. If the PATIENT is UNABLE TO SIGN you can click on the red box and then note the reason the patient is unable to sign. If the signature is not legible you can CLEAR SIGNATURE and start again. If the signature is acceptable click VERIFY VISIT.
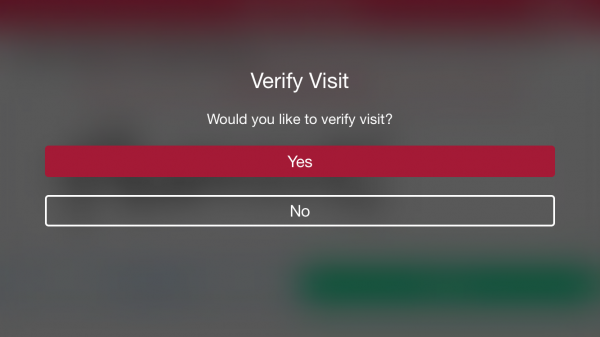
Click YES to VERIFY VISIT and move to the clinician signature.
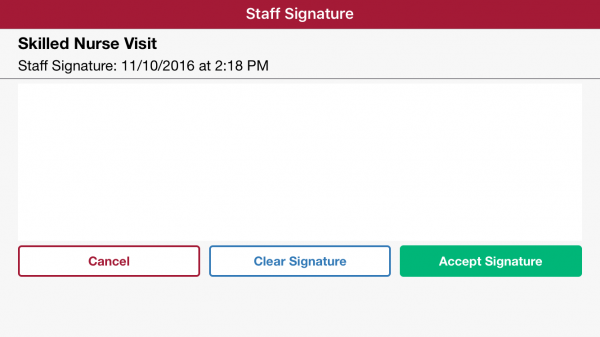
Use your finger (or stylus is available) and sign your name to complete your visit.
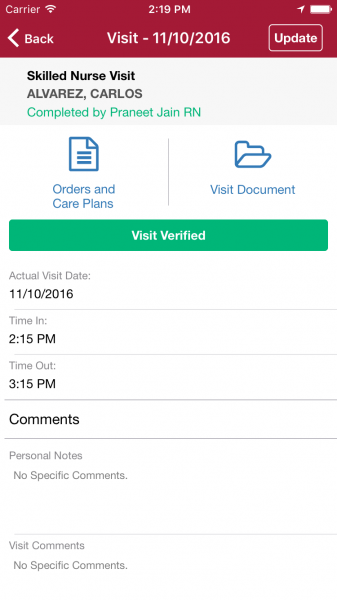
Once the visit is complete you will give a verification window with the details of your visit.
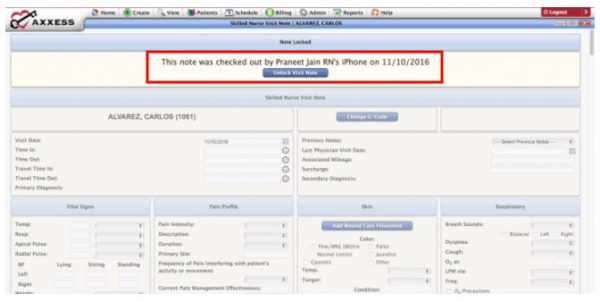
 The completed visit will show in AgencyCore. While the visit is being worked on you will receive a notification at the top of the task that the task has been checked out by whom and when.