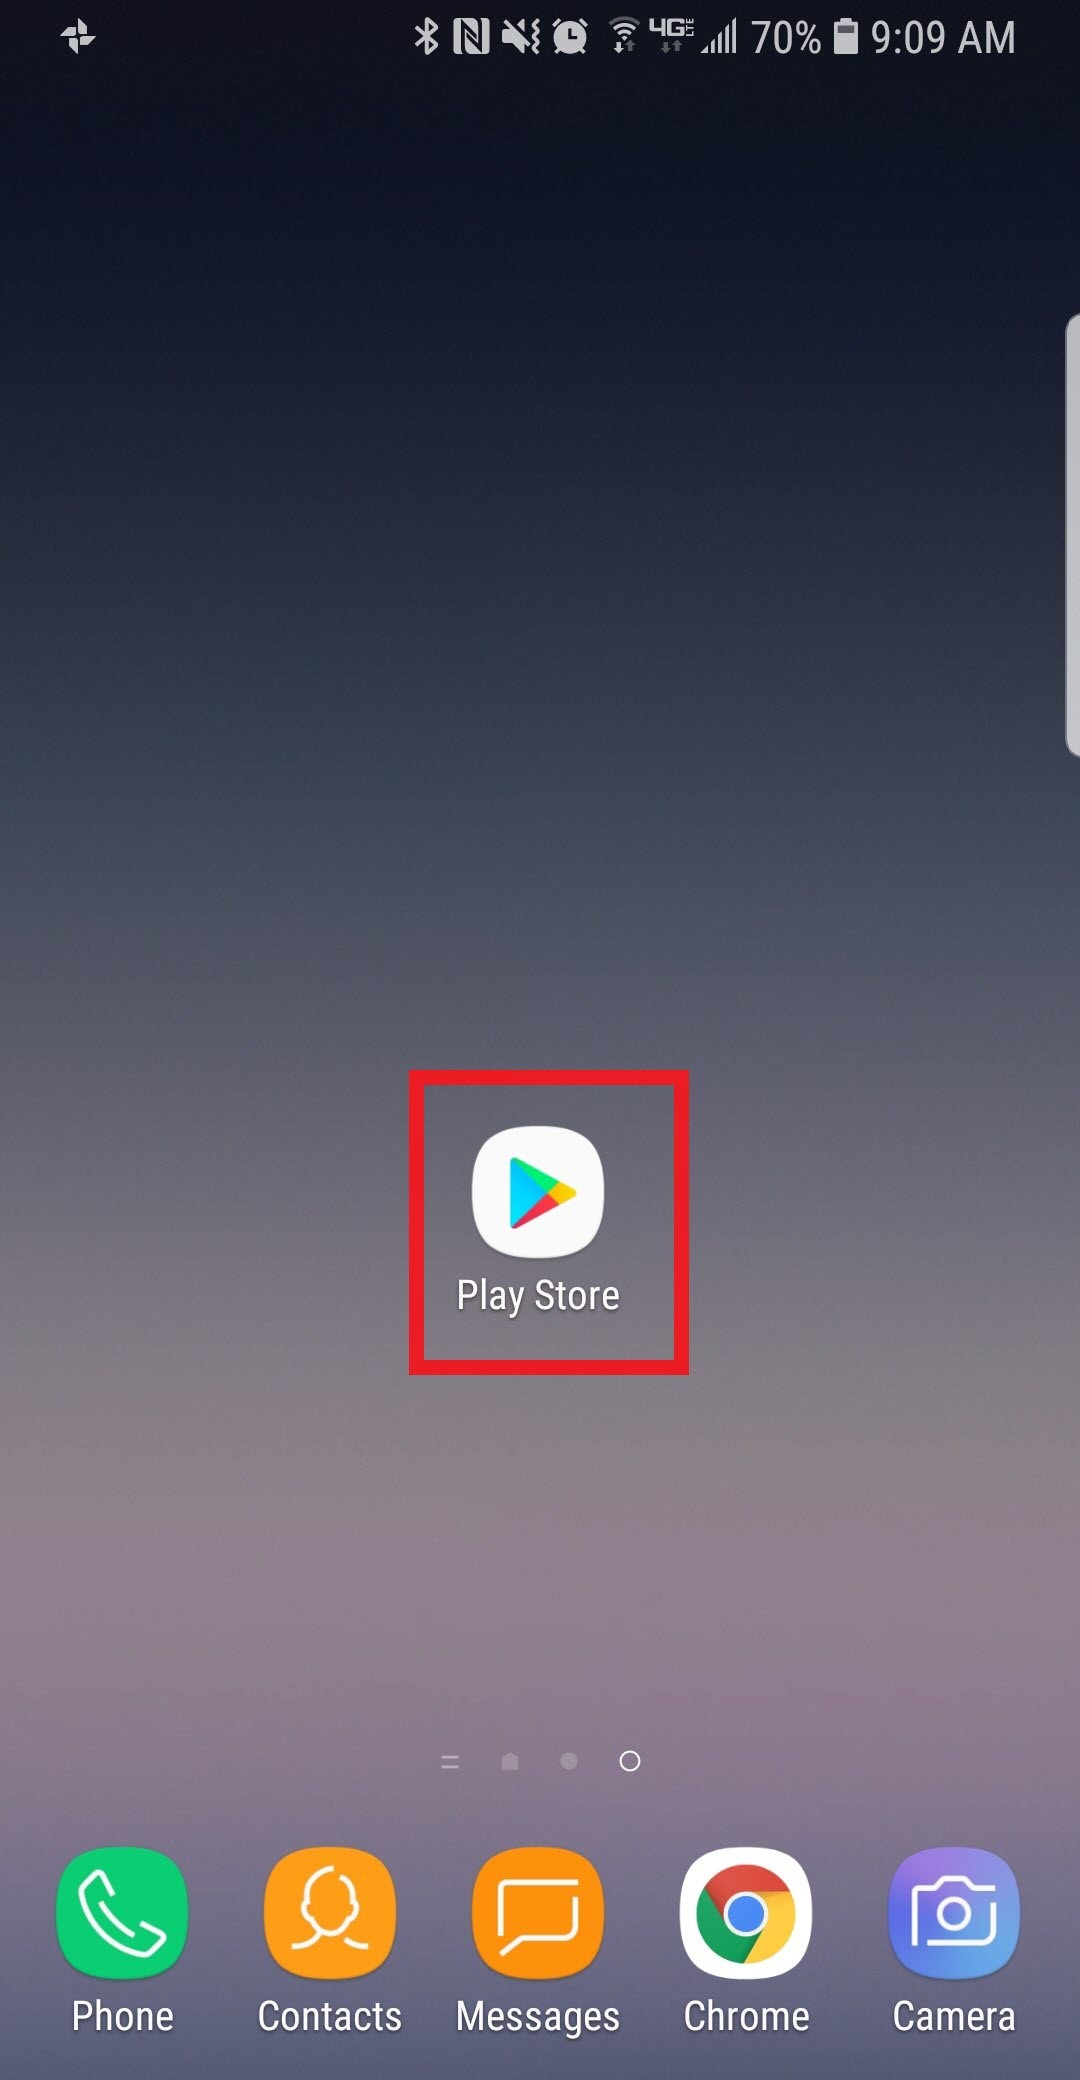
Go to the Google Play Store.
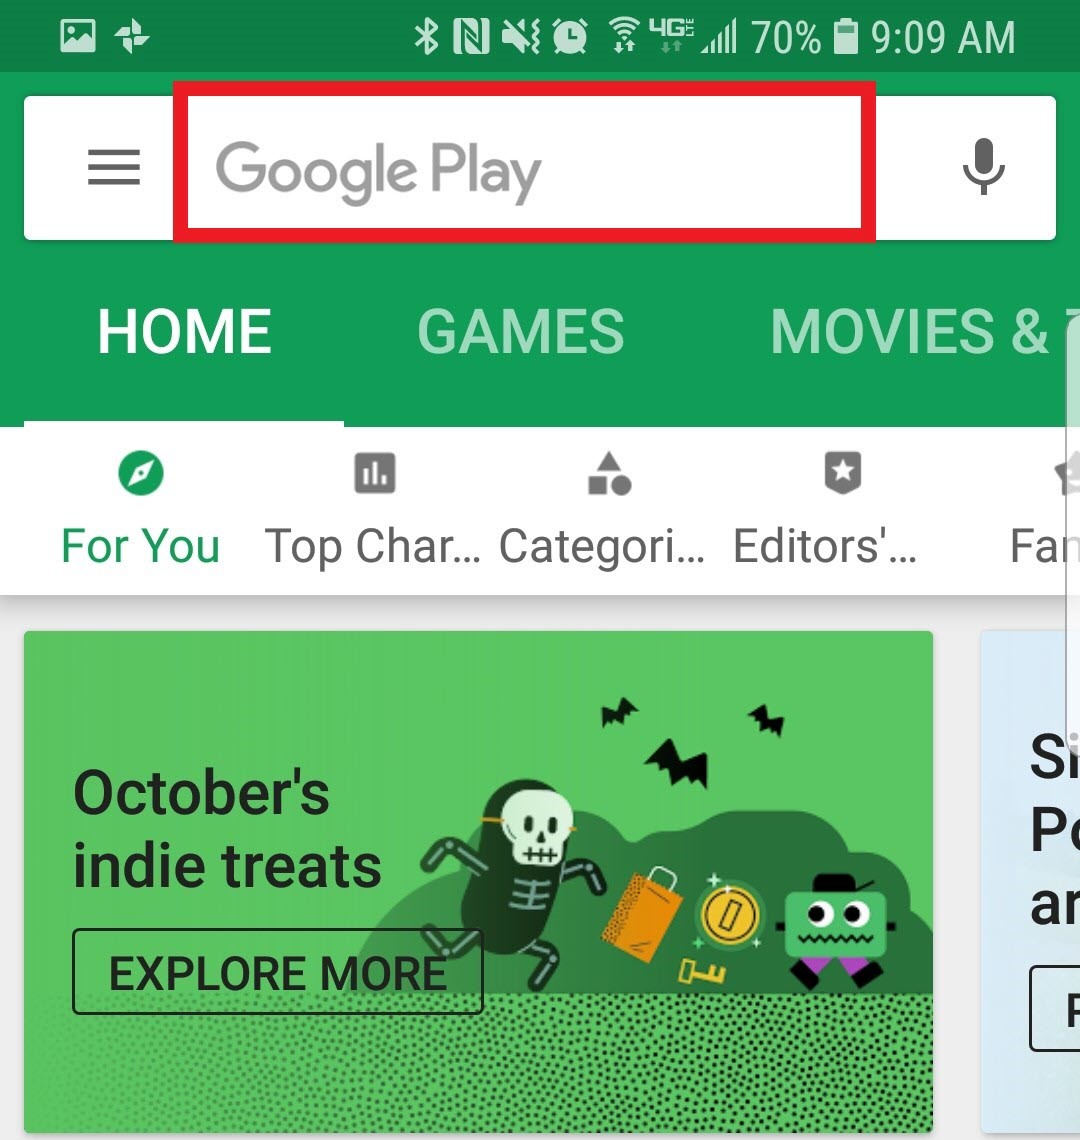
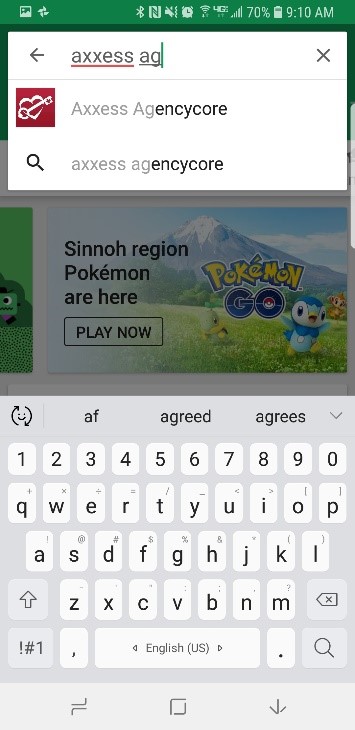
Tap on the search bar at the top of the page.
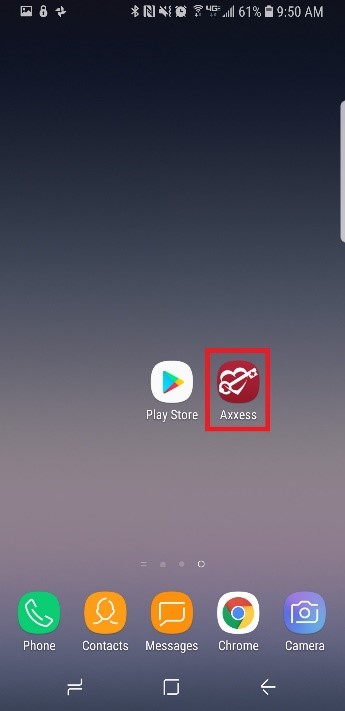
Search for “Axxess AgencyCore.” The app is red and has the Axxess logo (heart & key). Tap on the result.
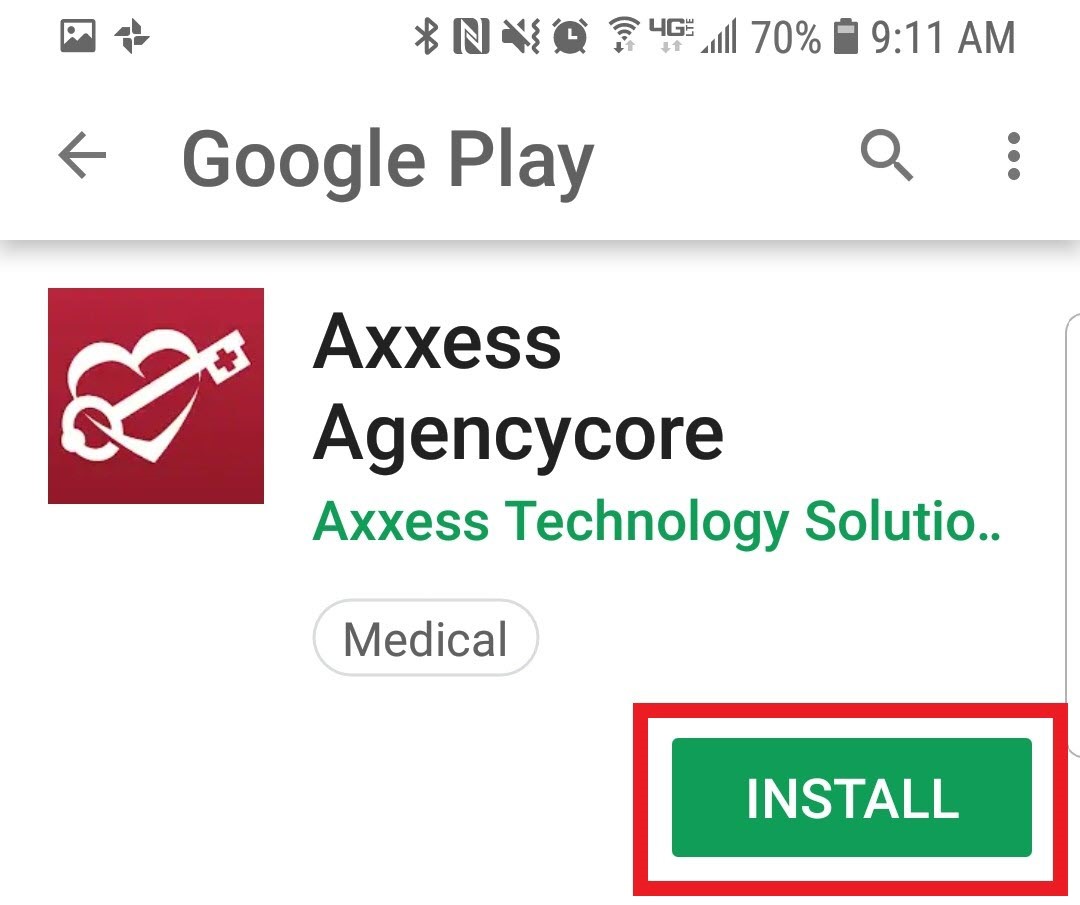
Tap on “Install.”
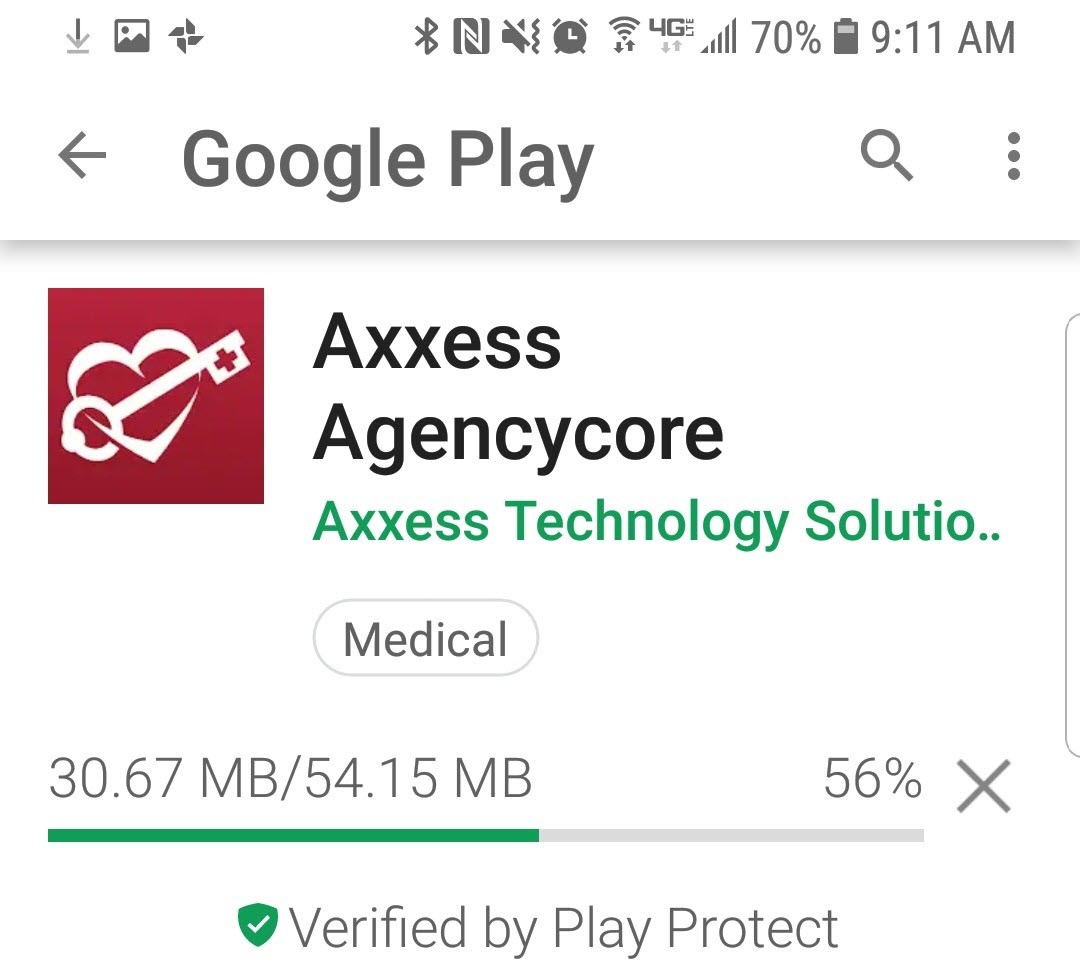
The app will begin downloading.
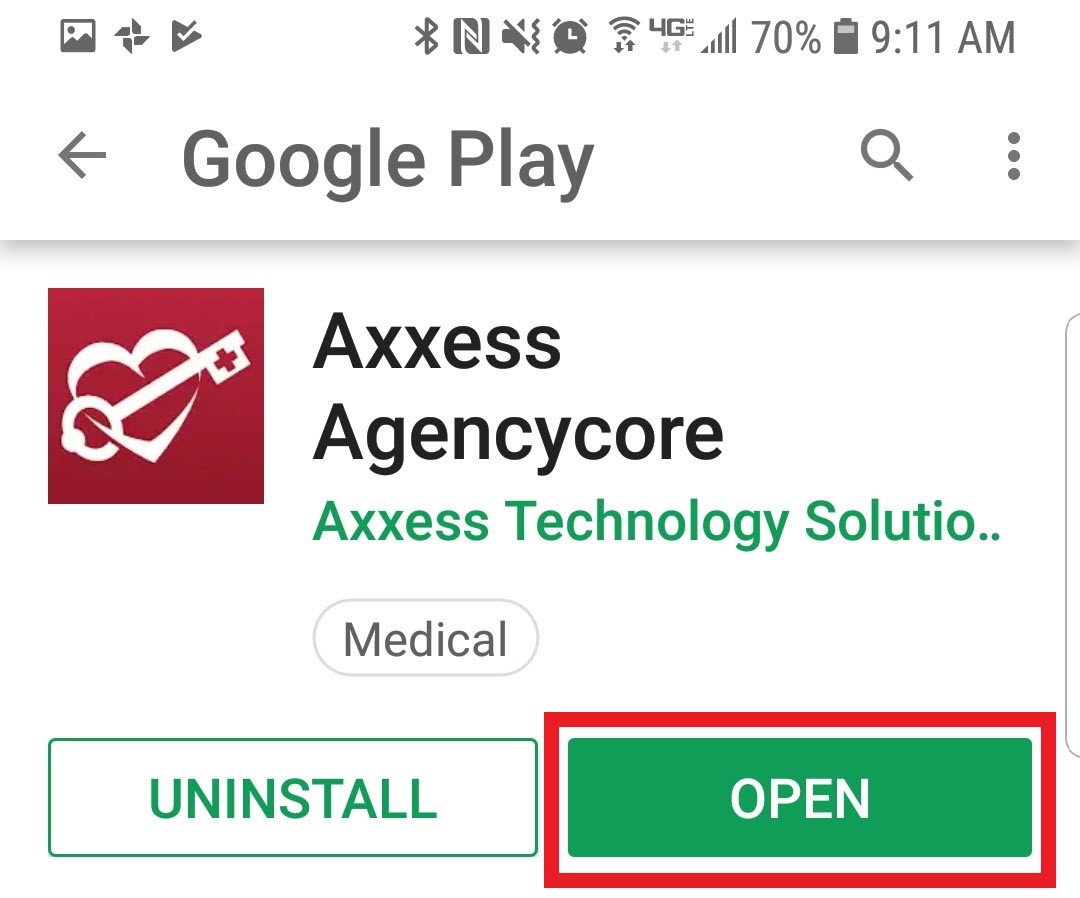
Once the download is complete, there is an option to “UNINSTALL.” Tap on “OPEN.”
NOTE: The app will now be located with the rest of the apps. Always download the latest update from the Play Store for free.
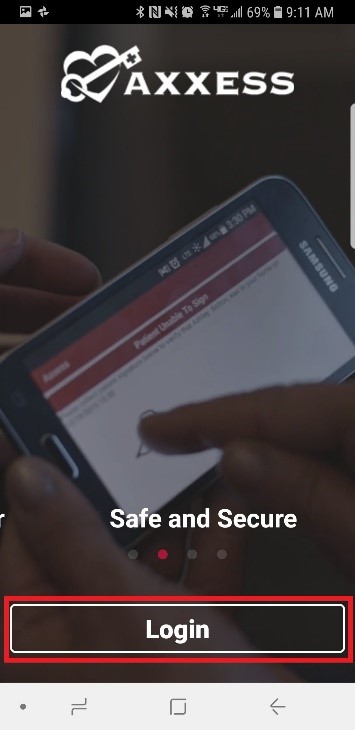
Tap “Login.”
This is the login screen. Enter the email that was provided to the organization and the password that was established while logging into the computer version of AgencyCore. If the password has been forgotten, then tap the “Need Help?” hyperlink. Then tap on the “Forgot Password?” button which will send the password reset instructions to the email associated with the account. The version number of the app will be listed at the bottom.
Enter the email address and password, tap on “Secure Login.”
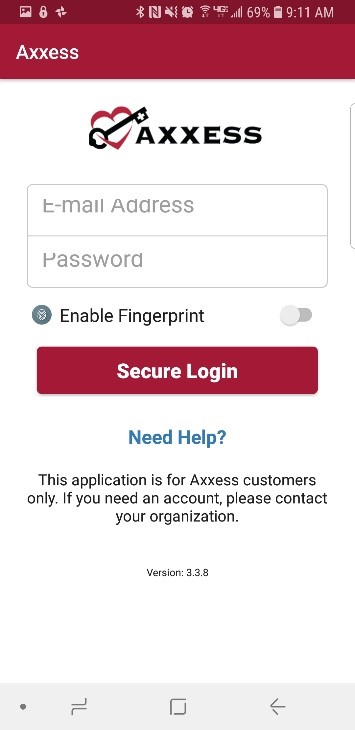
NOTE: Depending on the Android version or device type, you can use your fingerprint to log in by moving the “Enable Fingerprint” slider.
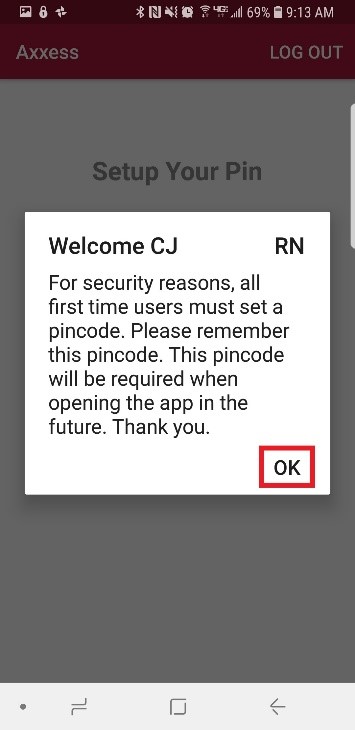
The next screen confirms that the user will have to create a PIN code. Tap “OK.”
On the next screen, the user will be required to create a 4-digit PIN code.
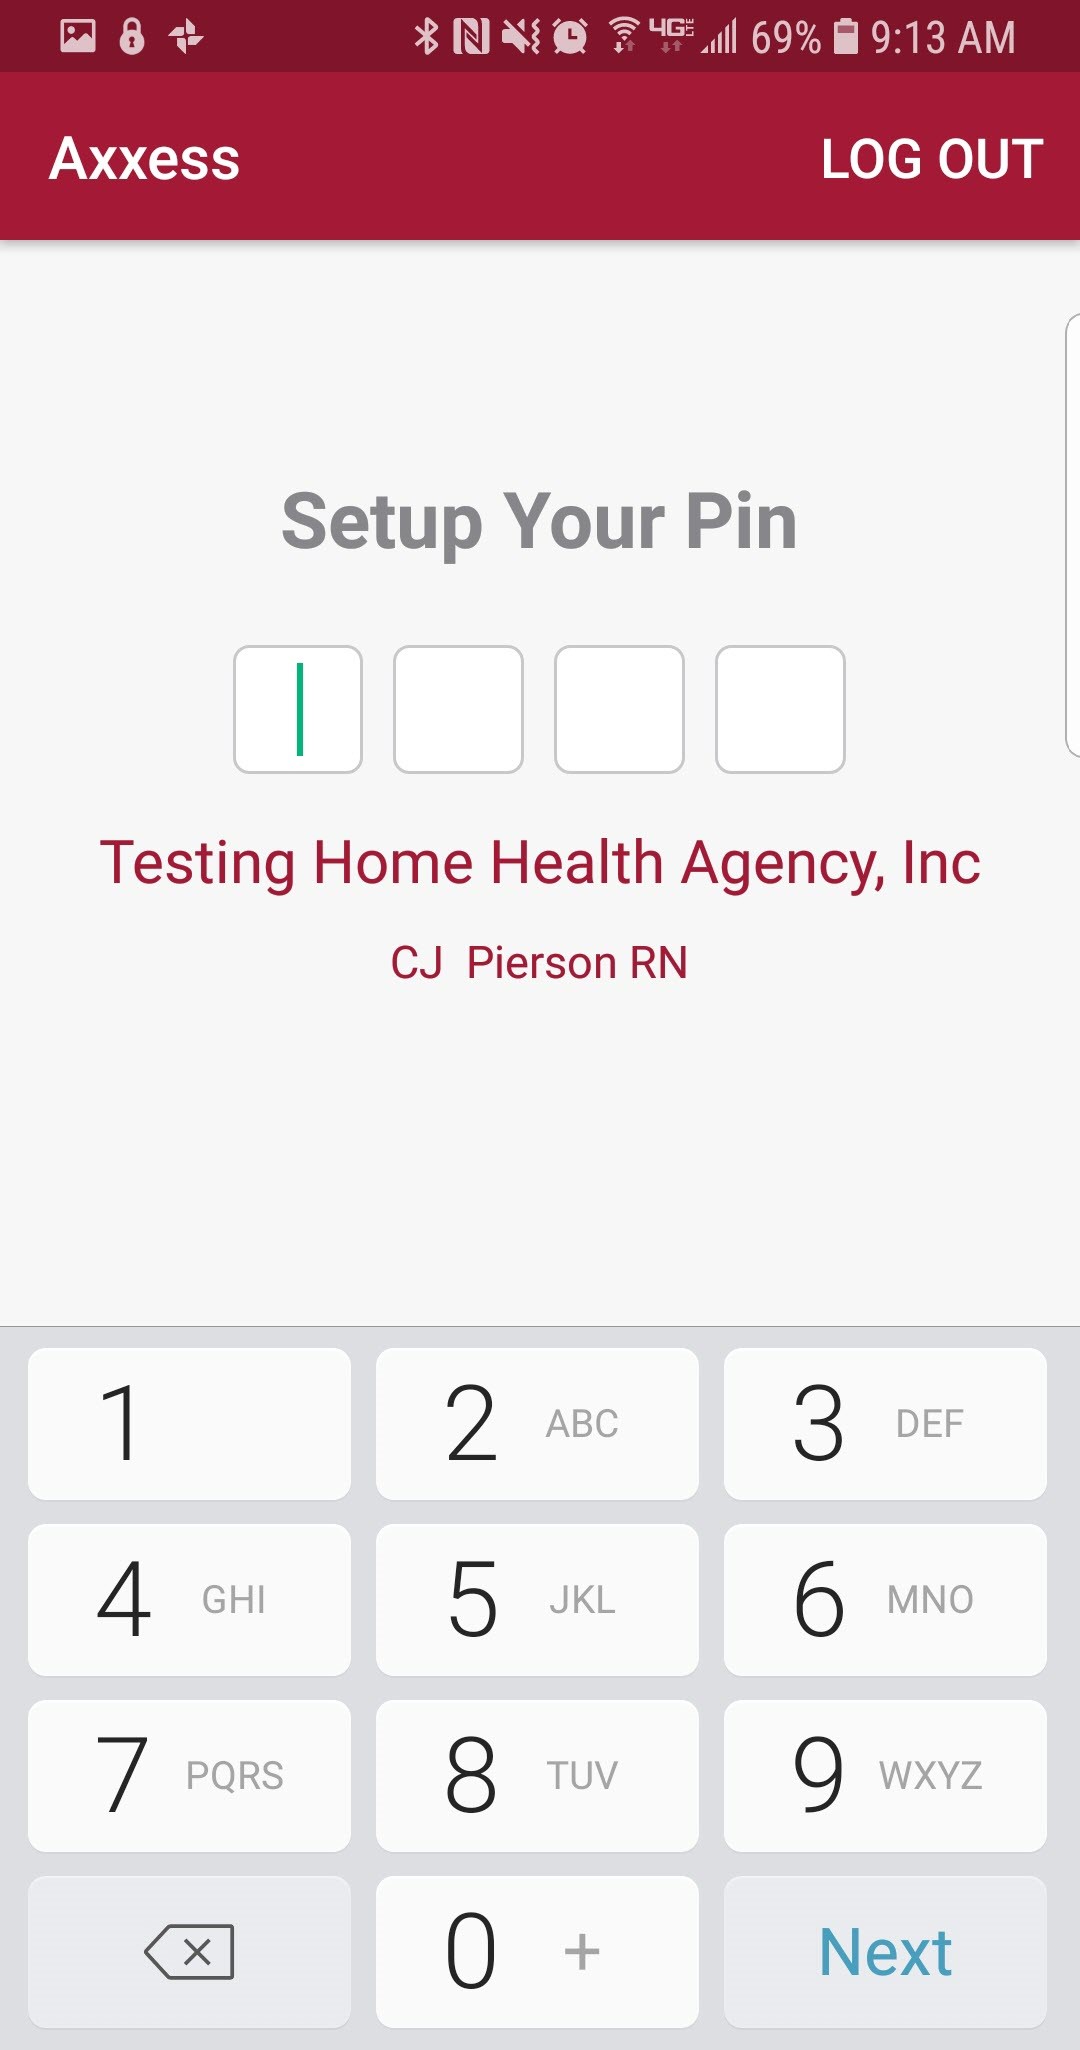
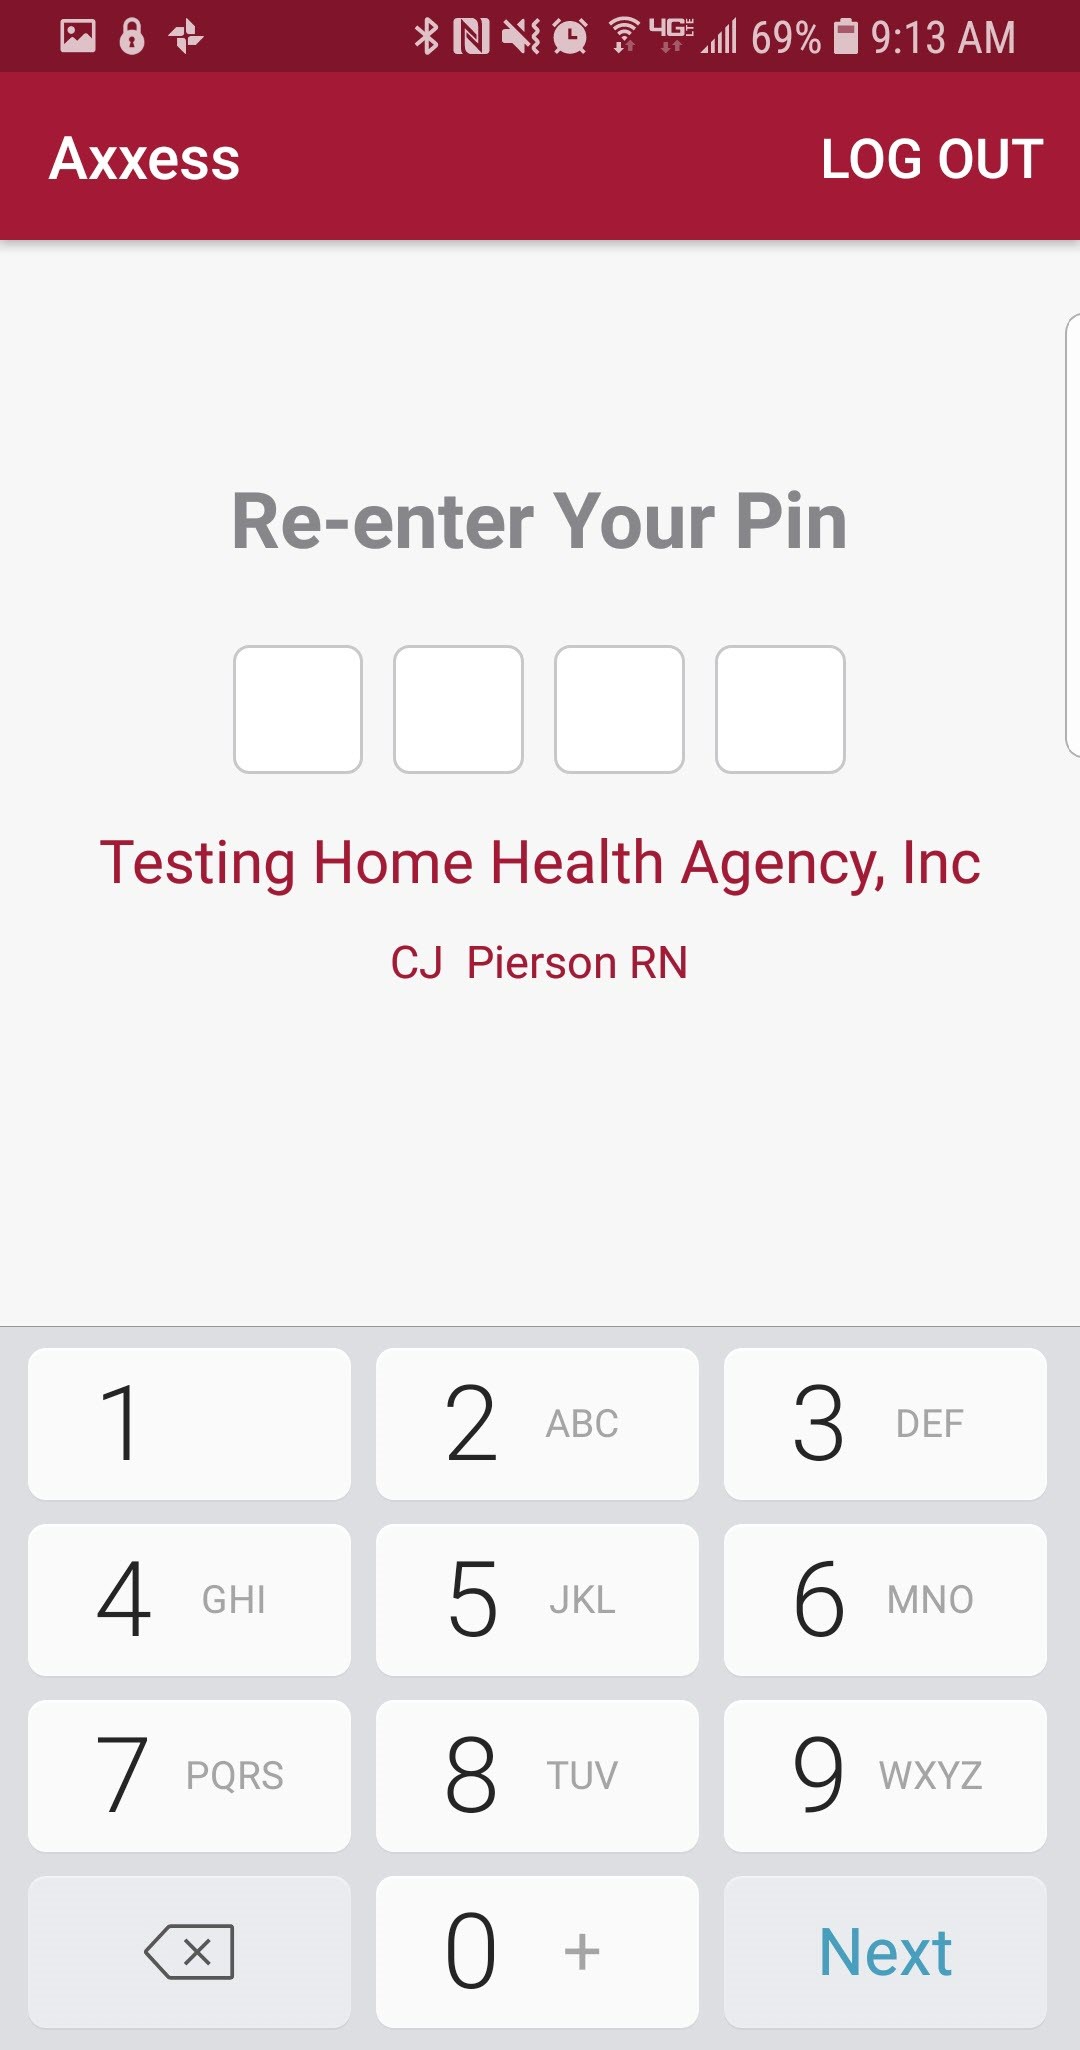
Once a 4-digit PIN code has been entered, confirm the PIN code by entering it one more time. Any time the user leaves the app and comes back or the app times out due to inactivity, the PIN code must be reentered.
NOTE: After five incorrect attempts, the user will be prompted to log back into the app and create a new pin.
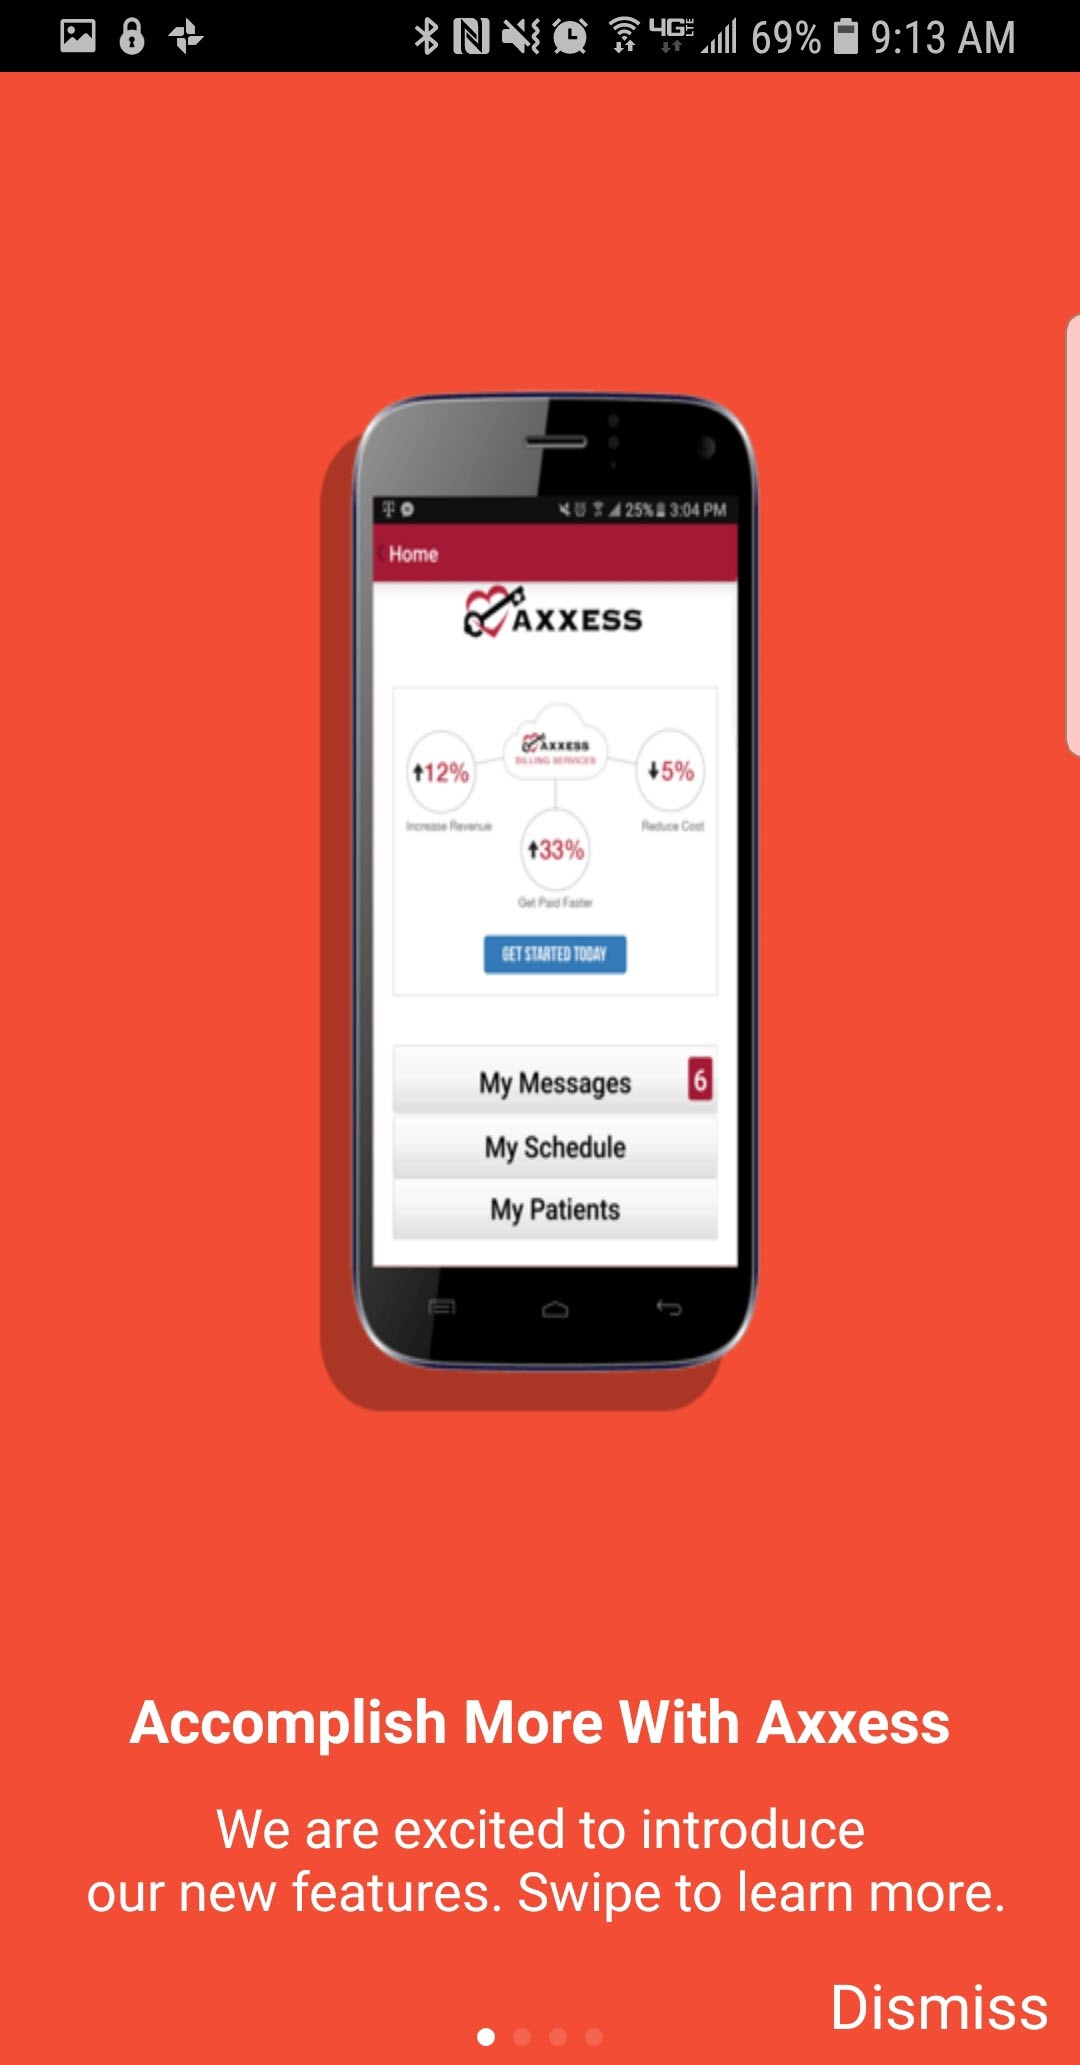
The next screen is the AgencyCore mobile splash page that will show new features or updates to the app. Slide through the pages by swiping from right to left. Tap on “Dismiss” to move to the home screen.
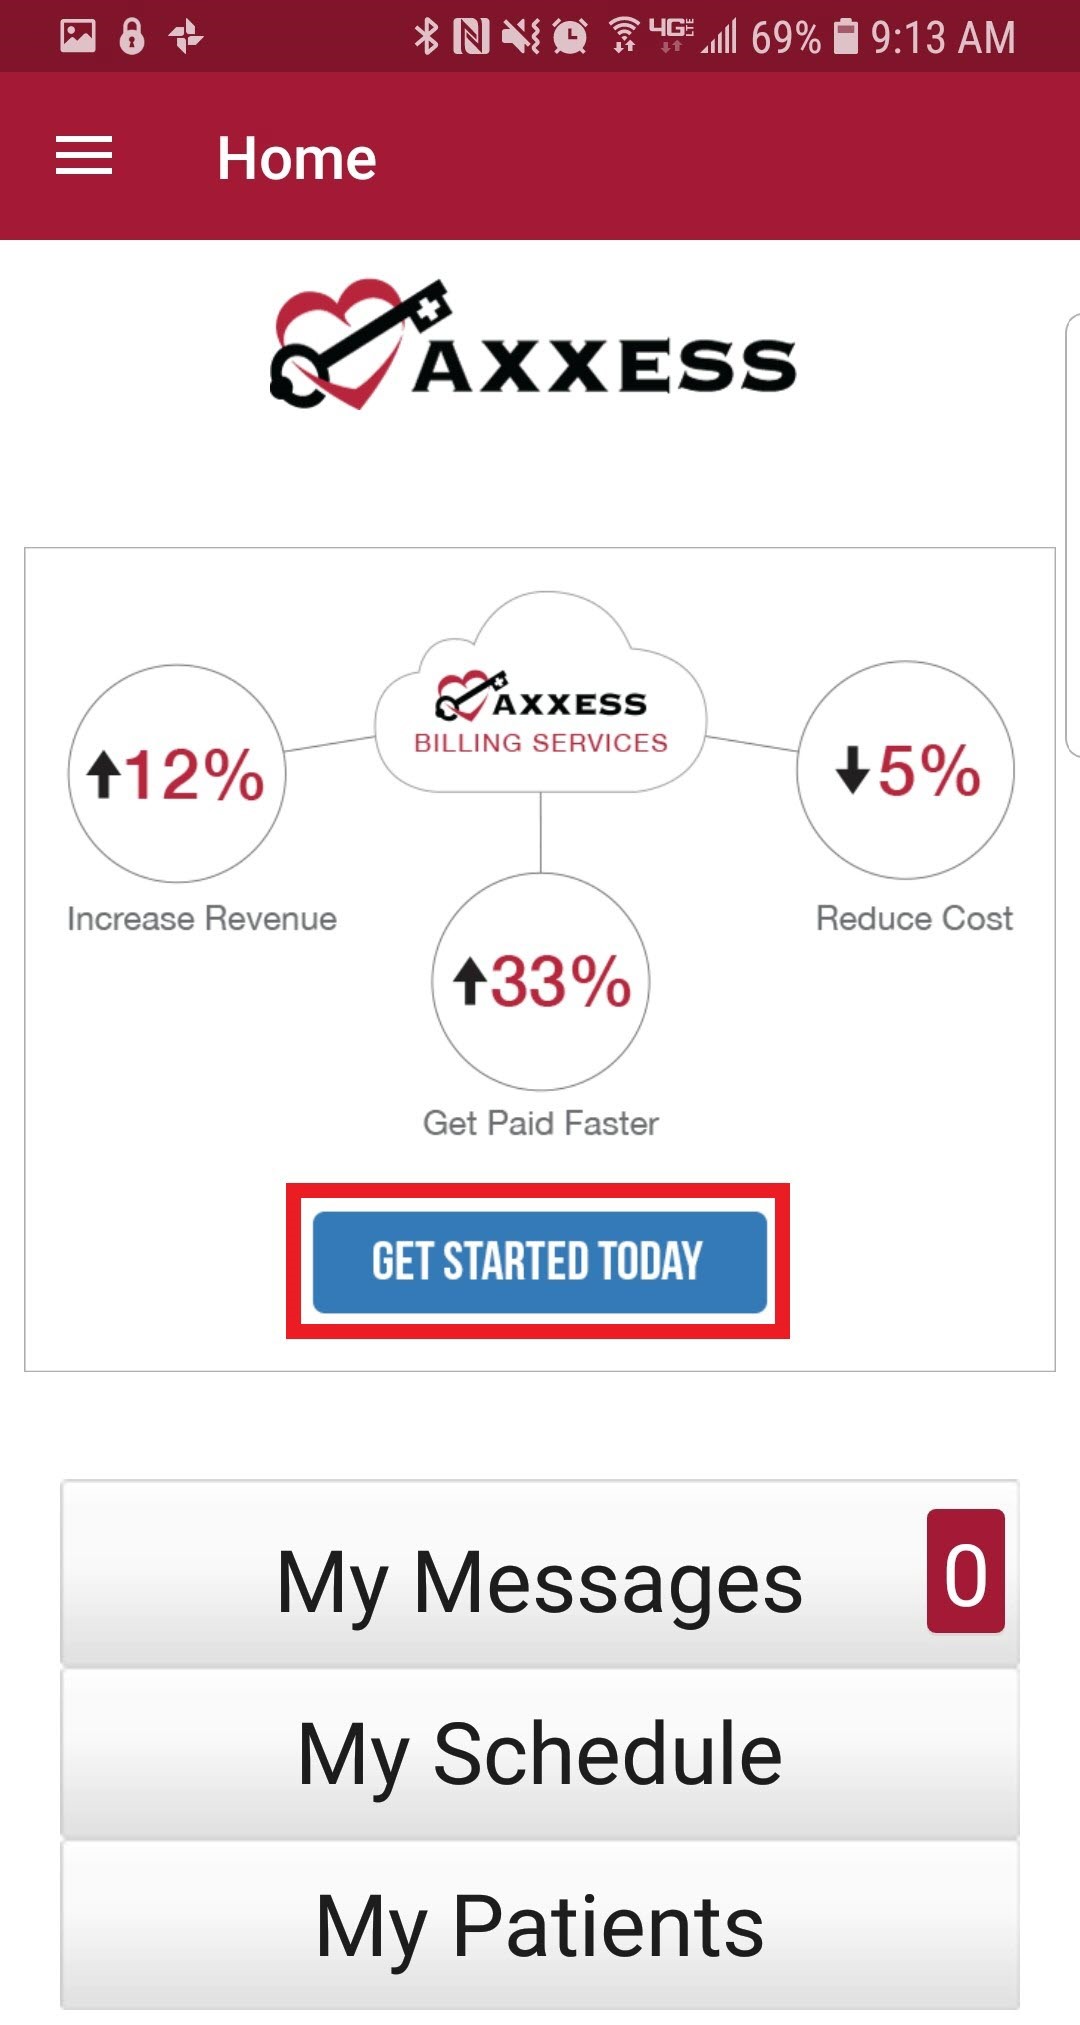
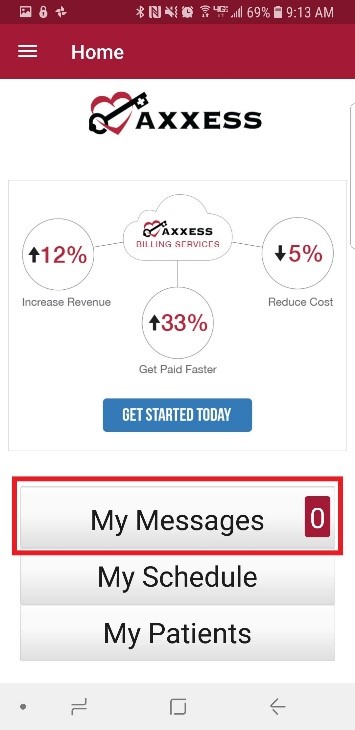
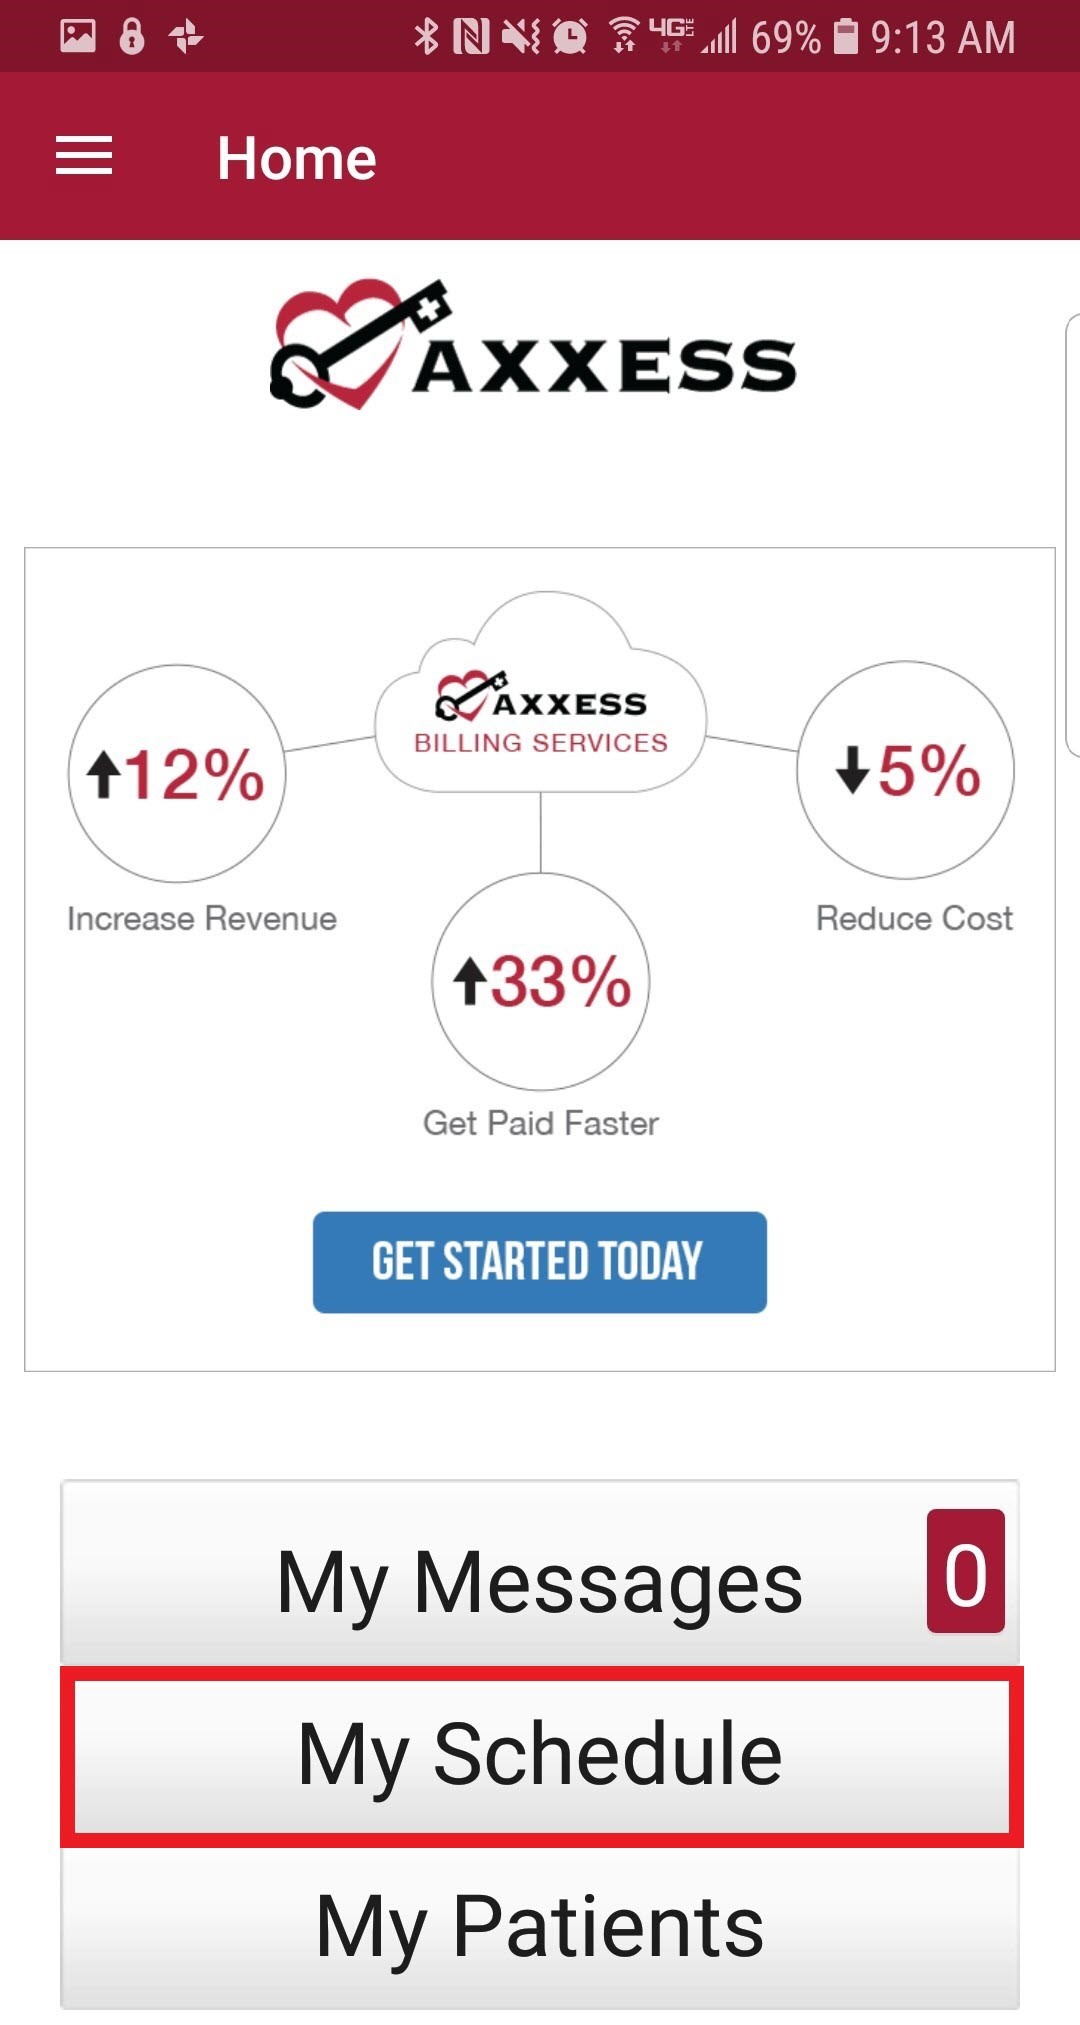
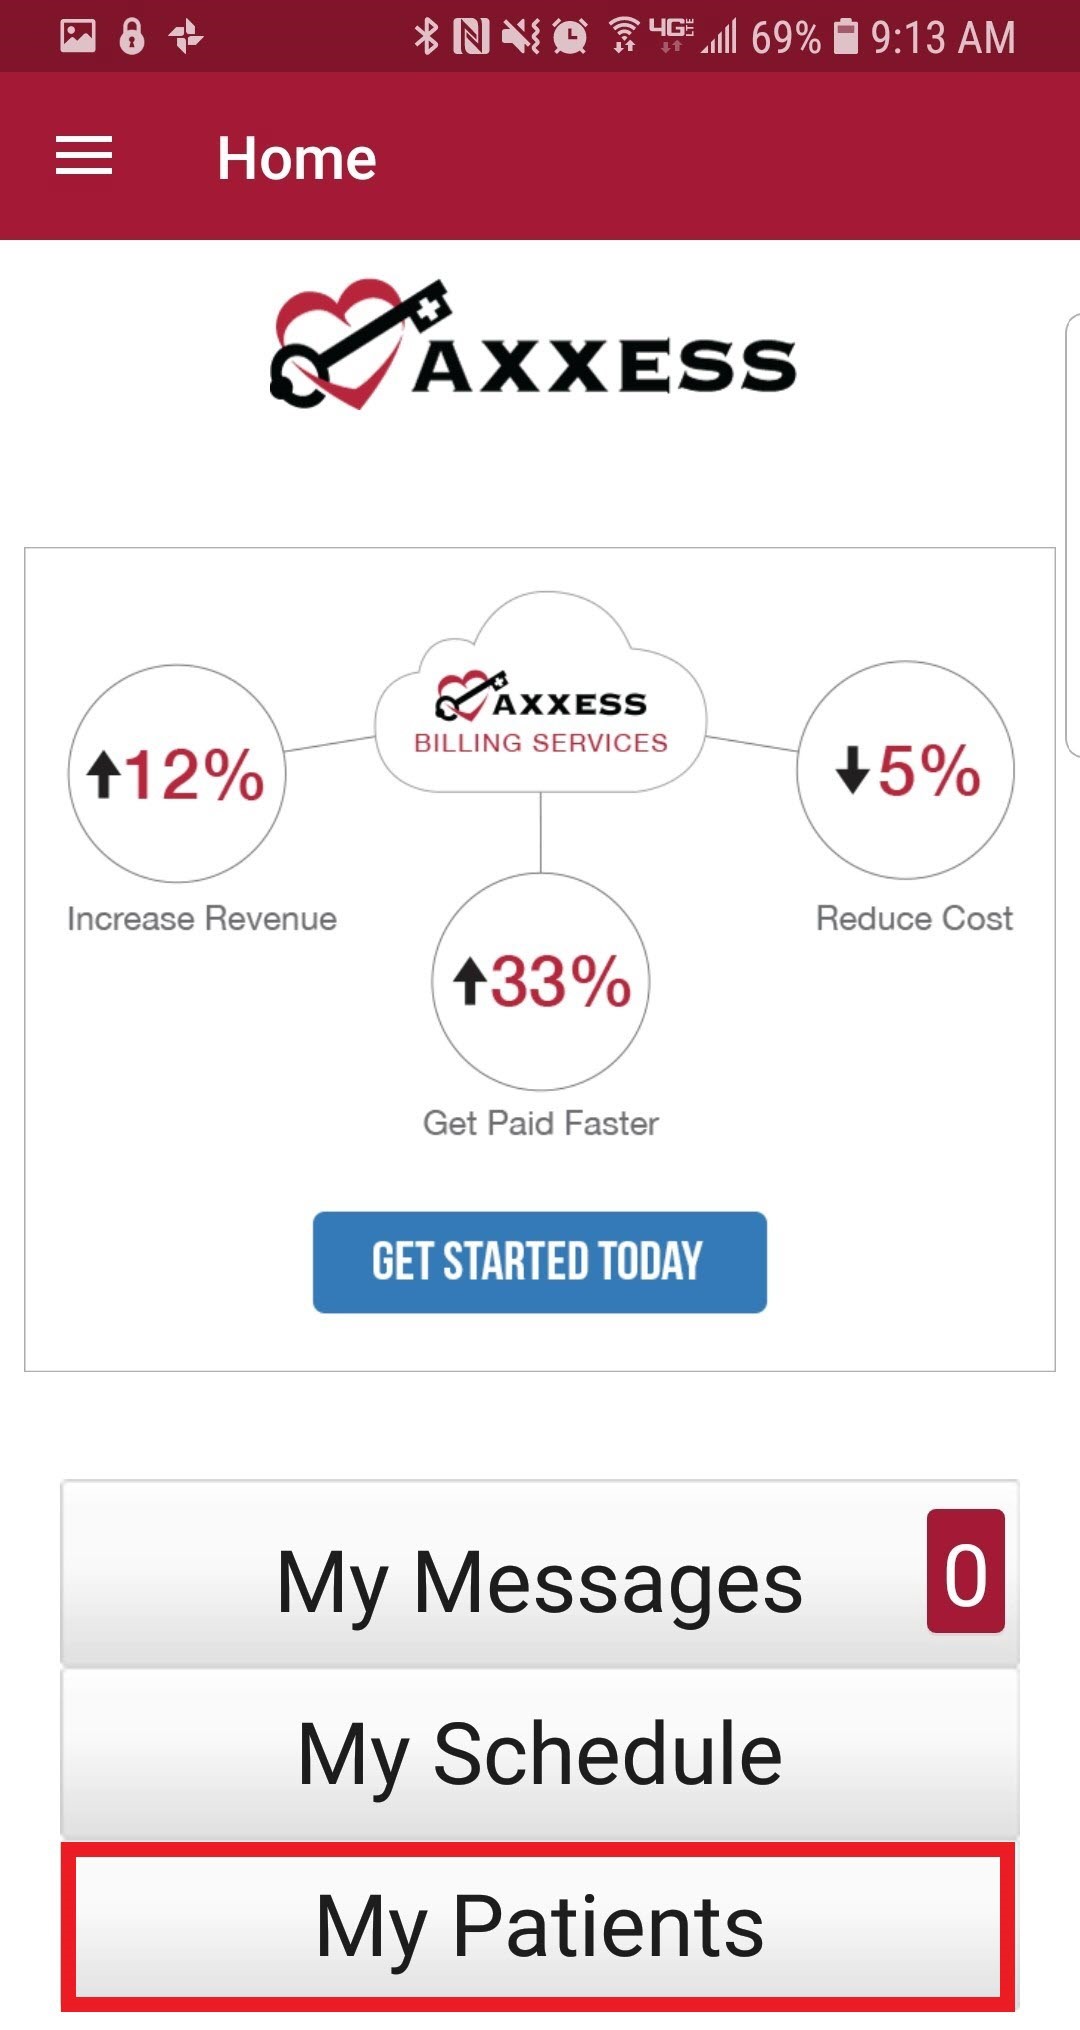
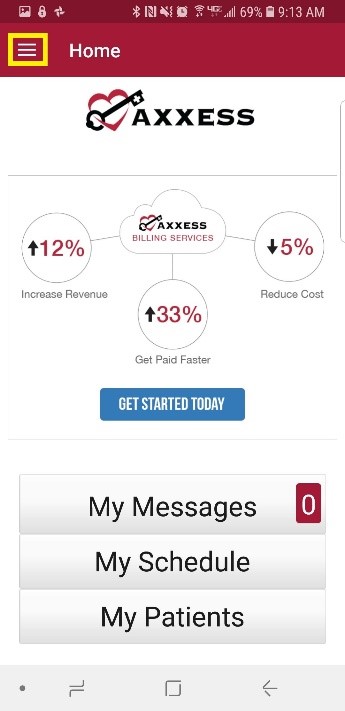
Here is the Axxess AgencyCore home page. The menu button is in the top left of the screen. The bottom three tabs are My Messages, My Schedule and My Patients. The main part of the screen includes announcements from Axxess. To see those announcements, tap on the “GET STARTED TODAY” button.
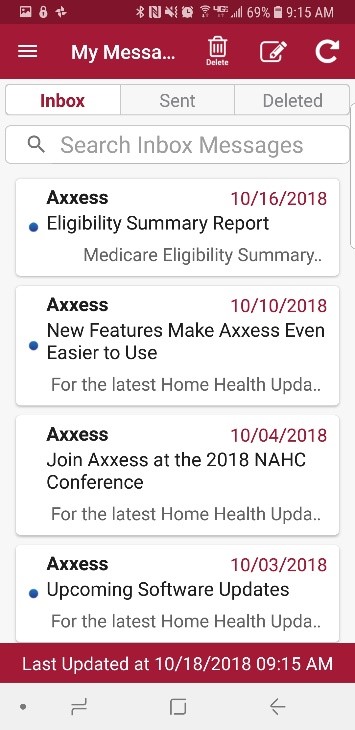
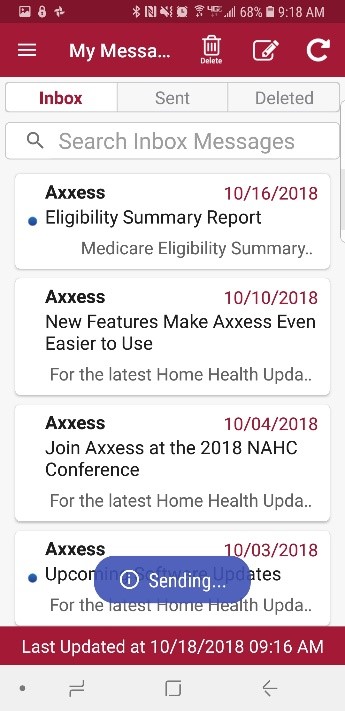
Tap on the “My Messages” button. This is the HIPAA-compliant, intra-organization messaging feature. Here in “My Messages”, users can create new messages or see any messages that have been Sent, Received or Deleted.
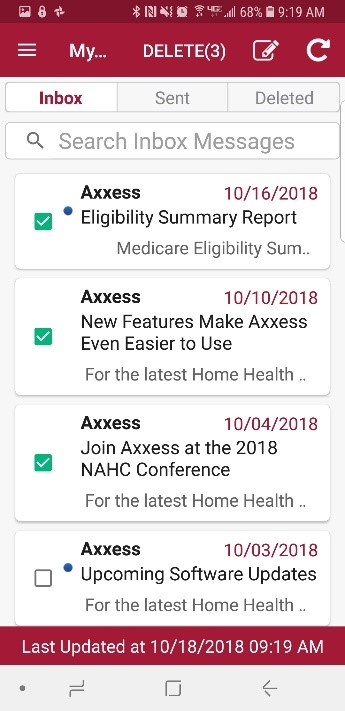
The messages default to the Inbox tab (red text). Any new messages will have a blue dot to the left. The sender of the message will be in bold text with the subject of the message underneath. Underneath the subject will be a preview of the message. The date the message was received will be on the right (red text). The last time/date the message que was updated will show at the bottom (white text).
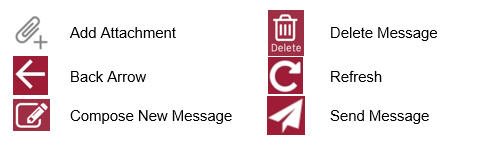
Swipe down on the message center to refresh or tap on the refresh ![]() icon.
icon.
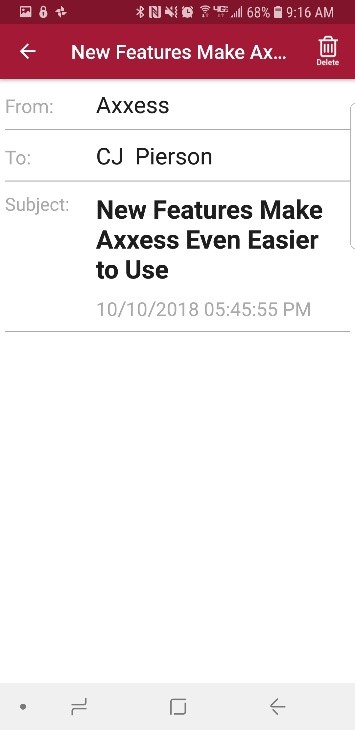
Tap on a message to view. Select the delete ![]() icon in the bottom left of the screen to remove. Tap on the back arrow
icon in the bottom left of the screen to remove. Tap on the back arrow ![]() icon to go back.
icon to go back.
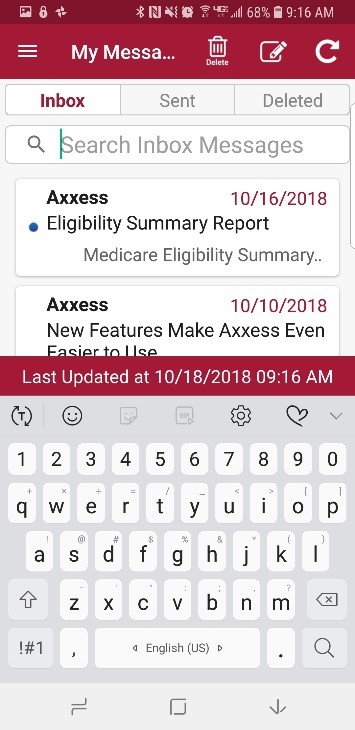
Back at My Messages, tap on the Search Inbox Messages section to find a specific message searching by keyword.
Tap on the delete icon at the top, then select any message from the list.

The selected messages will have a green check mark. Tap all messages that need to be removed, then tap “DELETE(X)” at the top of the page. The number in parentheses is how many messages are selected.
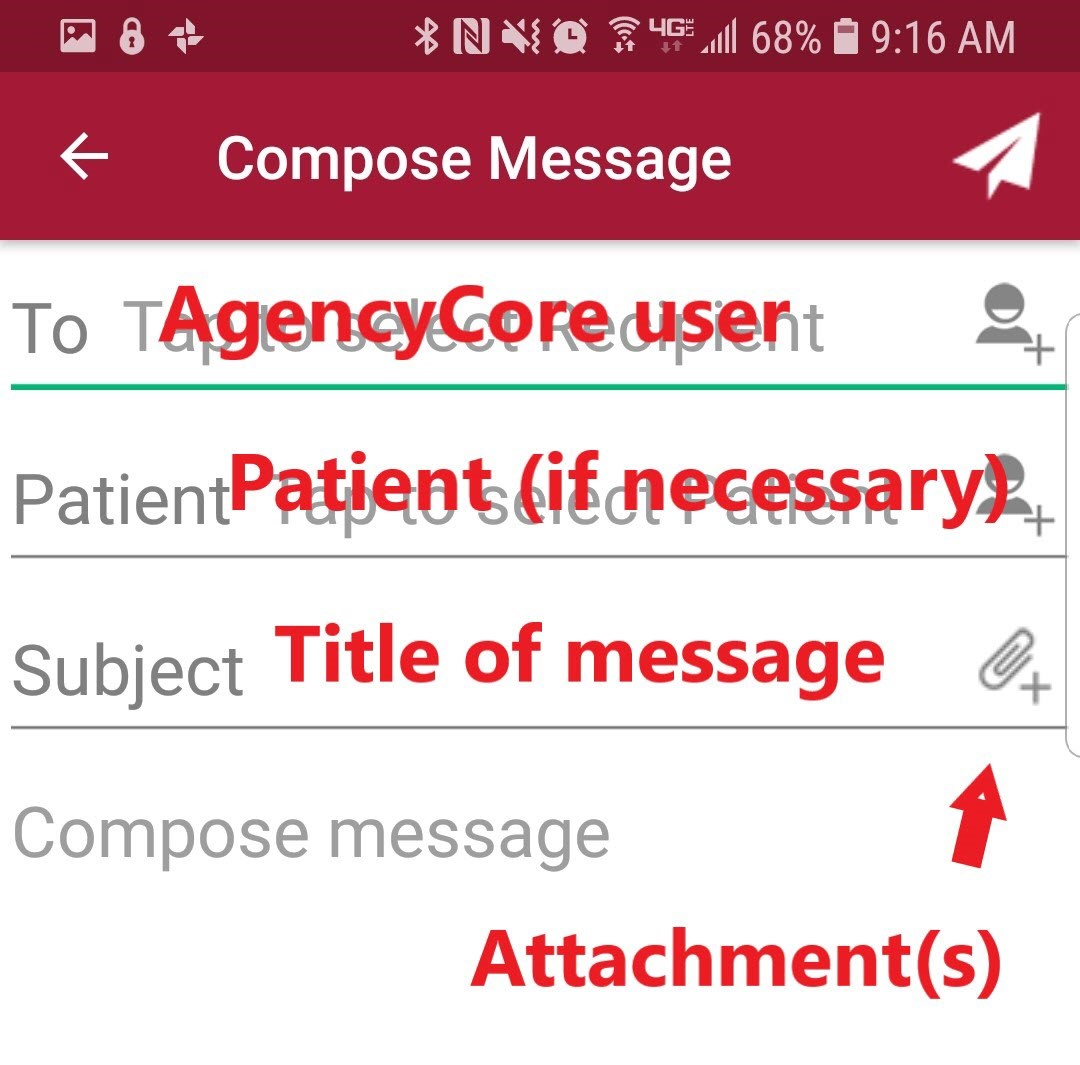
Select the ![]() icon at the top to compose a new message. These messages can only be sent to other users inside the organization’s AgencyCore database. Tap inside the To area and start typing the name of the user being sent the message. A list will drop down below and as the user continues to type the list becomes smaller. If the message is patient-specific, tap inside the Patient area and begin typing their name. Enter a Subject, which will be the title of the message.
icon at the top to compose a new message. These messages can only be sent to other users inside the organization’s AgencyCore database. Tap inside the To area and start typing the name of the user being sent the message. A list will drop down below and as the user continues to type the list becomes smaller. If the message is patient-specific, tap inside the Patient area and begin typing their name. Enter a Subject, which will be the title of the message.
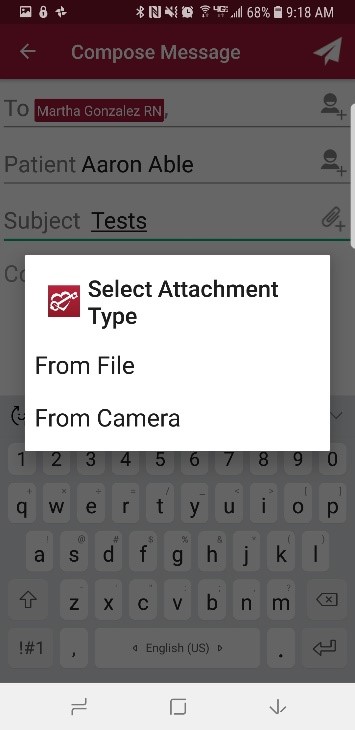
Tap on the attachment ![]() icon to add any documents or pictures from the device. “From Camera” to take a picture from the app or “From File” to locate on the device.
icon to add any documents or pictures from the device. “From Camera” to take a picture from the app or “From File” to locate on the device.
Once the message has been composed, tap the send message ![]() icon.
icon.
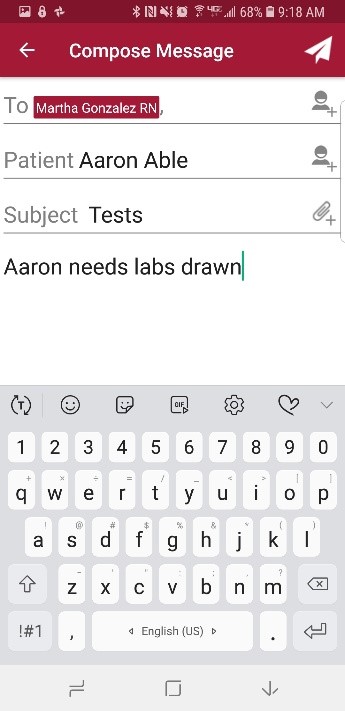
There will be a confirmation that the message is being sent. A copy will be housed in the “Sent” tab.
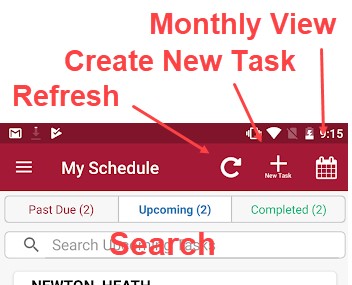
From the Home page, tap on “My Schedule.”
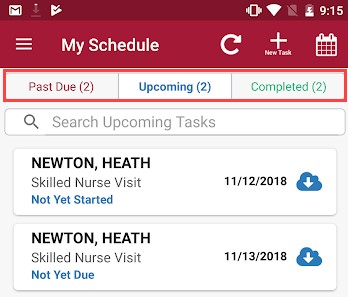
My Schedule is split into 3 tabs: Past Due, Upcoming and Completed. The number(s) in parentheses represent the number of visits in each tab.
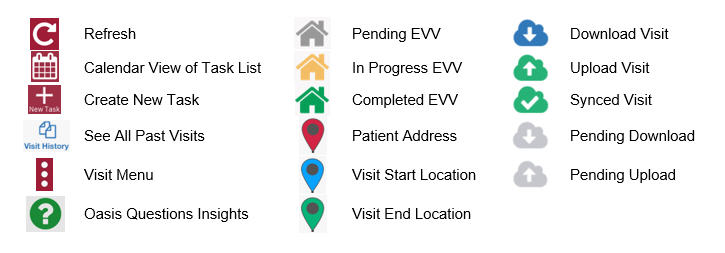
The refresh ![]() icon in the top right will update the page to reflect the most up-to-date schedule.
icon in the top right will update the page to reflect the most up-to-date schedule.
To search for a specific task, start typing in the Search ‘Past Due’ Tasks text space (magnifying glass) to narrow the choices. This search is performed the same way for the “Upcoming” and “Completed” tabs.
Tasks will be listed with the patient name in bold text. Below the name will be the name of the task. Below the task will be the status of that task. The date of the task is listed to the right.
Tap the calendar ![]() icon in the bottom left to look at the tasks in a calendar icon versus a list view. Next to the calendar icon will show the last time the My Schedule page was refreshed (white text).
icon in the bottom left to look at the tasks in a calendar icon versus a list view. Next to the calendar icon will show the last time the My Schedule page was refreshed (white text).
The new task ![]() icon will let users add a task from the app (permission-based).
icon will let users add a task from the app (permission-based).
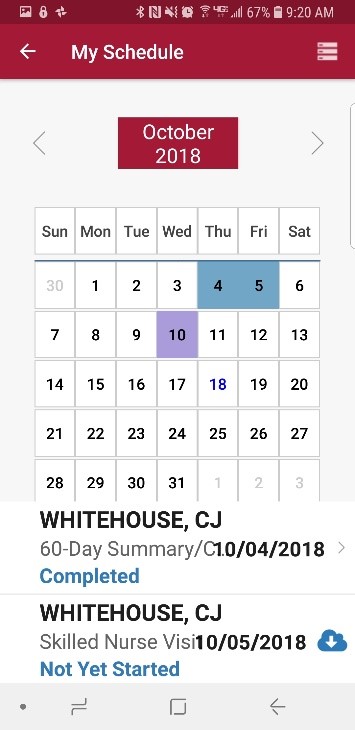
The following is the Monthly View of the tasks. Tap on the list icon in the top right to go back to the list view of tasks. Tap on either left < or right > arrow to toggle in between months.
Tapping on a task listed below the calendar will take the user to the task menu.
The following is creating a new task from the My Schedule page (permission-based).
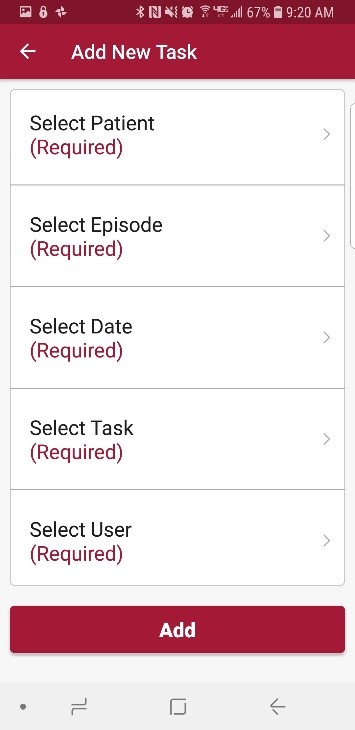
Choose a Patient, the corresponding Episode, choose Date, Task and User then tap on the “Add” button. After adding, the following confirmation will display. Tap “OK.”
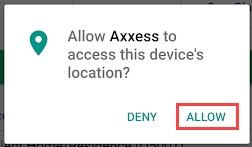
For first-time AgencyCore app users, “Allow” Axxess to have access to the user’s location. Allowing this feature is critical for the app to be able to pinpoint the user’s location accurately for Electronic Visit Verification (EVV), which is covered below.
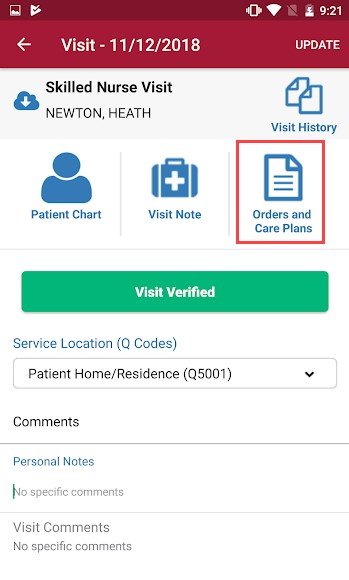
If the note is already in progress, tap the “Visit Note” button. View all previously established orders by tapping on the “Orders and Care Plans” button. The patient’s Service Location (Q Code) can be updated by tapping the drop-down menu. There is also space at the bottom for Personal Notes, Visit and Episode Comments. Notifications the agency entered will also be here.
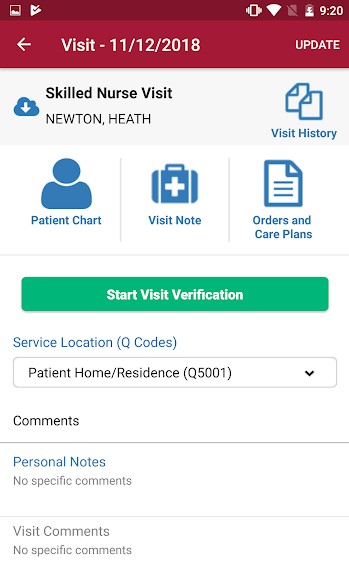
View all previously completed visits by tapping on the Visit History ![]() icon. Tapping on individual visits will show a PDF view of each.
icon. Tapping on individual visits will show a PDF view of each.

From the Visit page, tap on the “Start Visit Verification” button to get started.

The screen will confirm the time and date of Visit Started. If EVV was accidentally/incorrectly started, tap on the “Cancel Visit Verification” button.
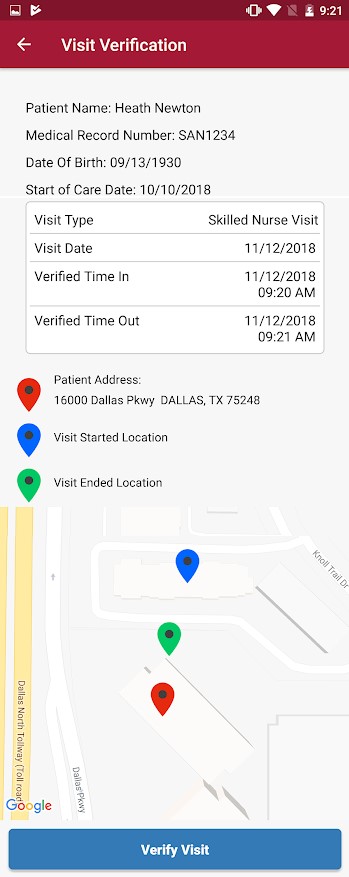
The same green button will be the place to tap to “End Visit Verification.” Another window will appear that will show the Visit Time/Date in and out with 3 colored pins on a Google map. Tap on the blue “Verify Visit” button.
![]() – Patient Address
– Patient Address
![]() – Visit Started Location
– Visit Started Location
![]() – Visit Ended Location
– Visit Ended Location
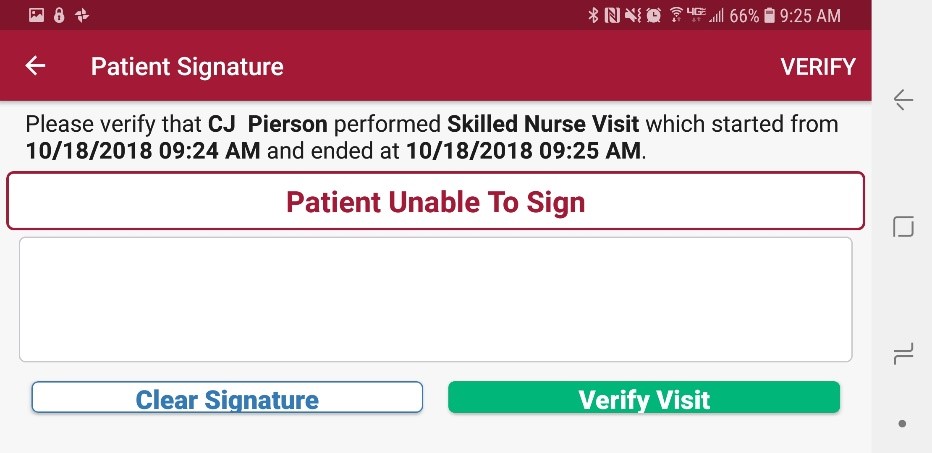
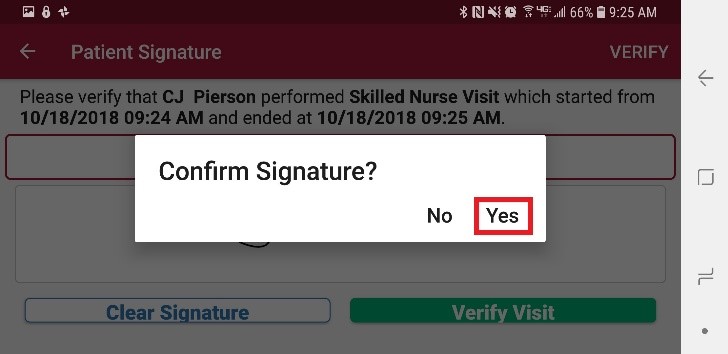
The user will then be prompted to retrieve the patient signature. The time in and out will be listed. If patient cannot sign the device, tap the “Patient Unable To Sign” button. User must select reason either Physical Impairment, Mental Impairment or Other. Get Care Signature and verify visit. Patient enters signature whether with their finger or with a stylus. To redo, tap the “Clear Signature” button. Once completed, tap “Verify Visit.”
After tapping, the following window shows to Confirm Signature. Tap “Yes.”
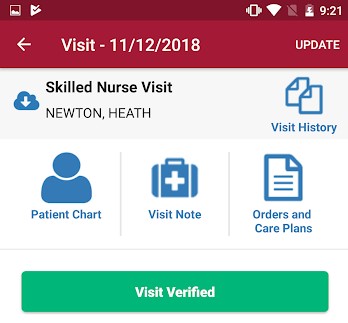
The previous Visit Verification screen will now show but with the signature now included. Tap “Close” to go back to the Visit screen. There will be a green button that says “Visit Verified.”
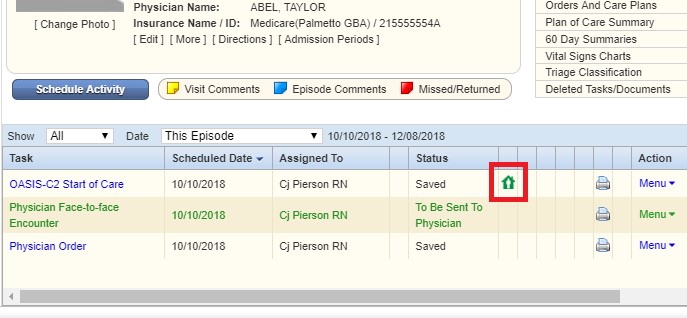
The following icons show how EVV statuses are represented:
![]()
The following is how the EVV will display in AgencyCore web application:
If there is no network connection and users cannot use EVV, visits can be downloaded and edit them offline later. Users can use EVV for patient signature with no connection, but location cannot be accessed. Edited/filled out tasks offline will sync once internet/data connection is established/reconnected. The following are the icons used to indicate the status of visits to and from the device:
![]() Download
Download
![]() Upload
Upload
![]() Synced
Synced
![]() Pending Download
Pending Download
![]() Pending Upload
Pending Upload
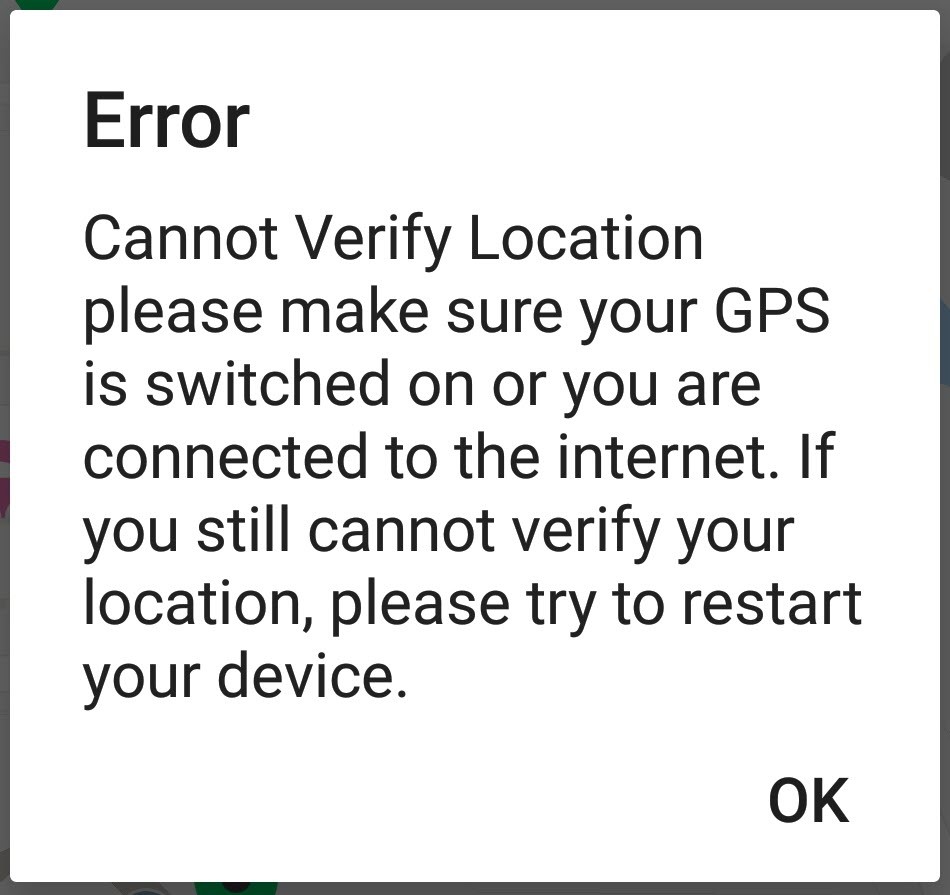
The following message will display when trying to perform EVV while not connected to the internet, out of service range or unable to verify location. Verify the patient’s address on their profile.
NOTE: EVV time in and out will not automatically pull to visit notes. Time In and Time Out must be documented inside the visit note.
Tapping on the Visit Note ![]() icon will go to the main menu of the visit to begin documenting. Previous notes completed will be listed at the top. If they are available, tap on the drop-down menu and select the visit from which to copy. The following examples are looking at an OASIS Start of Care (SOC) that has no previously completed visits. Tap on each category and complete all questions in every category.
icon will go to the main menu of the visit to begin documenting. Previous notes completed will be listed at the top. If they are available, tap on the drop-down menu and select the visit from which to copy. The following examples are looking at an OASIS Start of Care (SOC) that has no previously completed visits. Tap on each category and complete all questions in every category.
NOTE: OASIS visits cannot be signed as complete from a device. They must be signed as complete from the AgencyCore desktop application.
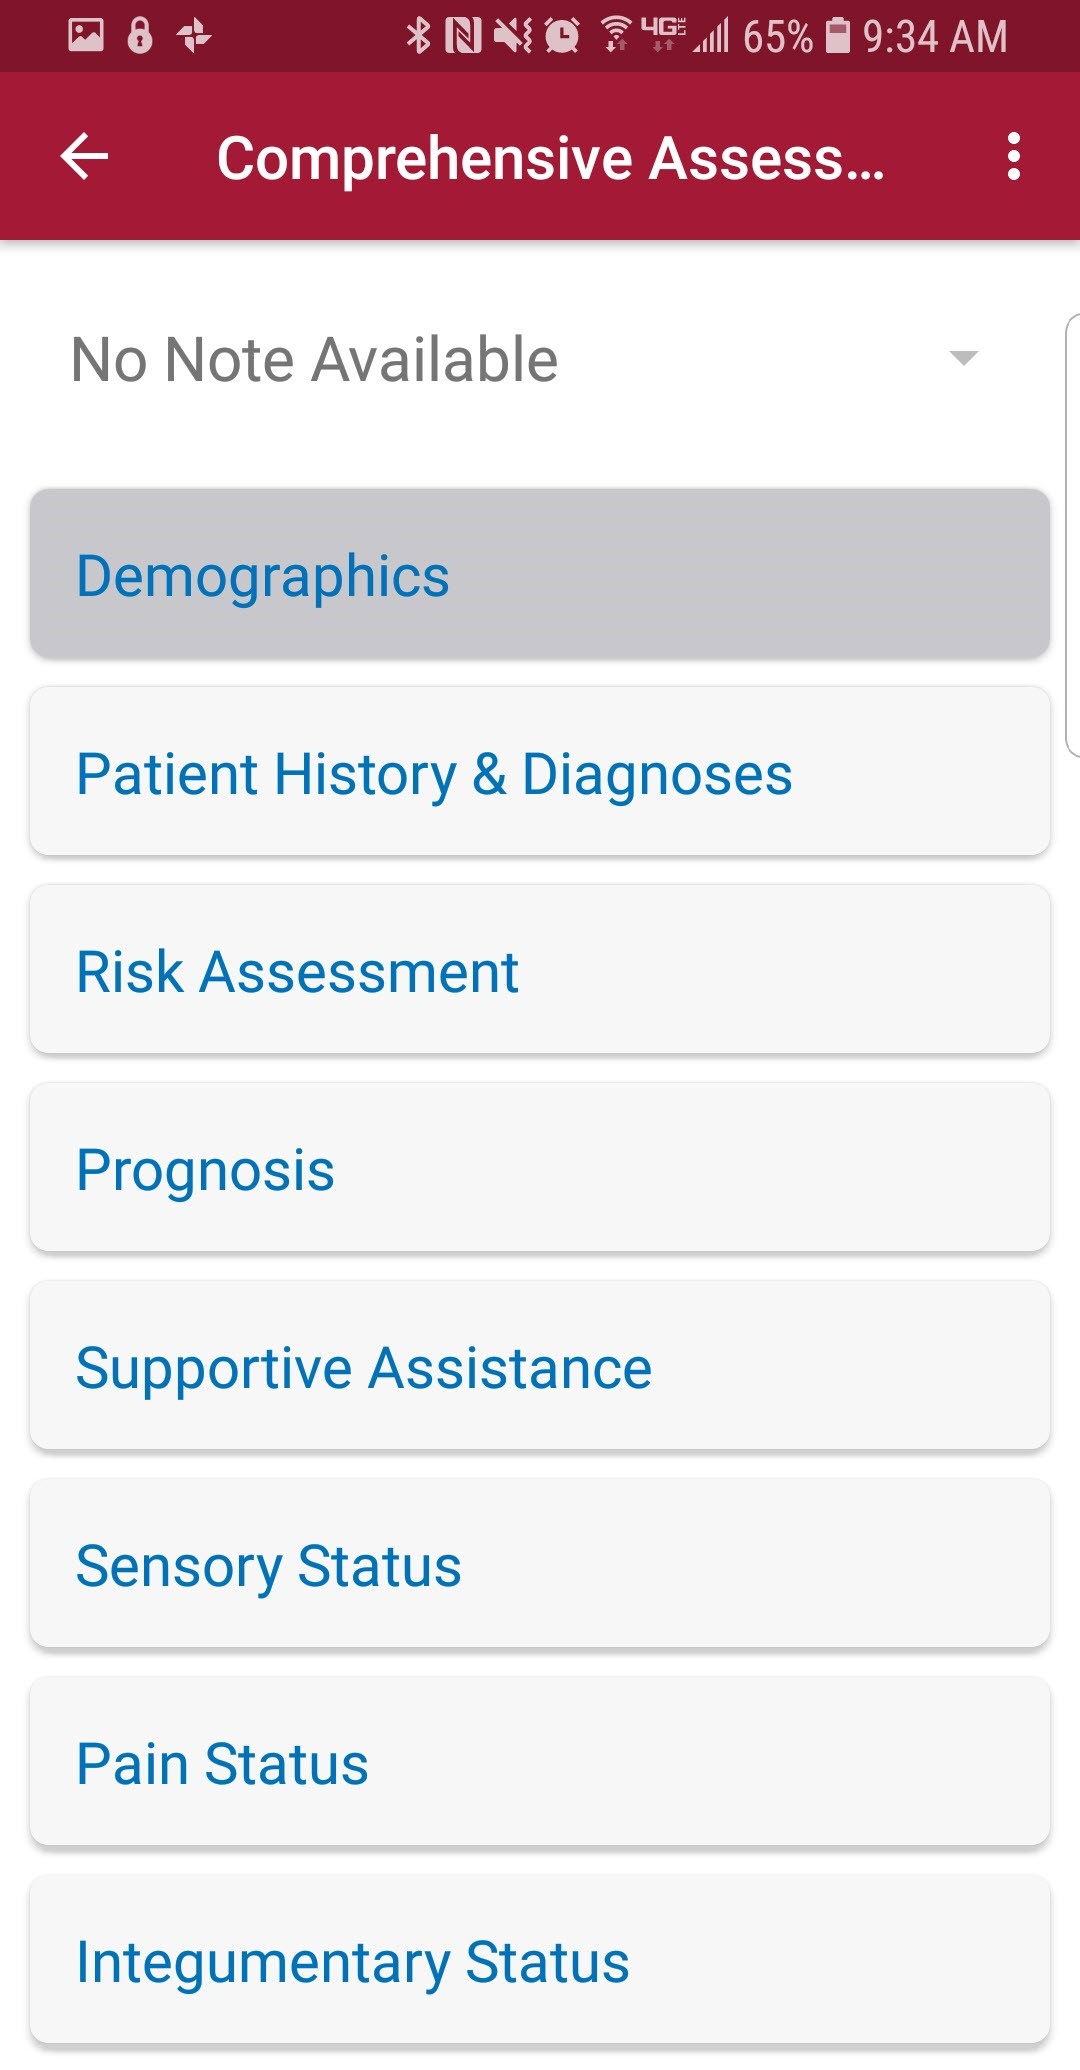
Each category is split up into subcategories. The following is a look into the Demographics category with the first subcategory also called Demographics. Tap the “< Previous” and “Next >” options to go in between categories. The subcategory is expanded because the arrow to the left of the title is facing up.
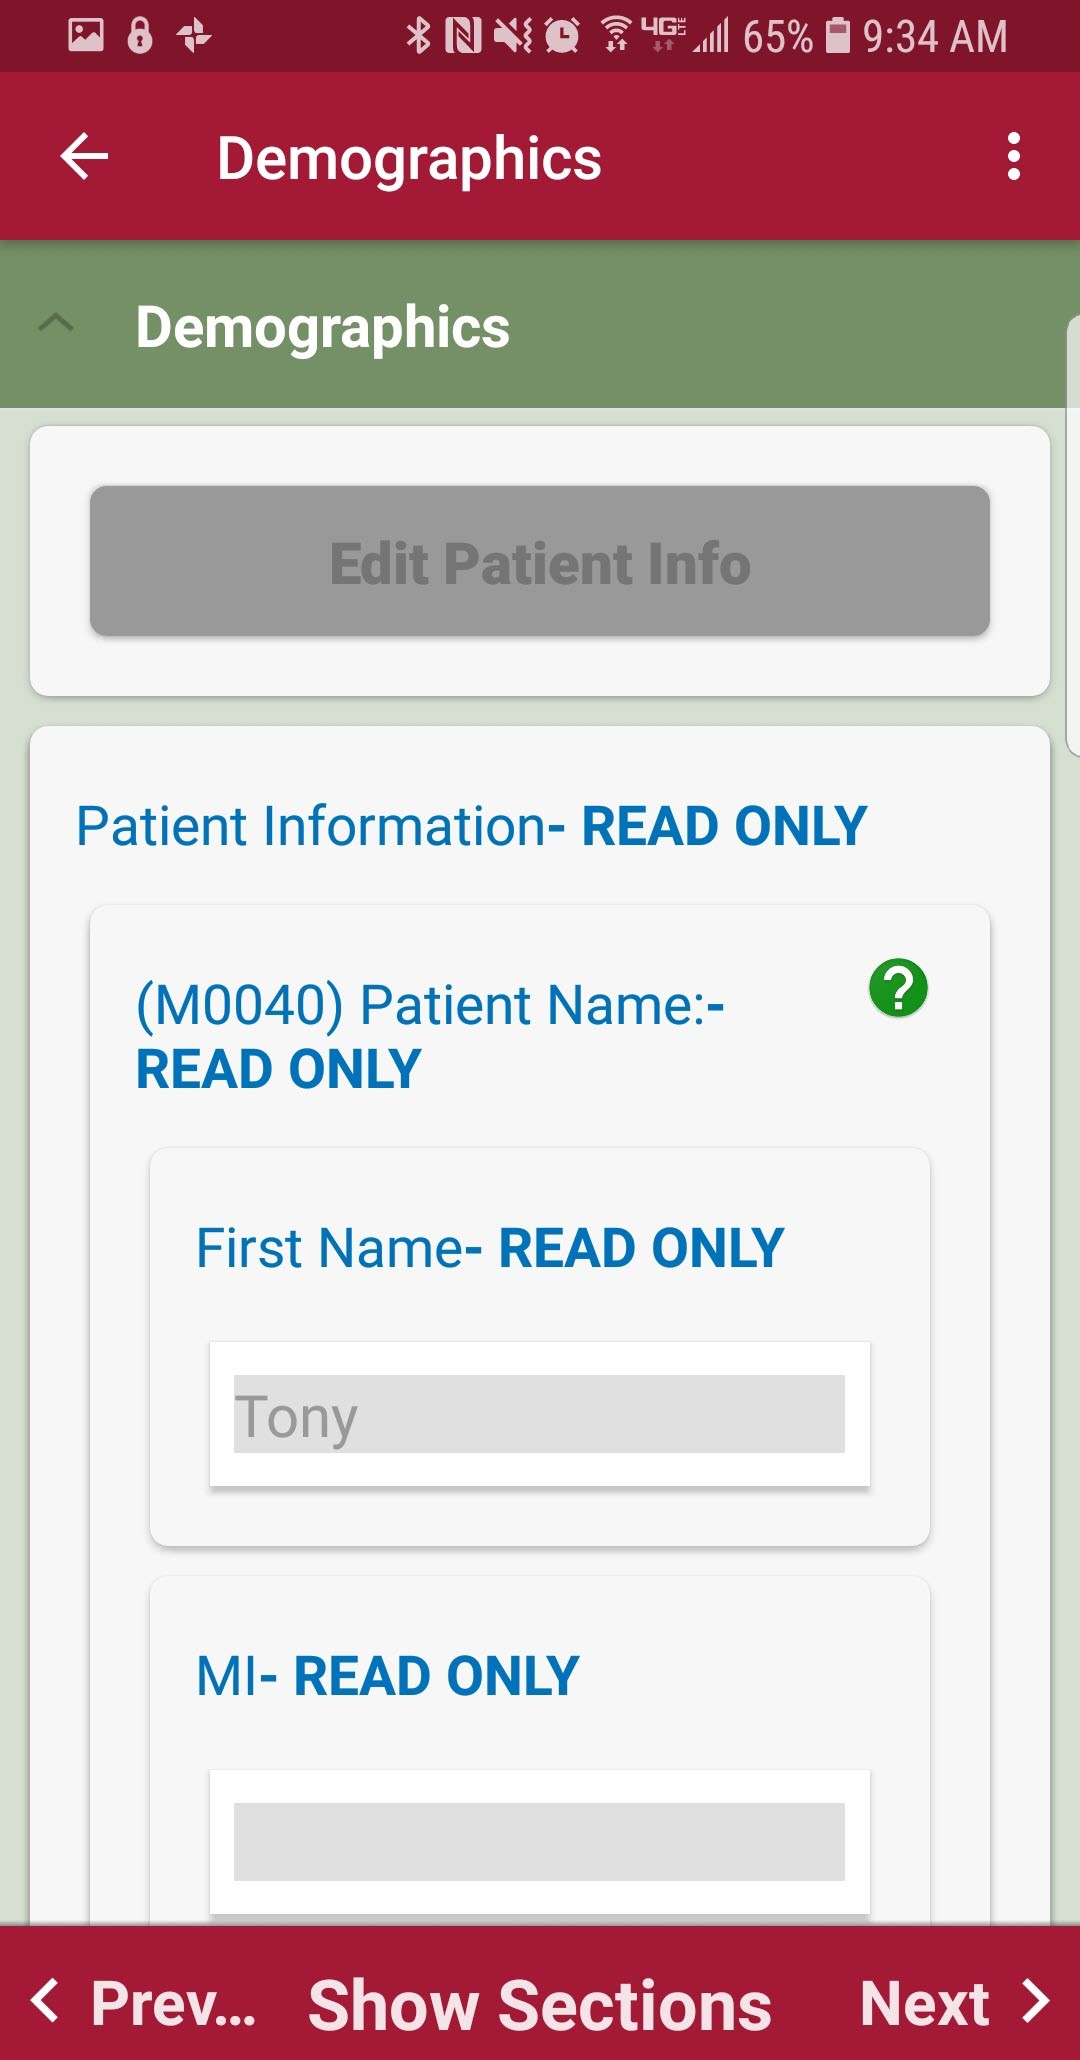
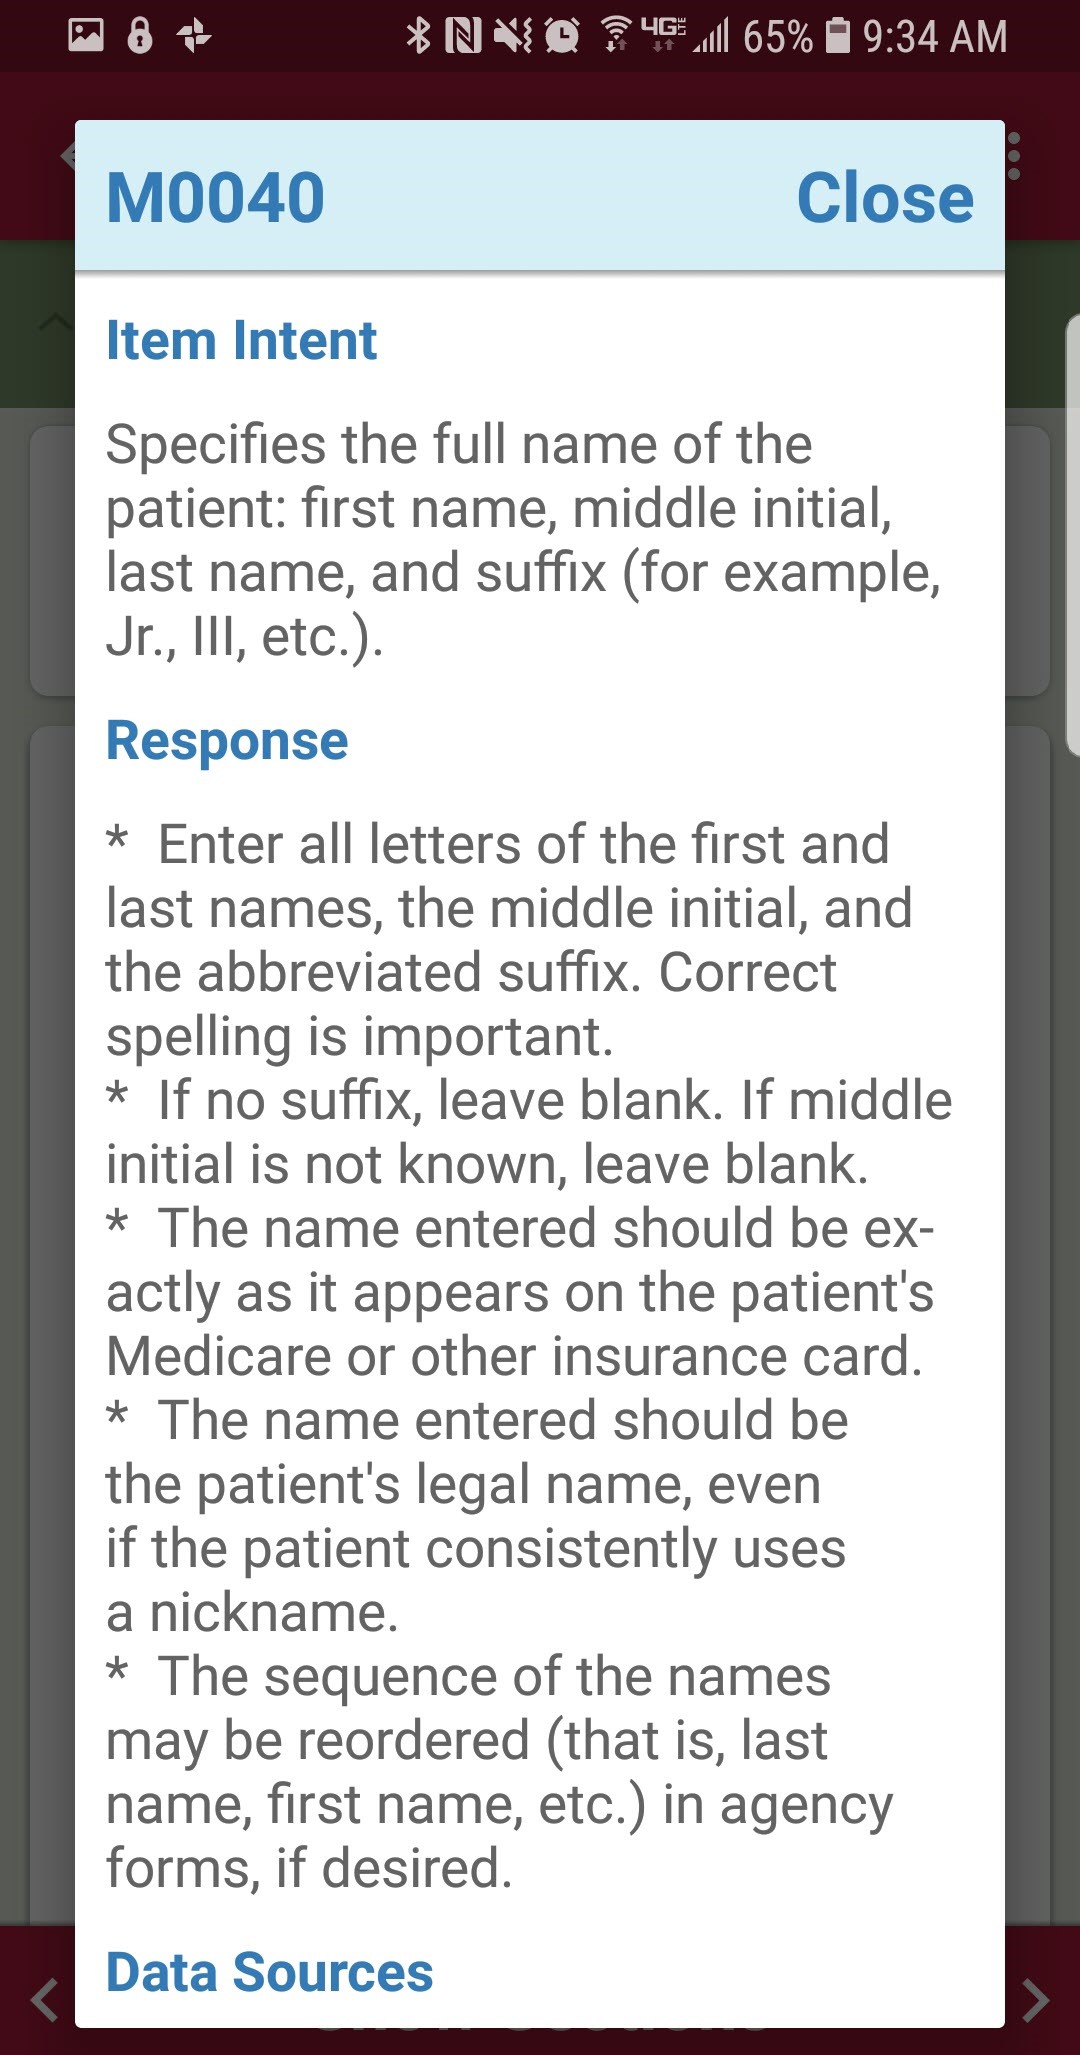
Information that was entered during the referral/admission process in AgencyCore is automatically generated in the Demographics subcategory. Tapping the green question mark circle ![]() icon will give more insight into any OASIS assessment questions. Tap “Close” to return to the assessment.
icon will give more insight into any OASIS assessment questions. Tap “Close” to return to the assessment.
NOTE: Edits to grayed-out OASIS questions must be made in the AgencyCore web application.
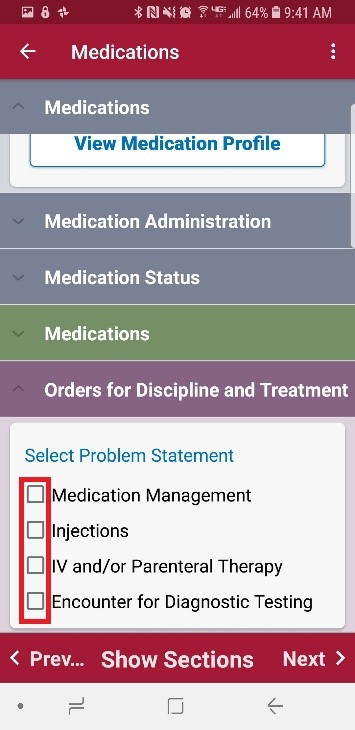
Depending on how specific OASIS questions are answered, the system will give suggested Care Plan Orders/Problem Statement(s) at the bottom of the category. Check the box(es) if applicable.
To minimize the subcategories, tap on the three-dot menu ![]() icon in the top right, then select “Collapse All” option in the bottom right. To re-open, tap “Expand All.” There is also a quick link within the menu to the Patient Chart.
icon in the top right, then select “Collapse All” option in the bottom right. To re-open, tap “Expand All.” There is also a quick link within the menu to the Patient Chart.
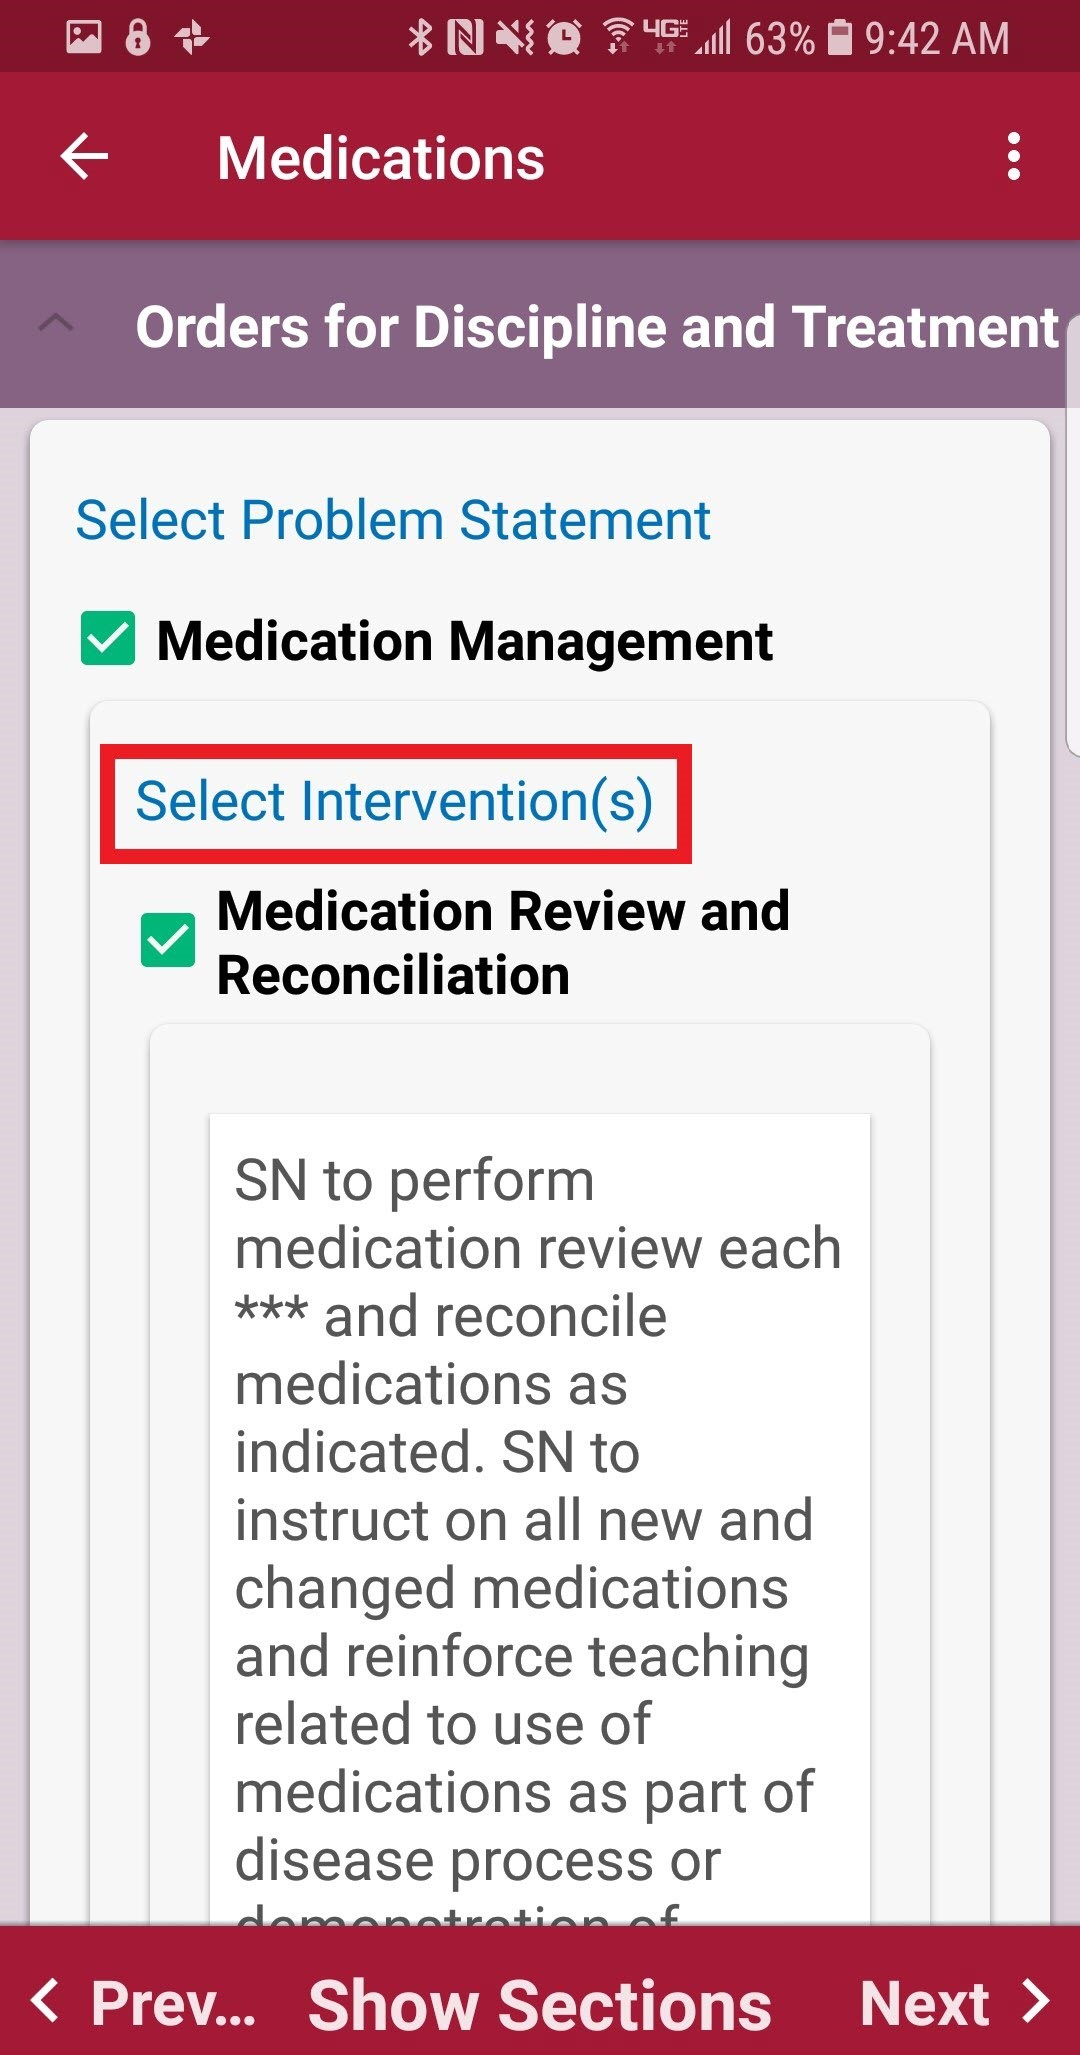
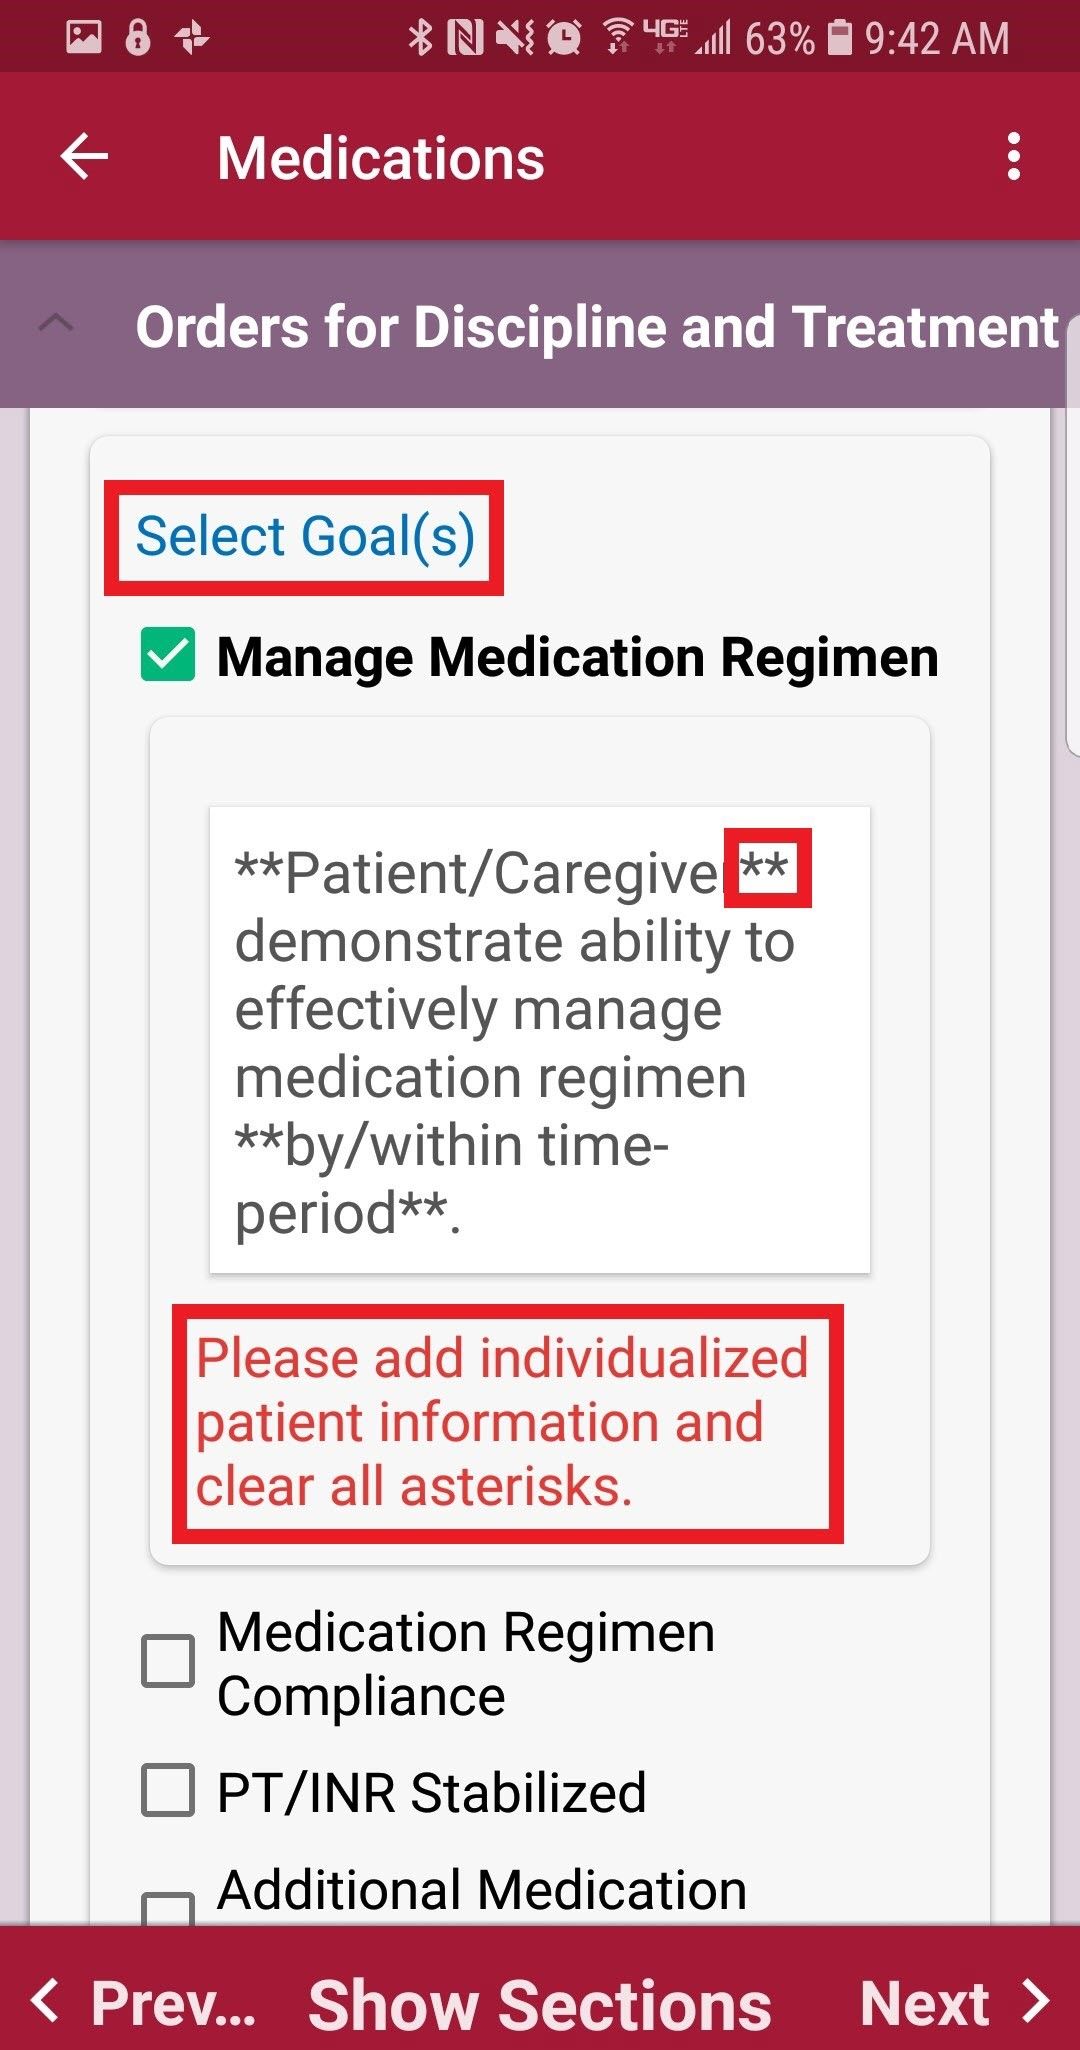
To edit Problem Statements, go to the “Orders for Discipline and Treatment” subcategory (found in multiple categories).
Select Intervention(s) and Select Goal(s) by checking the box next to the corresponding interventions and goals. After selecting interventions/goals, text will populate. Make the interventions and goals patient-specific. Also remove any asterisks (*) with patient-specific information. Users cannot save the section if there are any asterisks remaining.
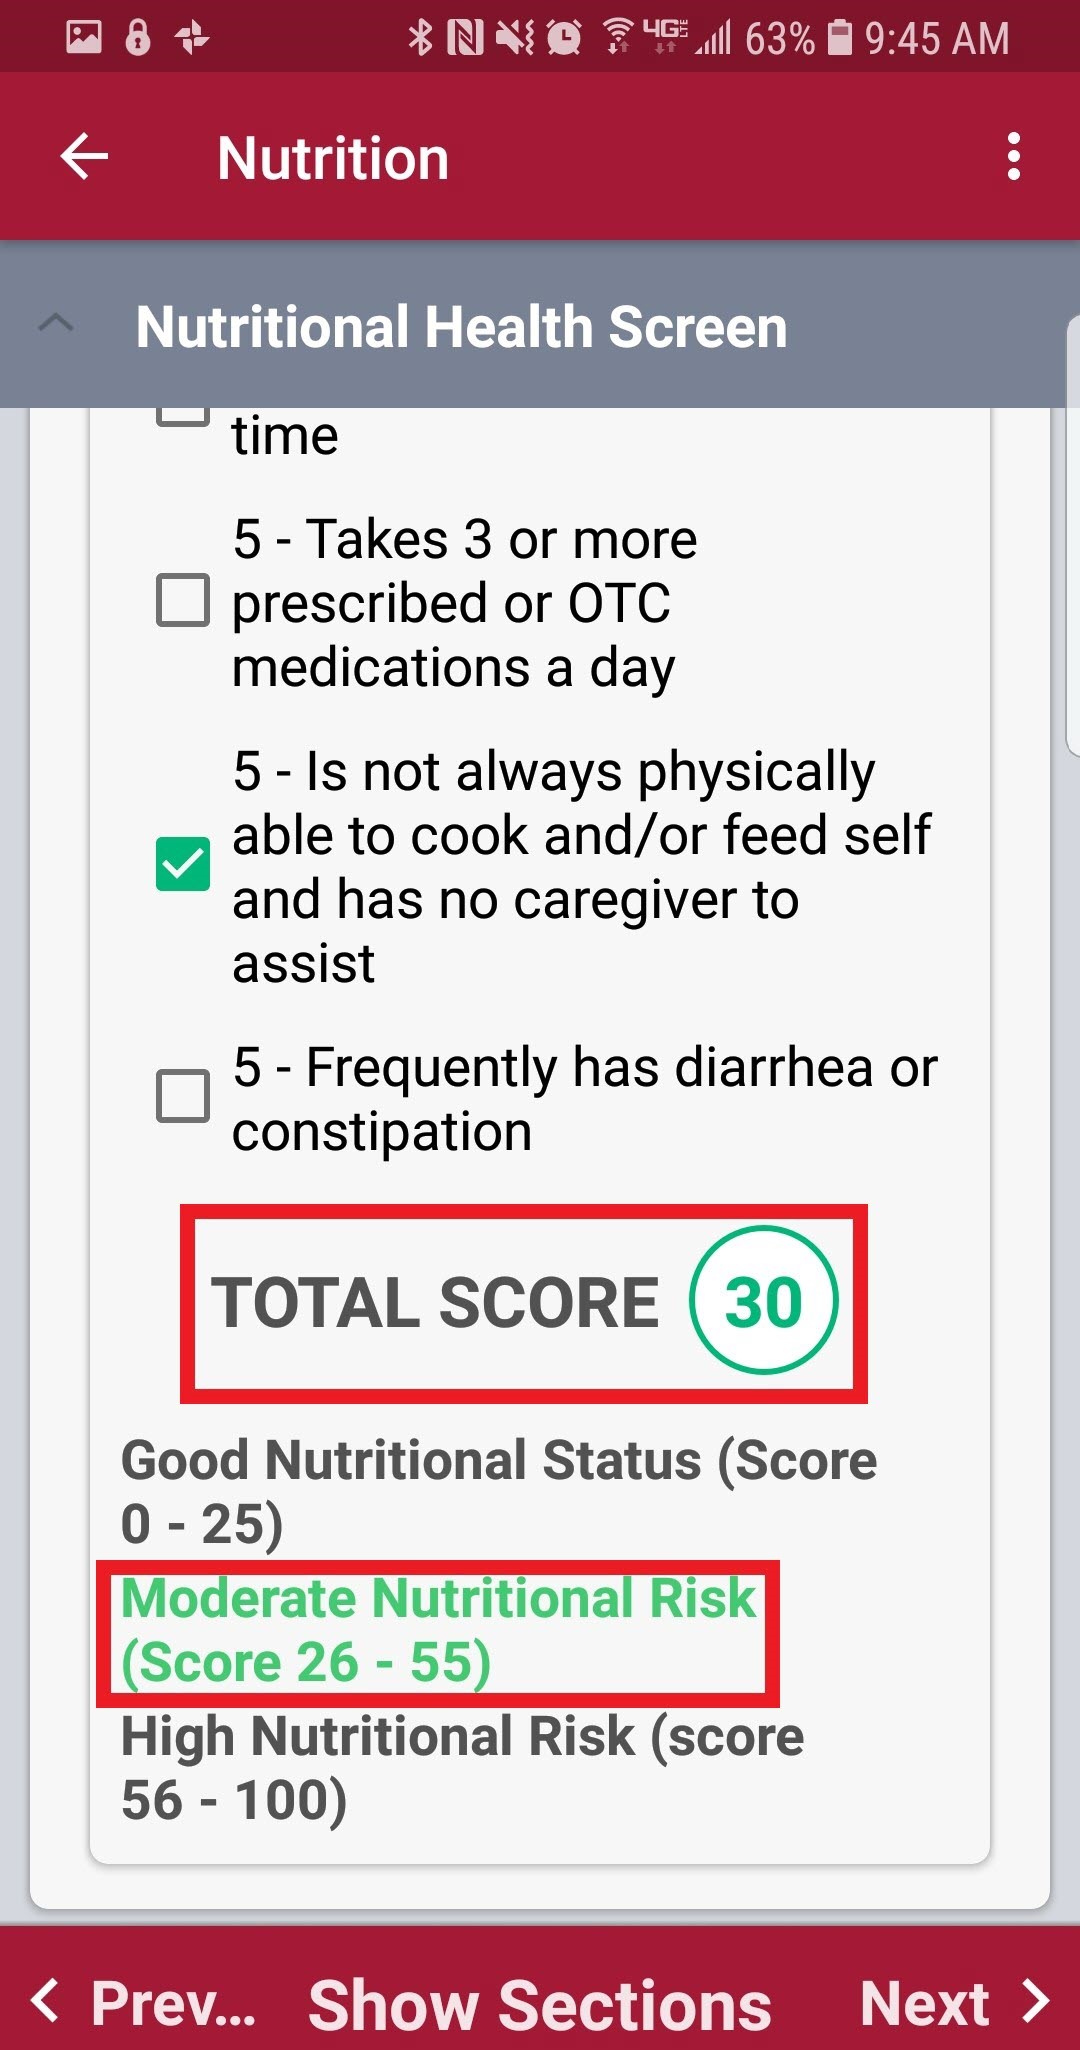
Depending on the assessment being completed, there might be some built-in tests. The following is an example of a Nutritional Health Screen test.
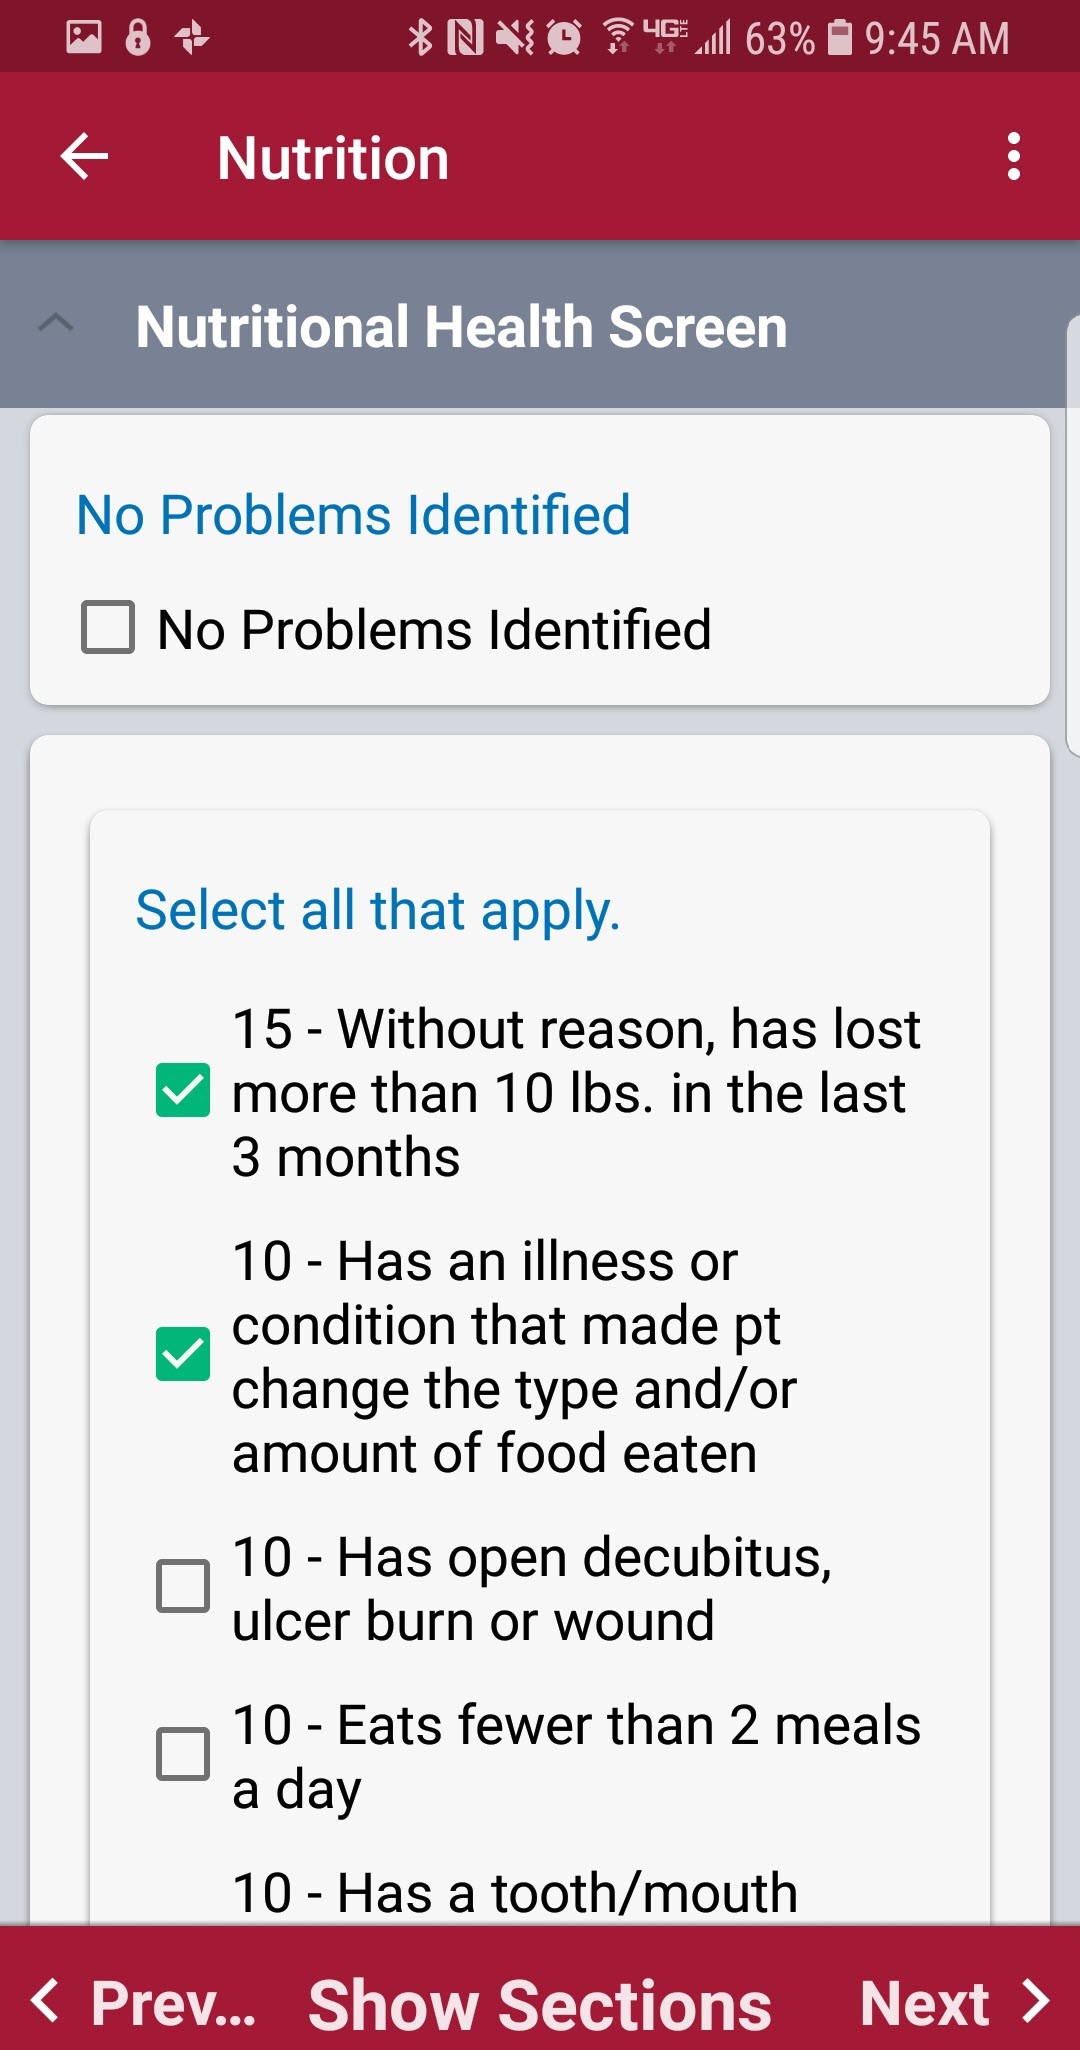
The score will be automatically updated as the user continues the test depending on how questions are answered. The score will show at the bottom of the page, depending on the test, their score might put the patient in a group. The following example shows that based on the patient’s nutritional habits and corresponding score, that they are at a Moderate Nutritional Risk.
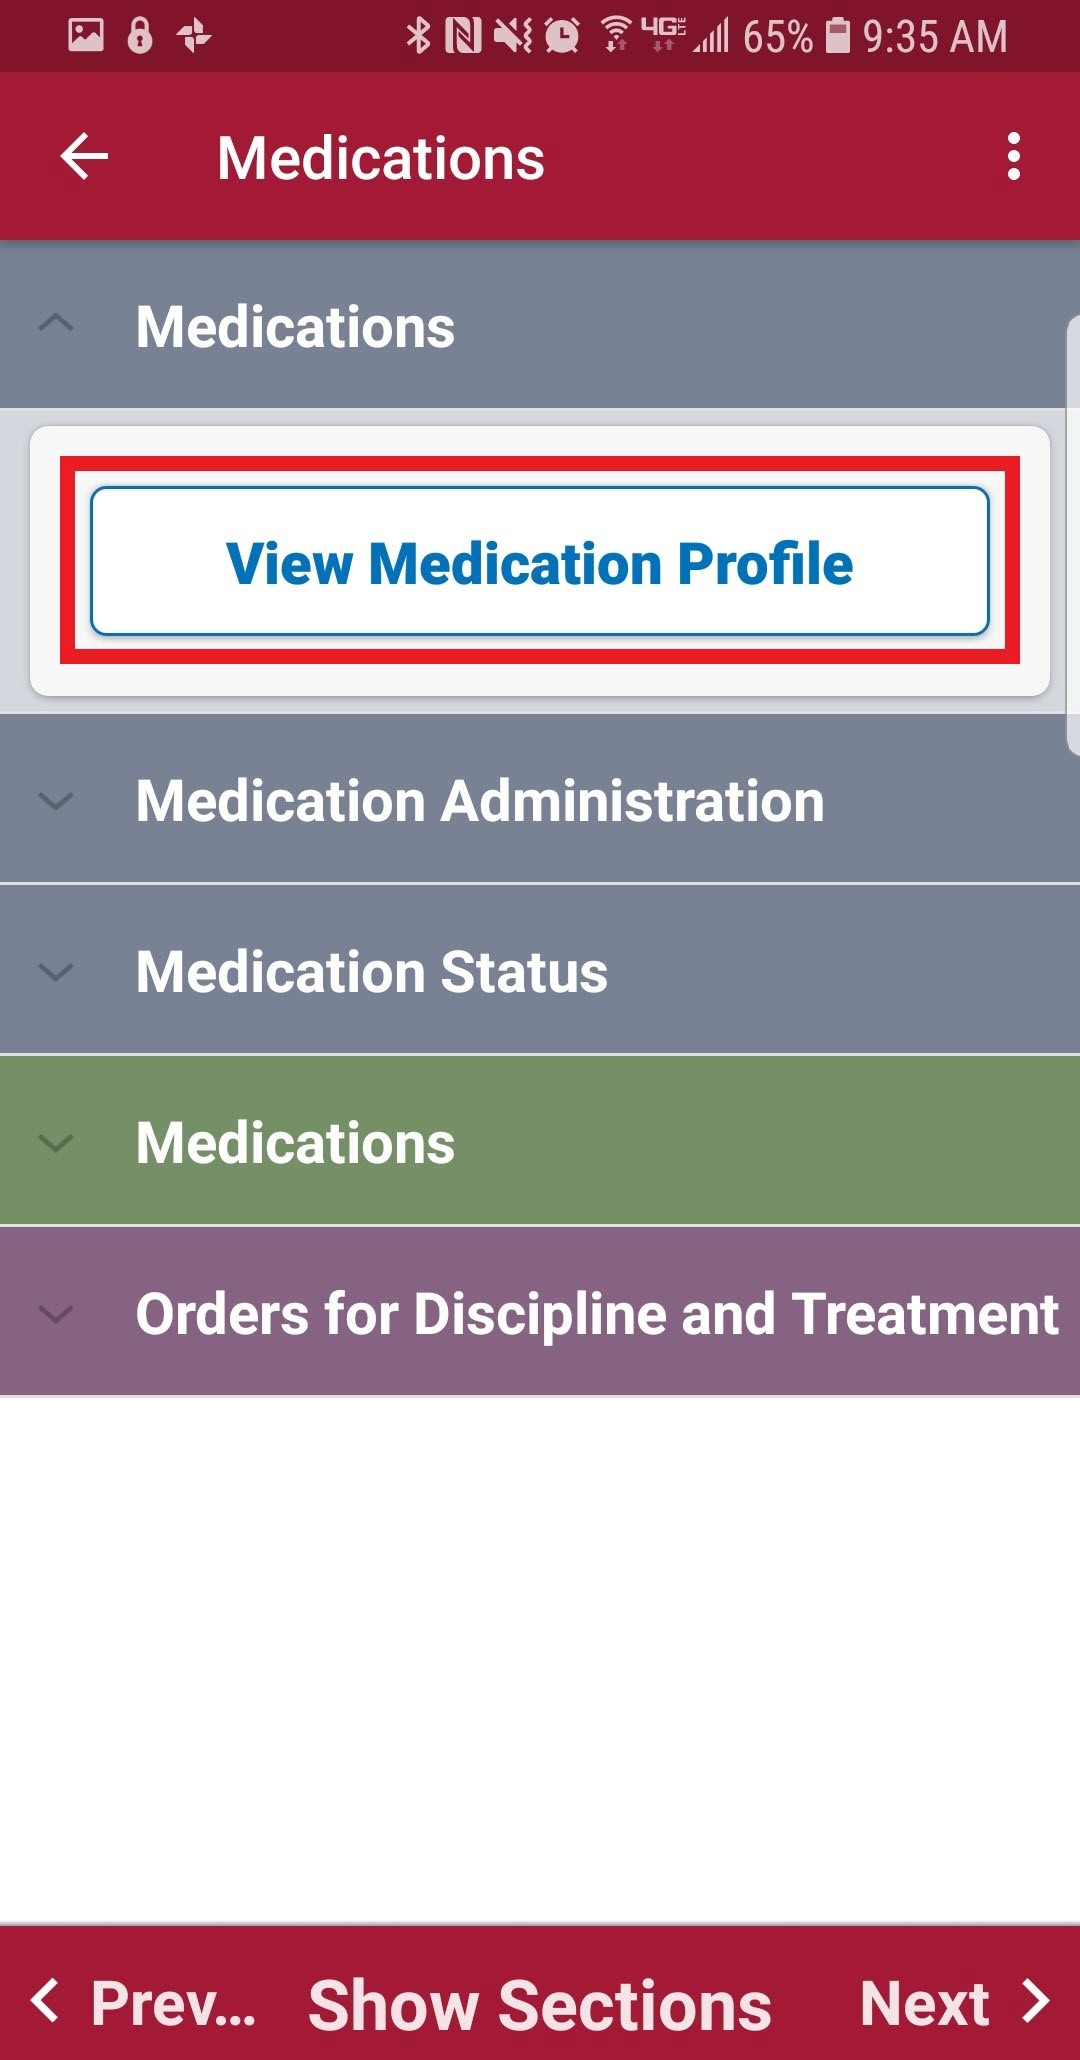
To add medication during a visit, select the “View Medication Profile” button.
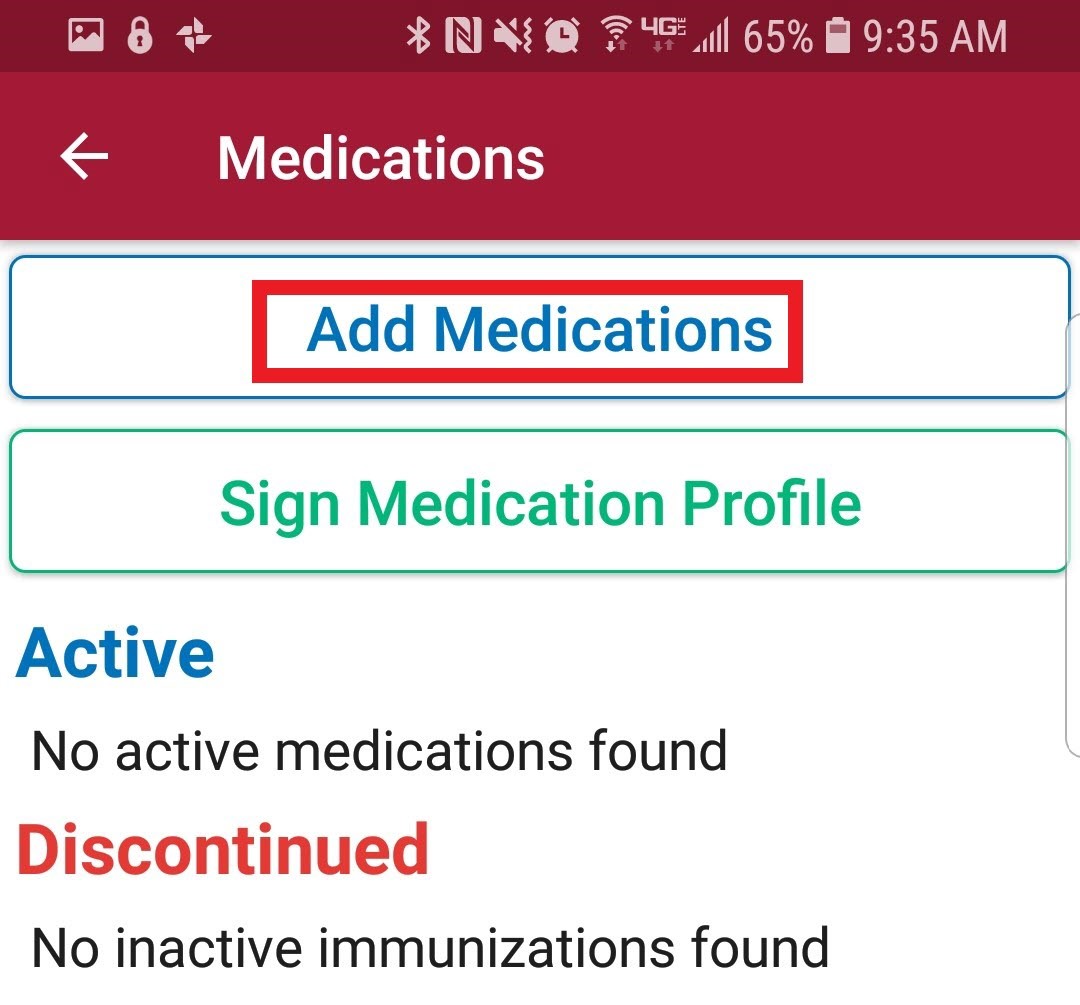
Inside the Medication Profile, tap on “Add Medications.”
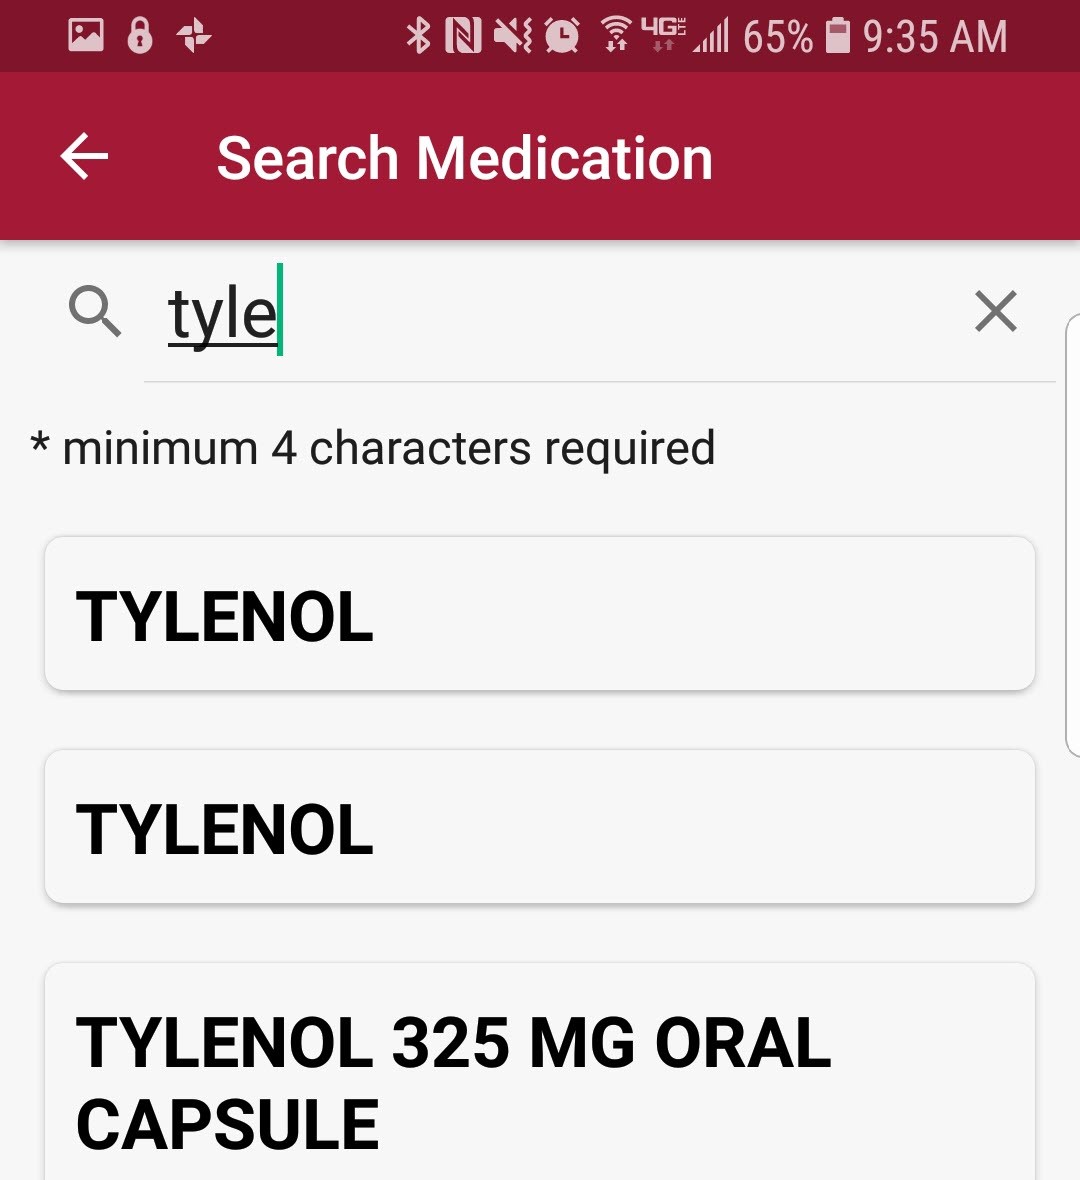
Start typing in the name of the medication and options will appear below. Tap the correct medication.
Type in the amount. Select the Physician, Classification and Routes from their corresponding dropdowns.
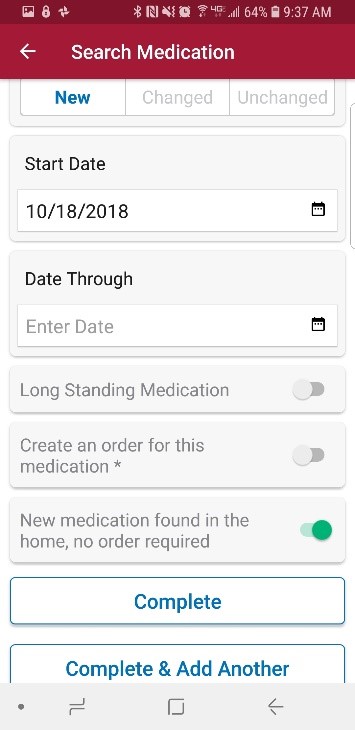
Indicate by tab whether the medication is New, Changed or Unchanged. Select a Start Date and if there is an end date, enter the Date Through.
Then move the slider(s) depending on whether the medication is long-standing, needs to be added as an order or a current one found in the home.
Once completed, tap the “Complete” button unless there are additional medications to add, then tap “Complete & Add Another.”
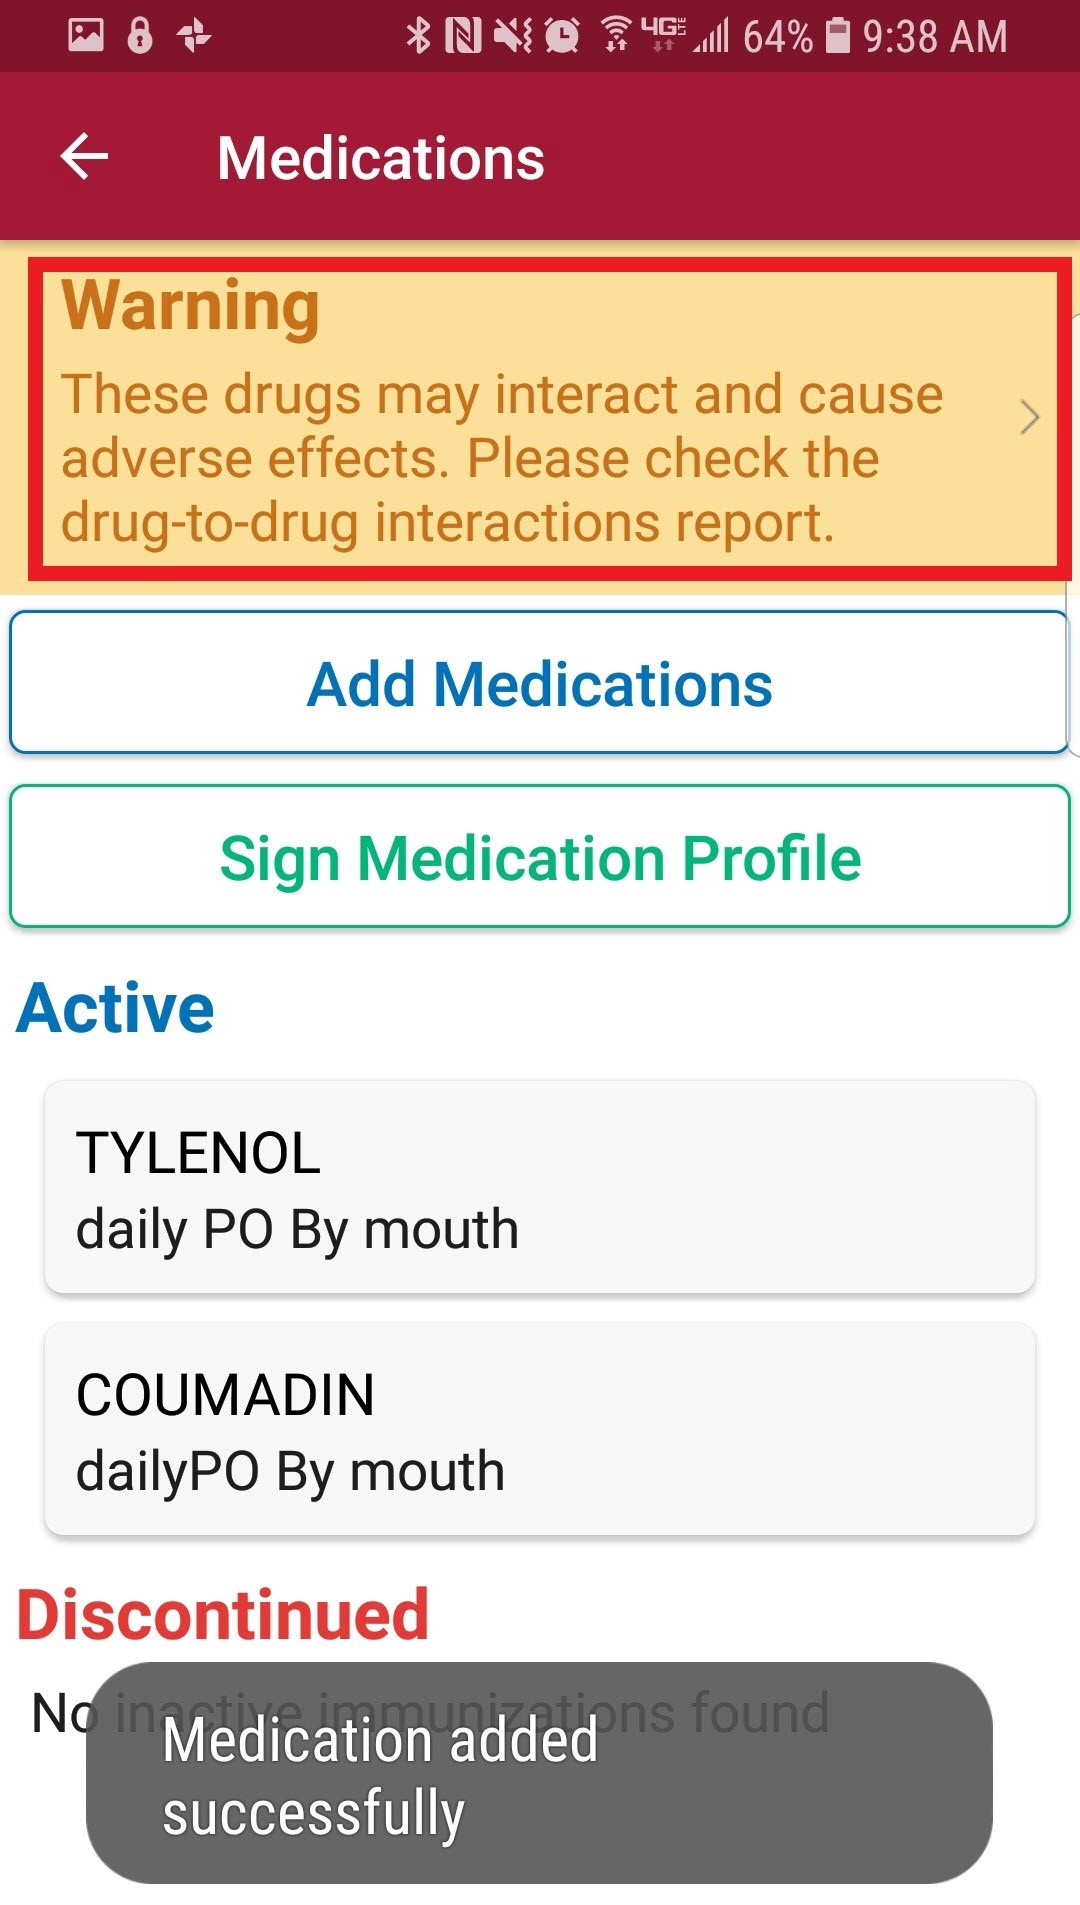
Once completed, there will be a notification confirming that it has been added successfully. If more than one medication is added, the system will automatically run them for potential interactions.
NOTE: Interactions are only run for medications currently listed in the AgencyCore database.
If the system finds any interactions it will list a Warning highlighted in yellow at the top of the page. Tap the Warning.
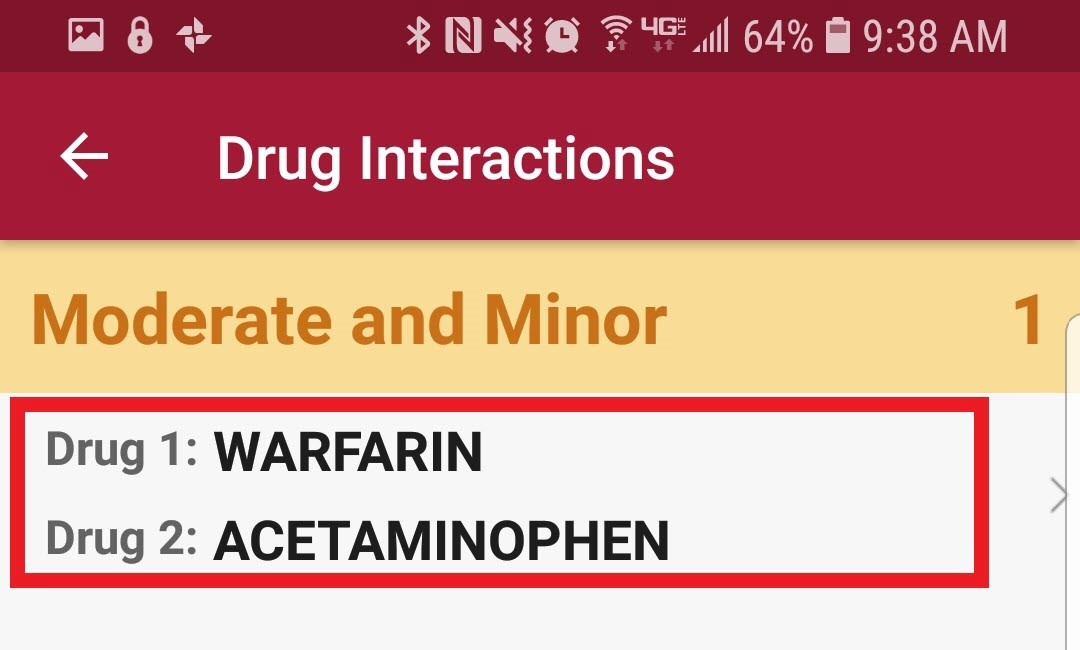
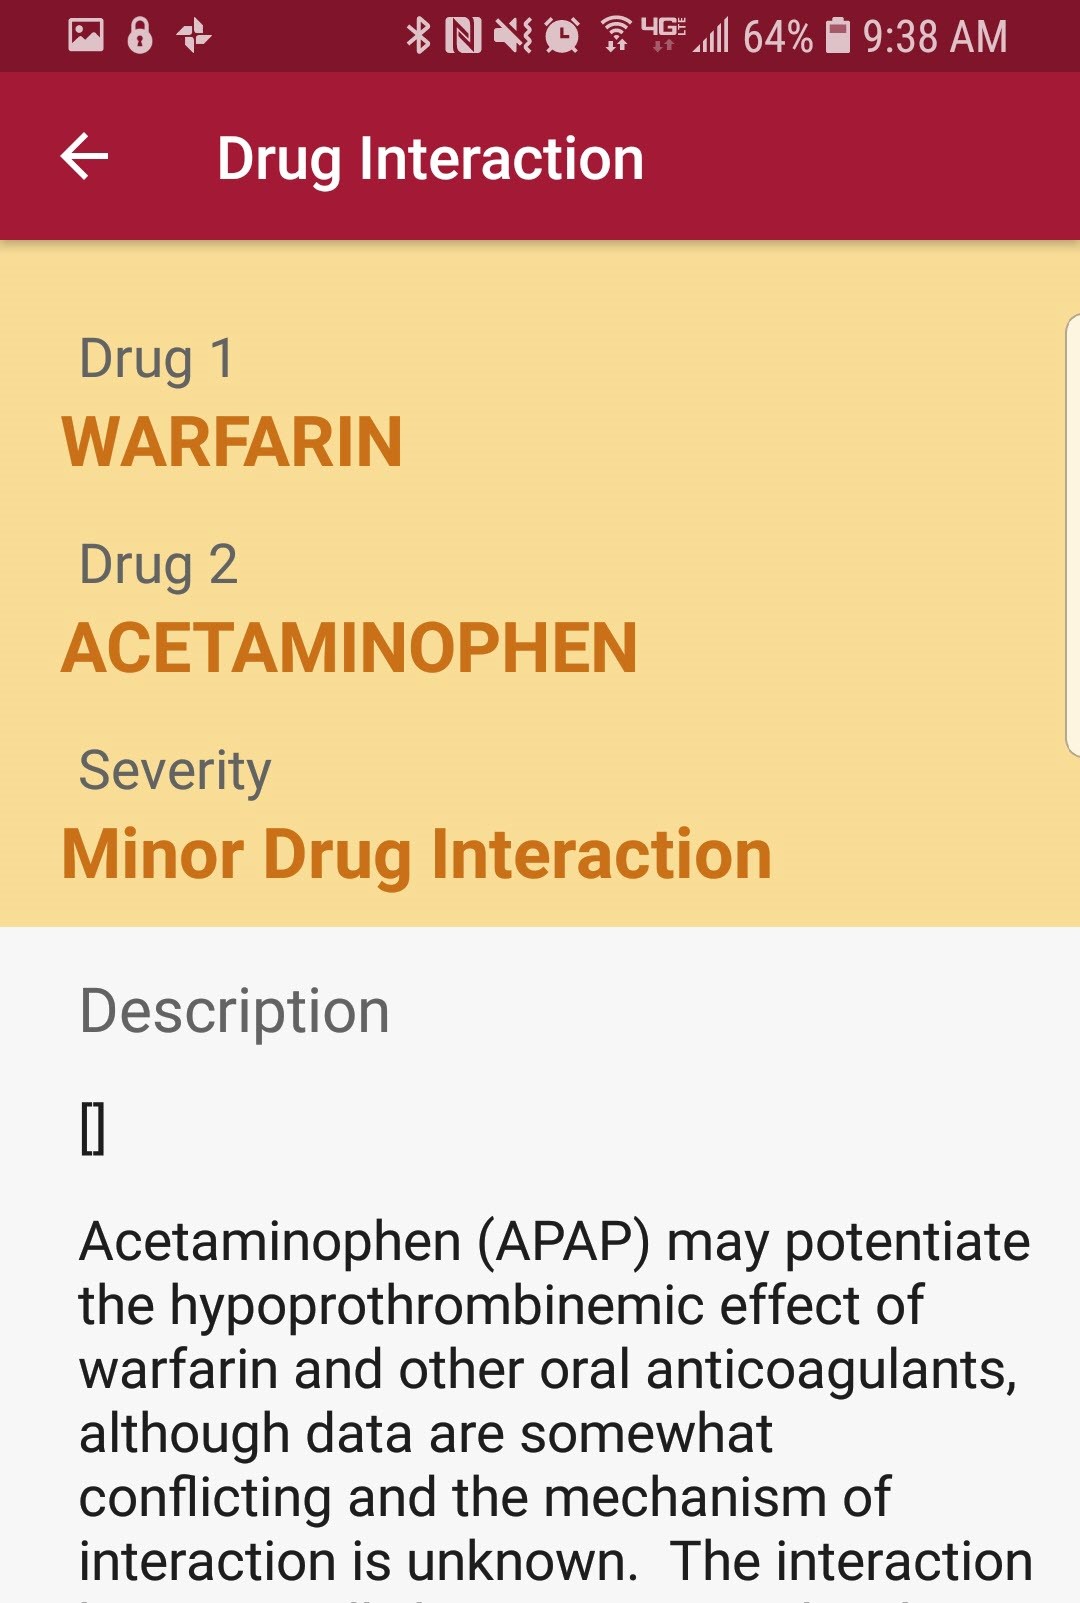
The Interactions will be categorized as either Major or Moderate/Minor. Tap on the interaction to receive further details.
Tap the back-arrow icon in the top left to get back to the Medications Profile.
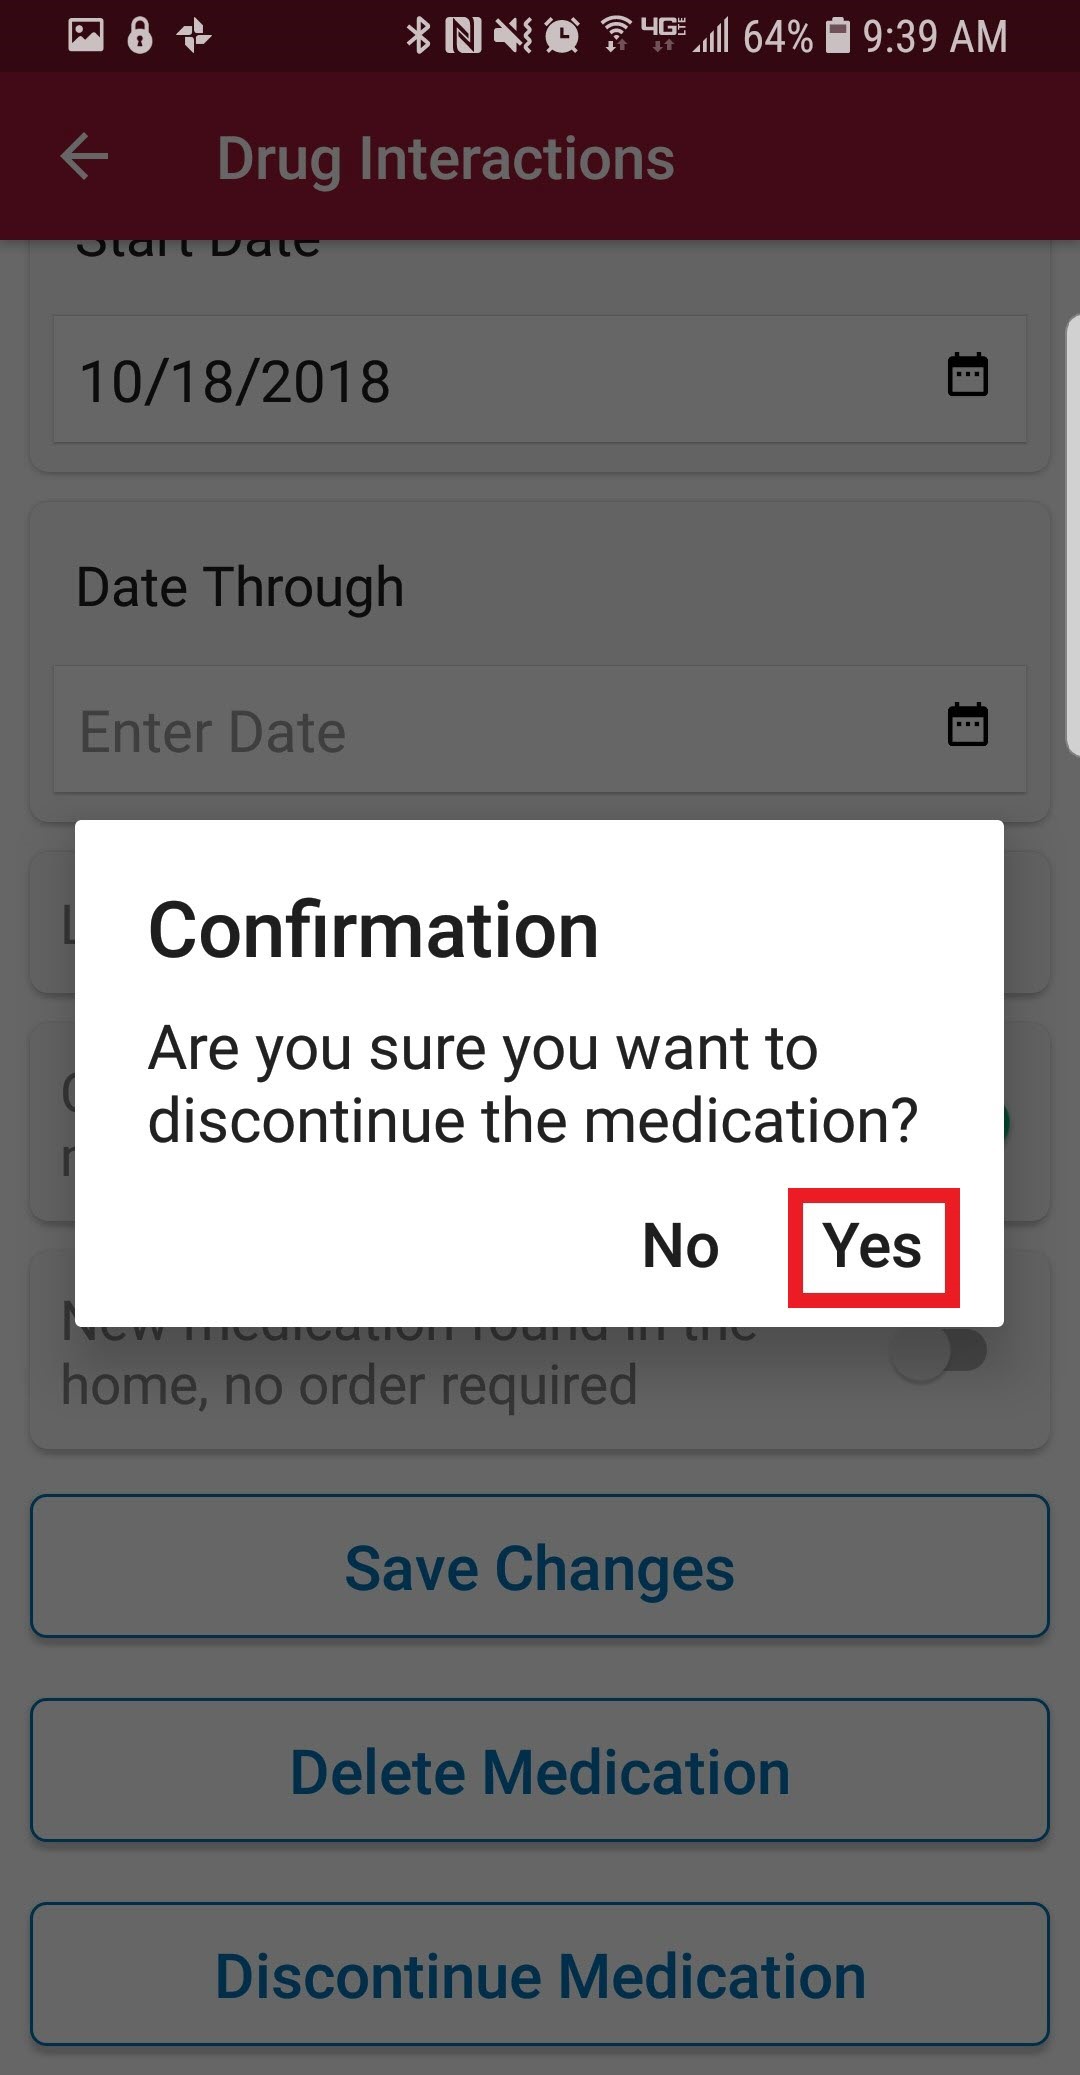
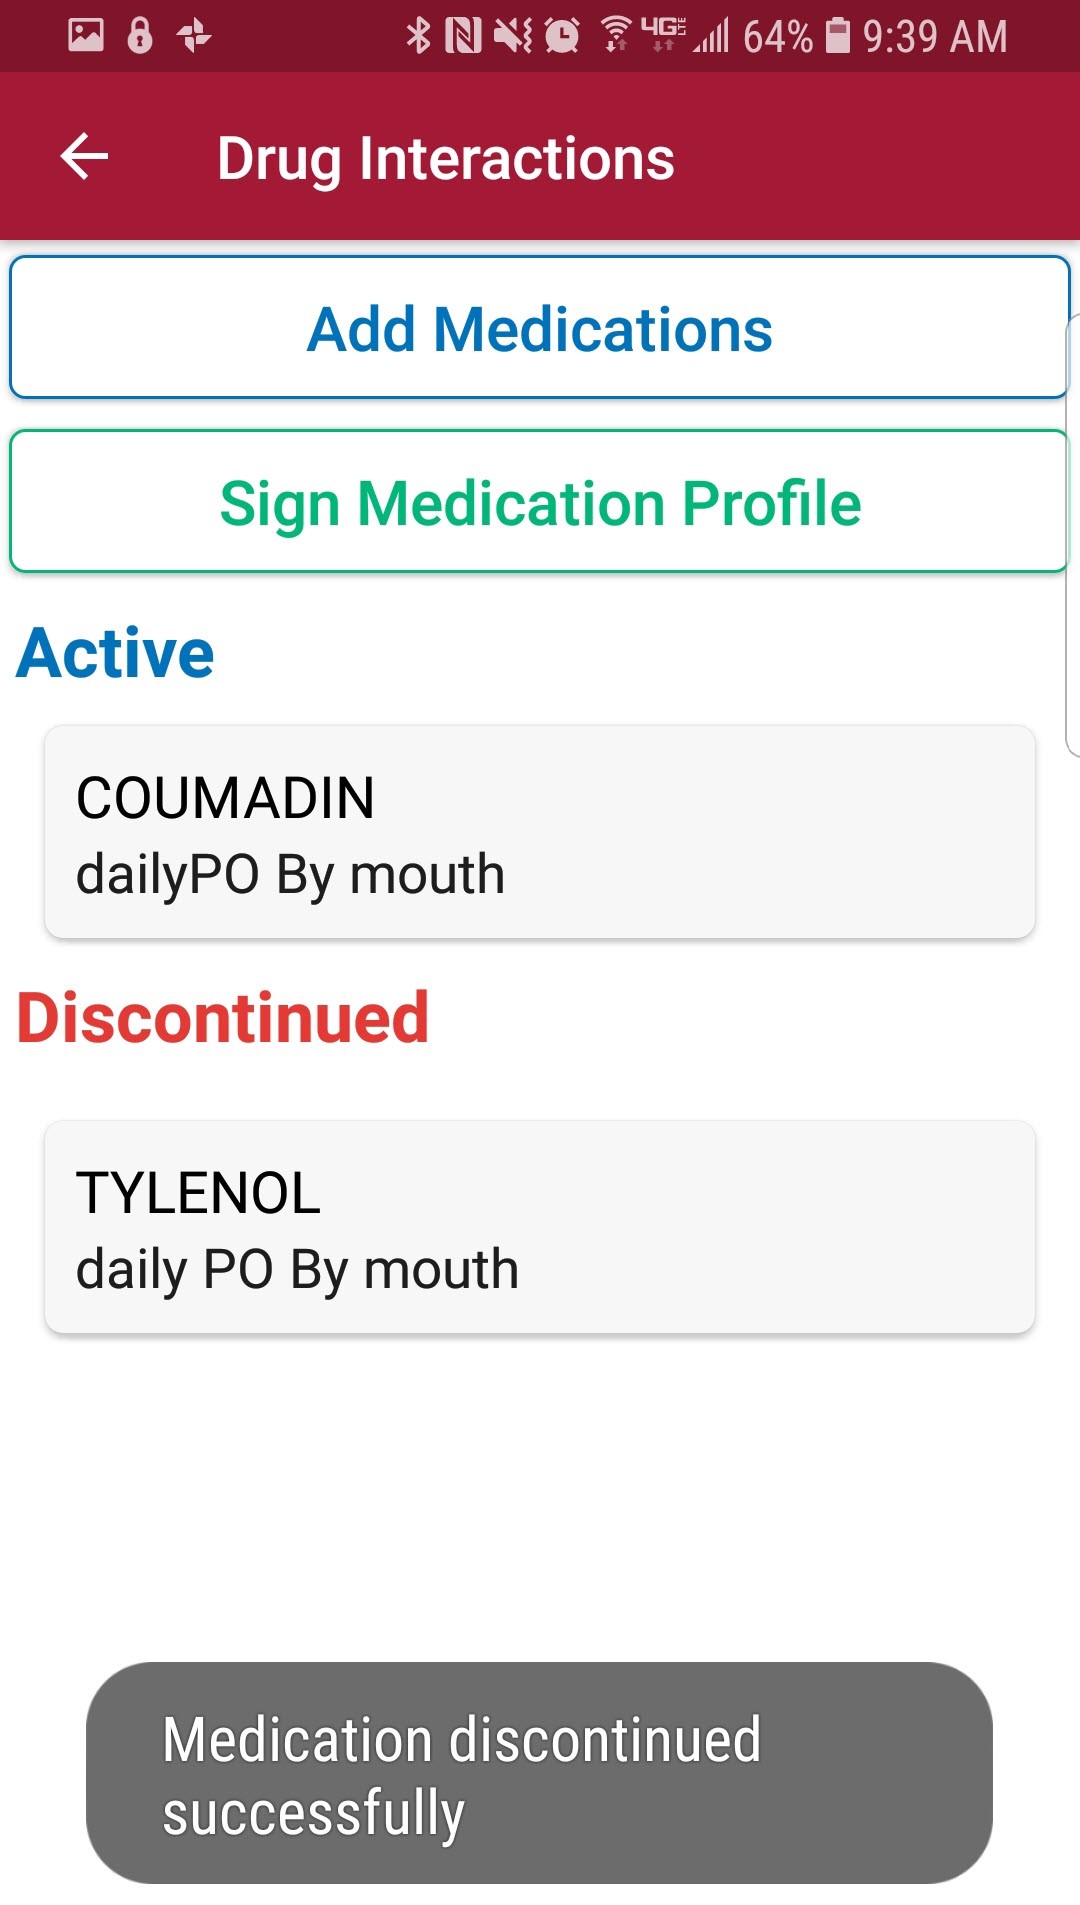
Once a medication has been entered, it can be edited it by tapping on the name of the medication. Scroll to the bottom of the page to “Delete Medication” (if added in error) or “Discontinue Medication” (patient no longer taking medication). After tapping Discontinue Medication, confirm by tapping “Yes.”
Once discontinued, there will be a ghost notification confirming that it has been discontinued successfully. The medication will then be listed in the Medication Profile under the Discontinued area.
Once finished with the medication reconciliation, tap the “Sign Medication Profile” button to verify medications have been clinically reviewed. Sign with finger or stylus above the line after the X. When completed, tap “Submit.”
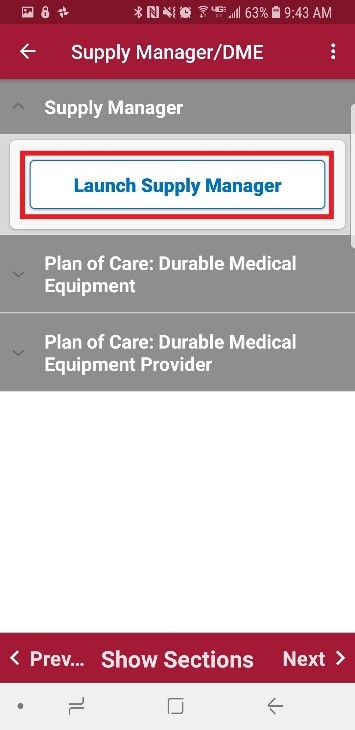
From the Supply Manager/DME category inside the visit note, tap on “Launch Supply Manager.”
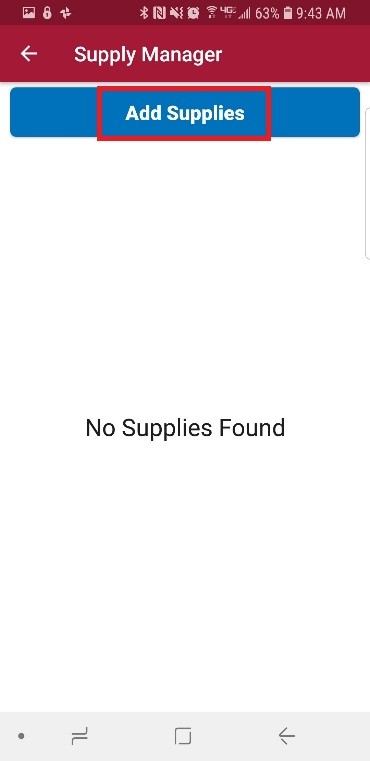
To add supplies, tap on the “Add Supplies” button.
Start typing the name of the supply and choices will appear below.
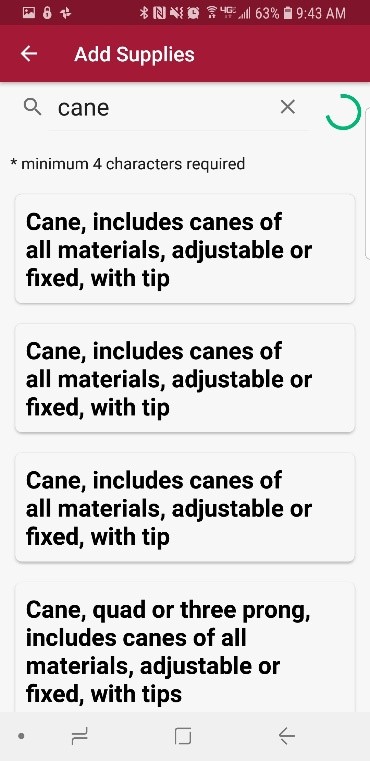
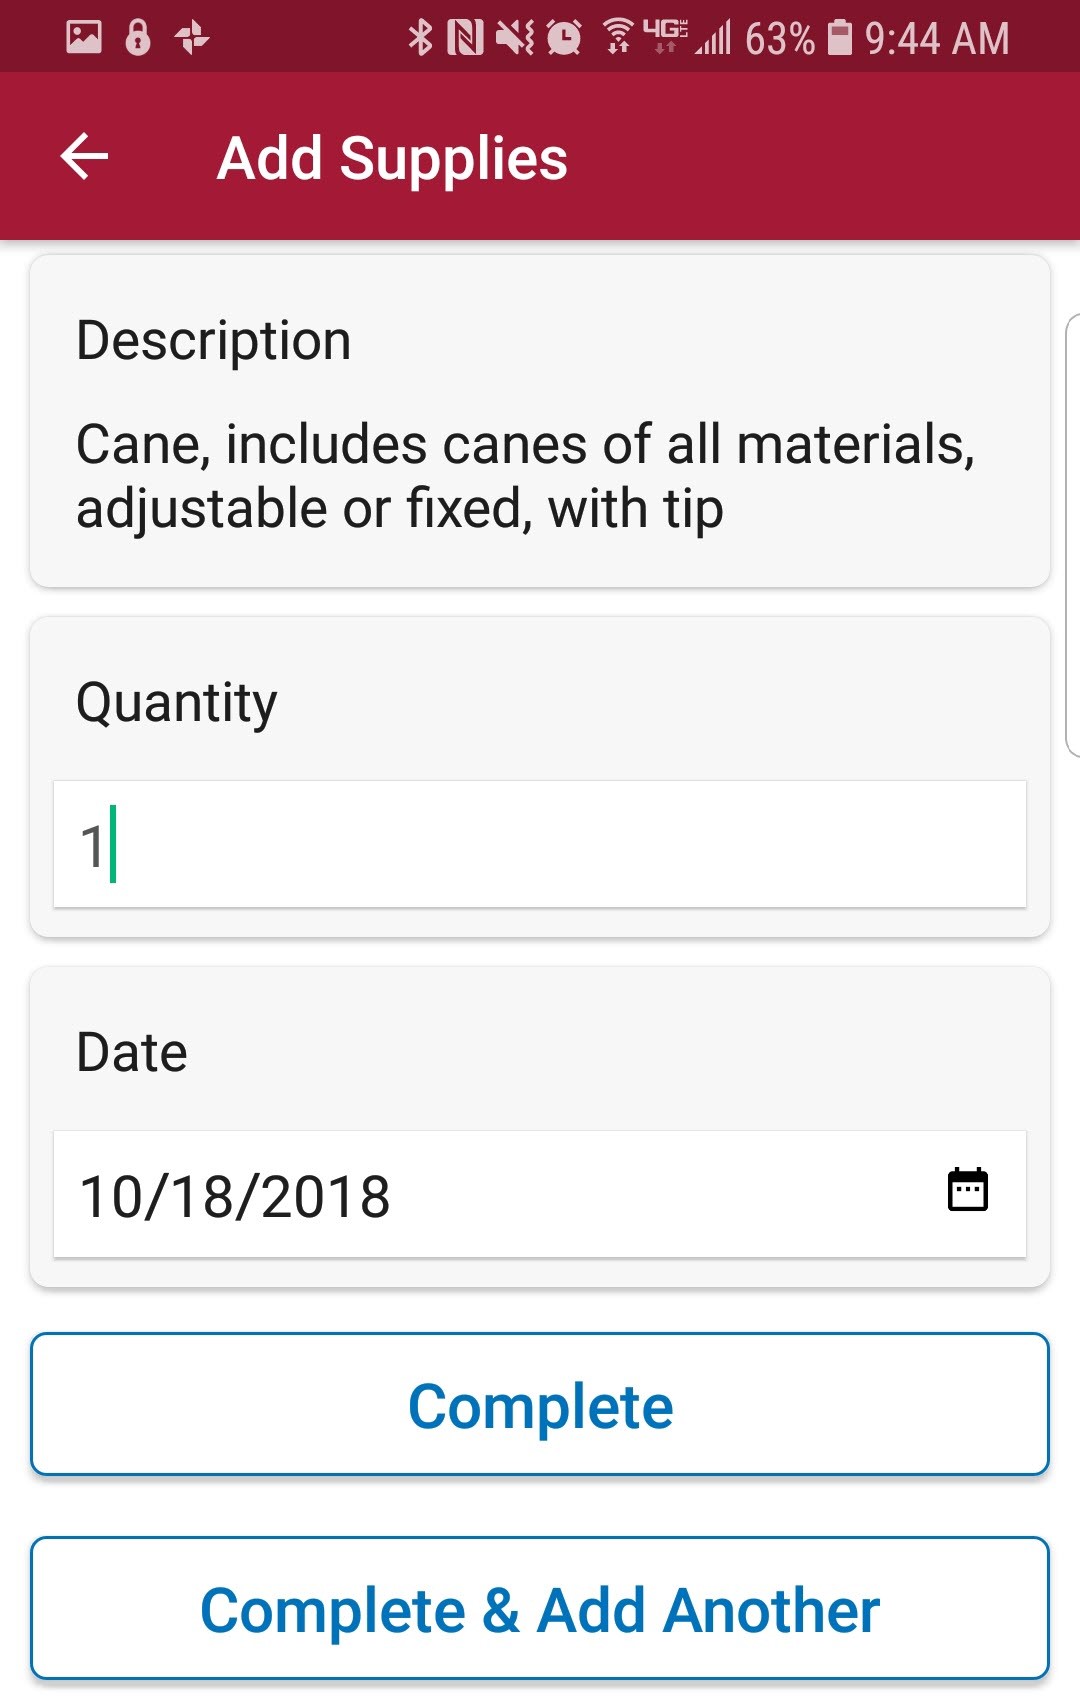
Tap on the searched supply. Enter the Quantity and Date. If there are other supplies to add, tap “Complete & Add Another.” If just one supply is being added, tap “Complete.”
The supply will then be added to the list. To make an edit to a supply in the list, simply tap on the supply. In the edit screen, change the Quantity and Date. If any updates are made, tap “Save Changes.” If the supply was added in error, tap “Delete Order.”
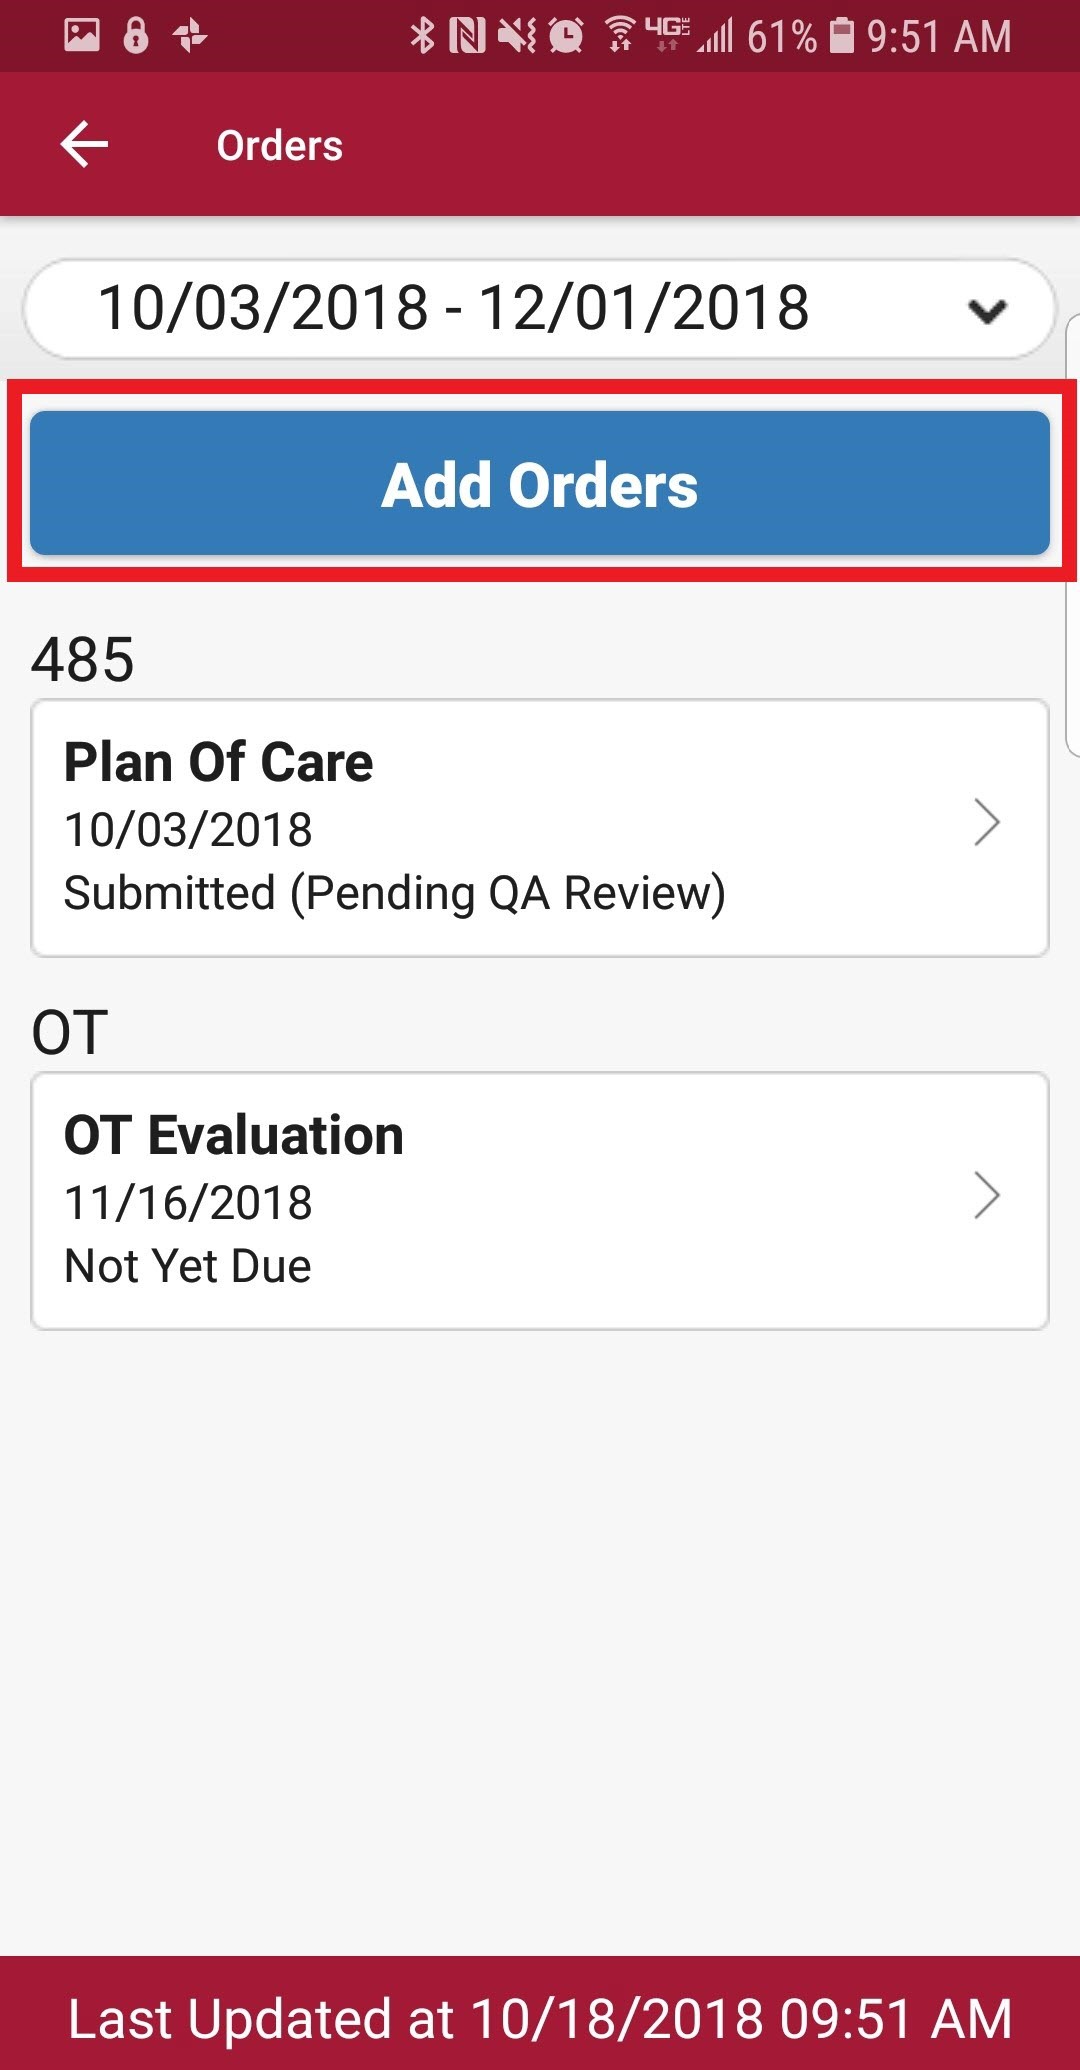
From the visit specifics page, tap on “Orders and Care Plans.”
It shows all current orders listed for the patient within the episode dates listed at the top. To change the episode, tap on the episode and select another. To add a new order, tap “Add Orders.”
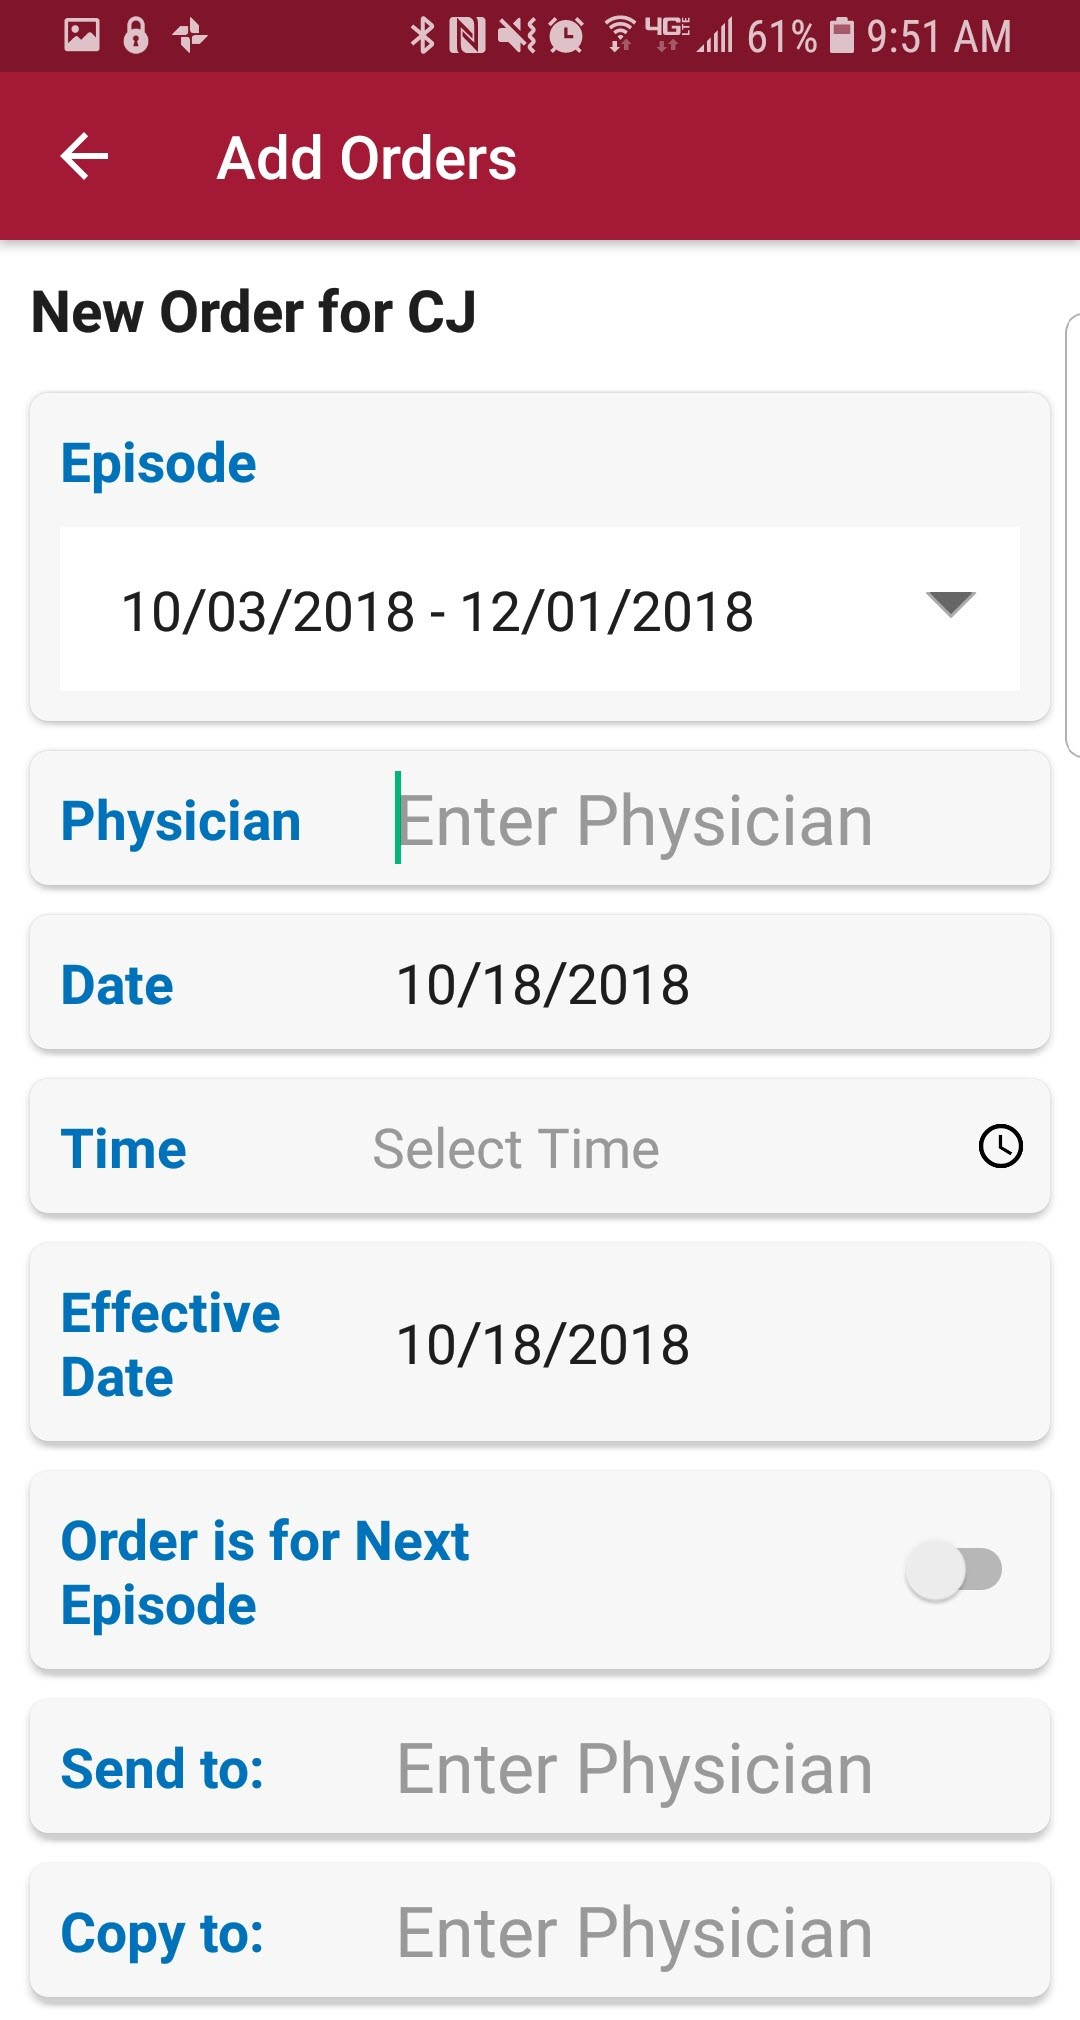
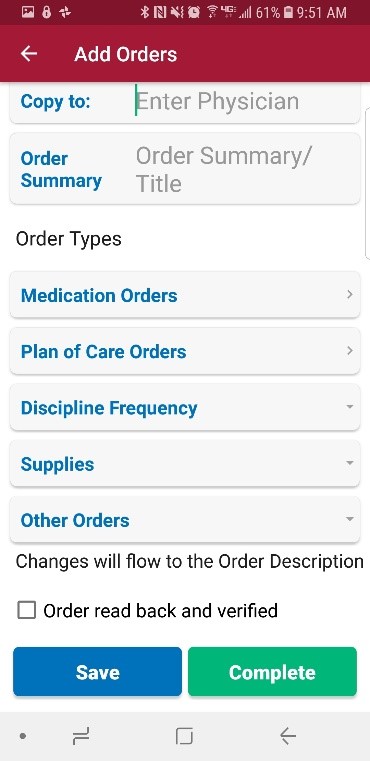
Enter Physician, confirm the Date, Time and Effective Date. Move the slider if the Order is for Next Episode. Indicate who the order is being Sent to with an option to add another physician to Copy to. Write in an Order Summary.
Then select which type of order it is. Select from Discipline Frequency, Supply Manager, Medication or Plan of Care Orders. If the order being entered does not fall under any of those four categories, type it in the Other Orders section. Signature Time automatically enters the time the new order is opened. Tap on “Save” to return to the order later. If the order is ready to be sent for physician signature, tap “Complete.” It will then prompt for the Staff Signature.
NOTE: Any orders entered under the Other type will not flow to the Plan of Care Summary. Orders and medication management are permission-based.
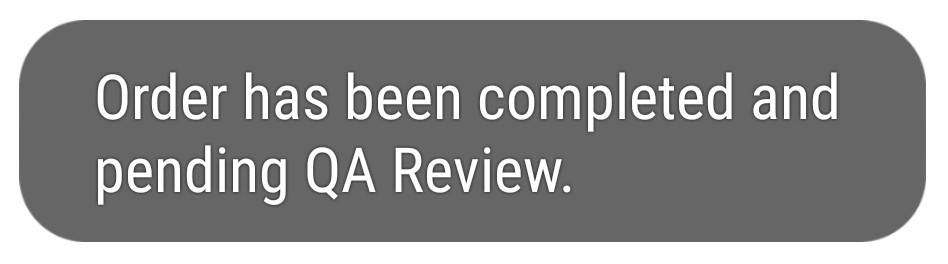
After entering signature, tap “Done” on the top right. There will be a notification saying the “Order has been completed and pending QA Review.”
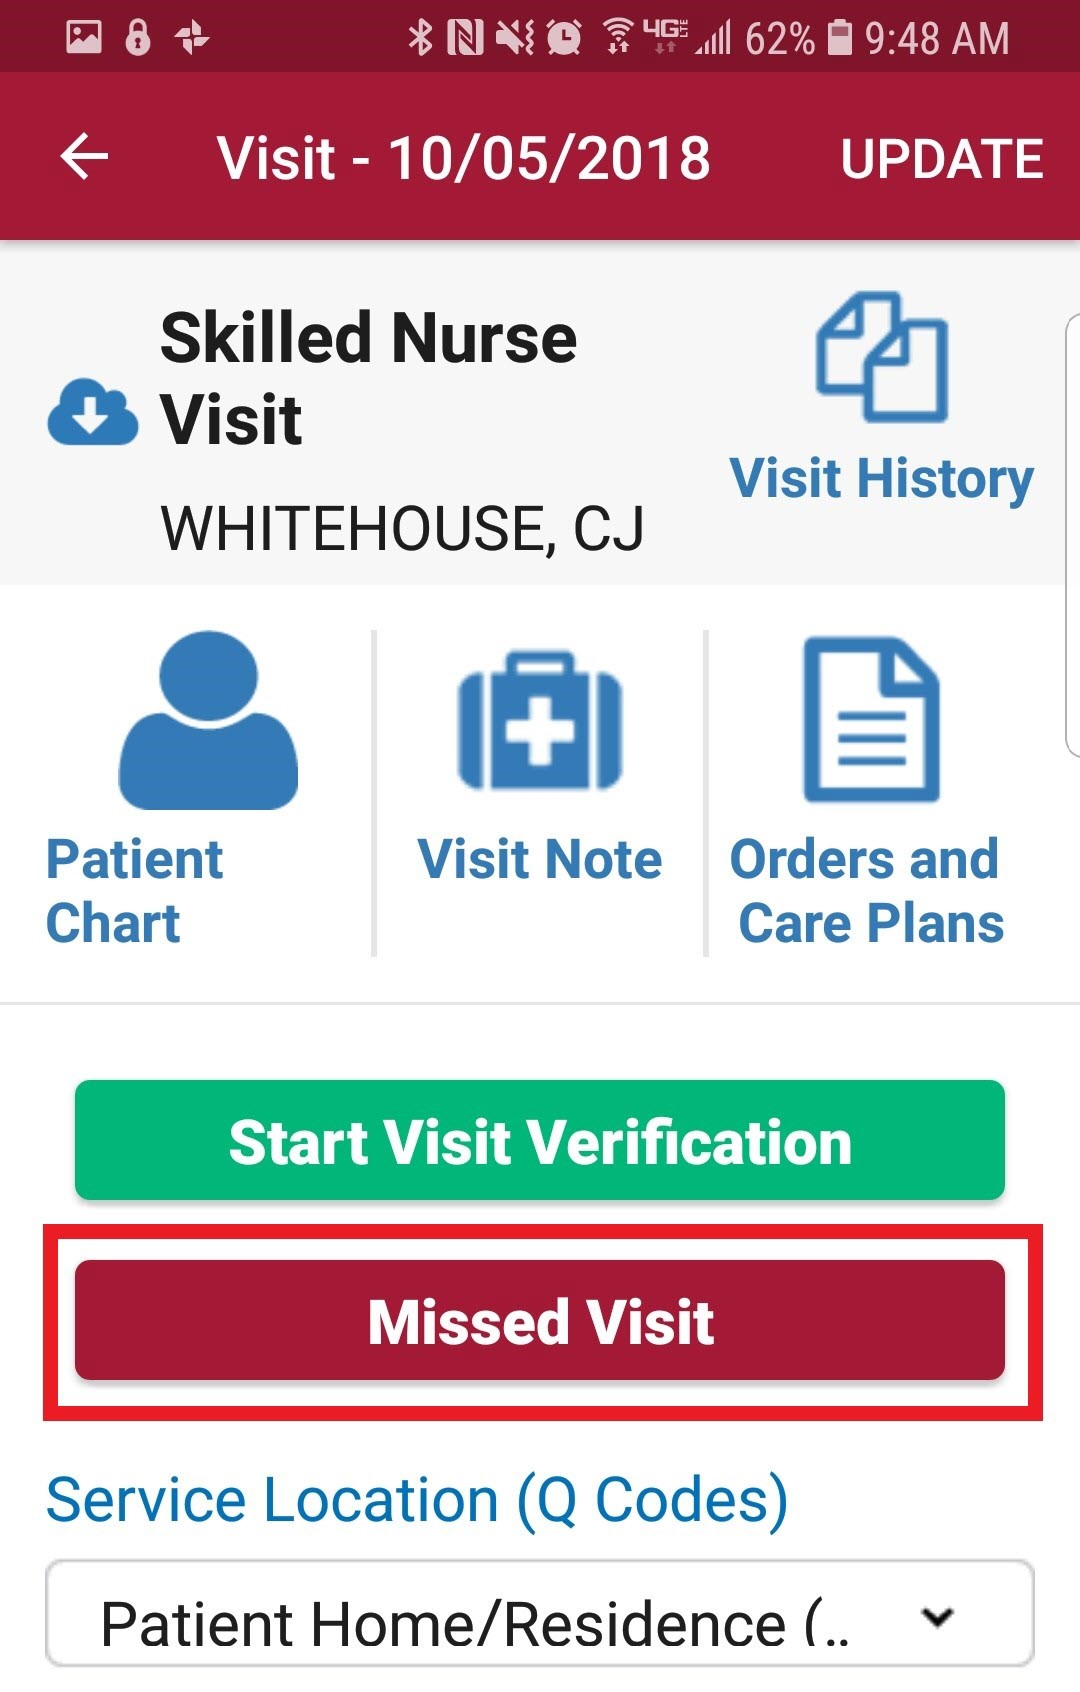
There is an option on the visit menu to tap “Missed Visit” for visits that have passed their assigned date and need to be marked as missed. Found in My Schedule/Past Due.
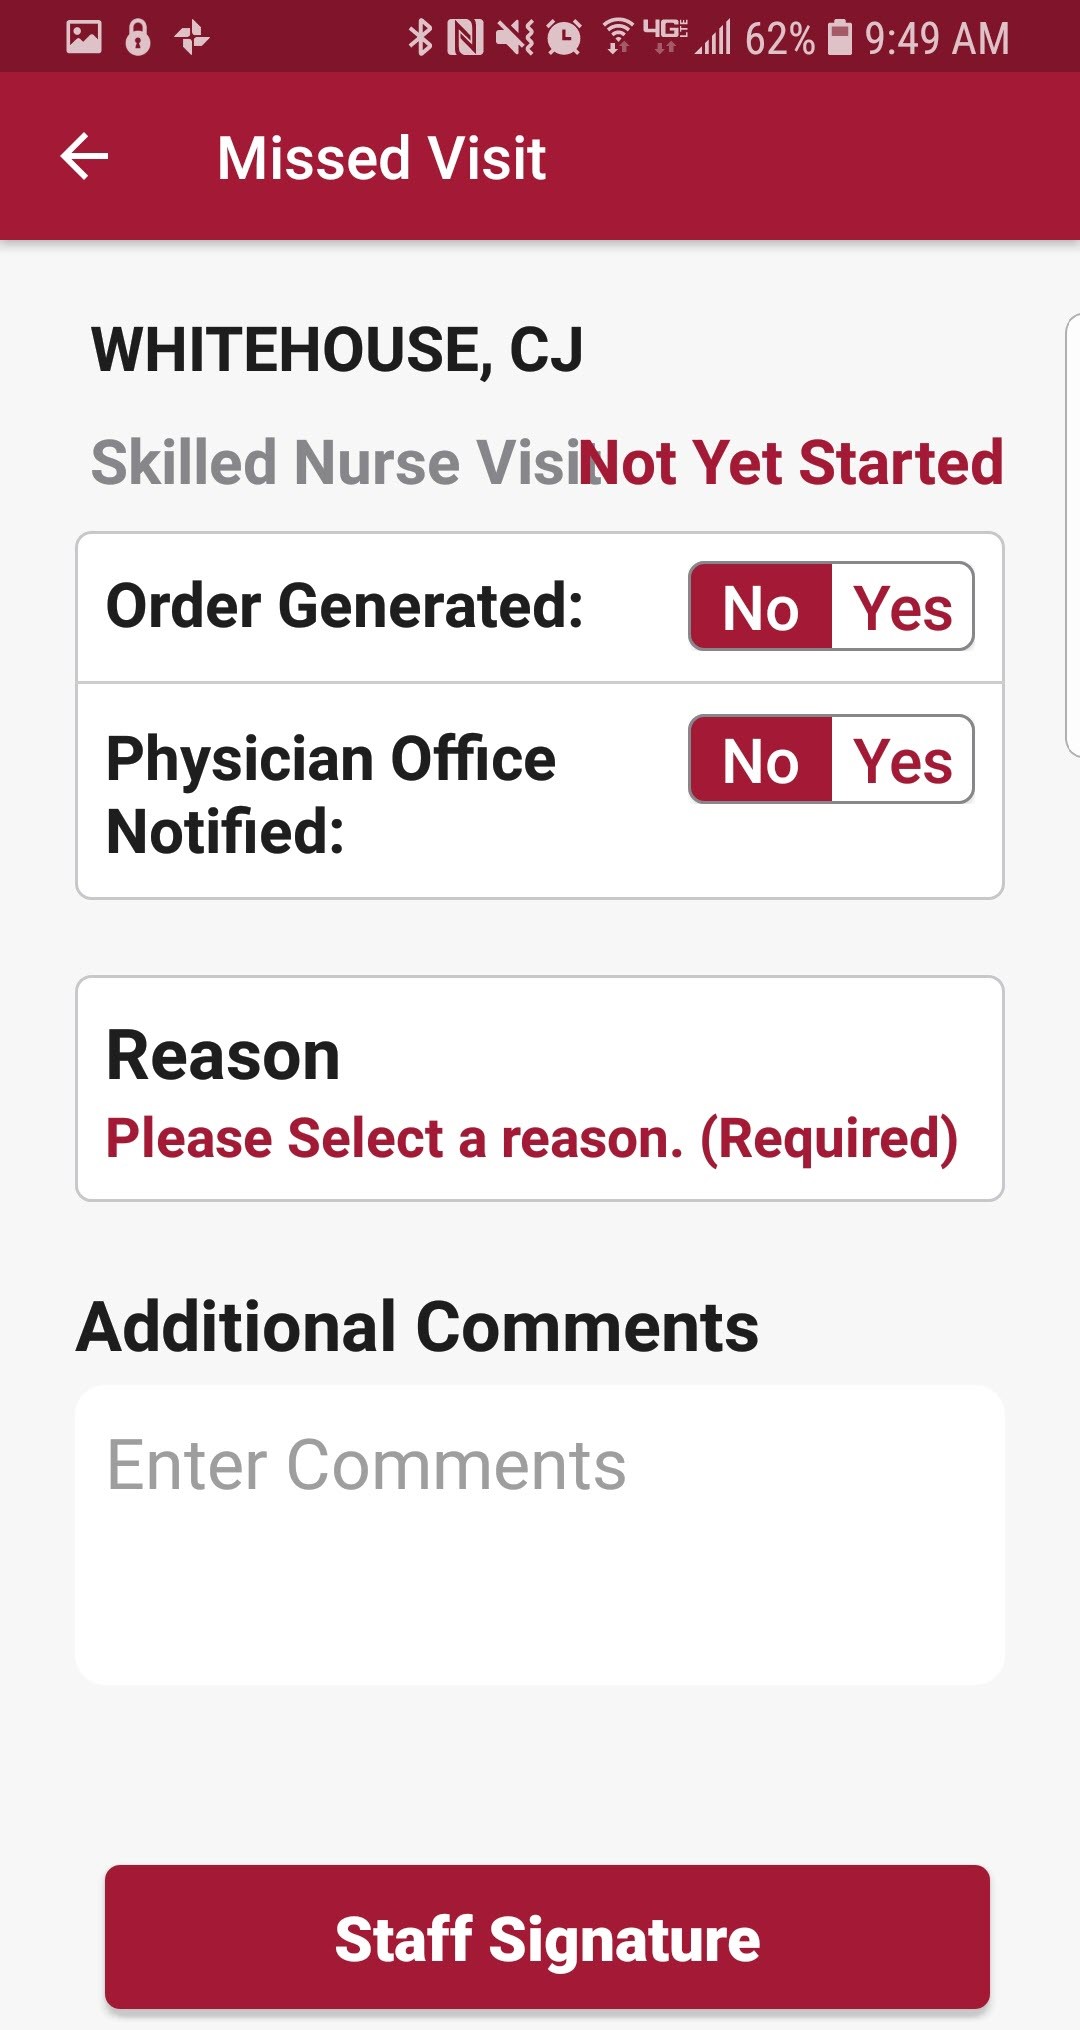
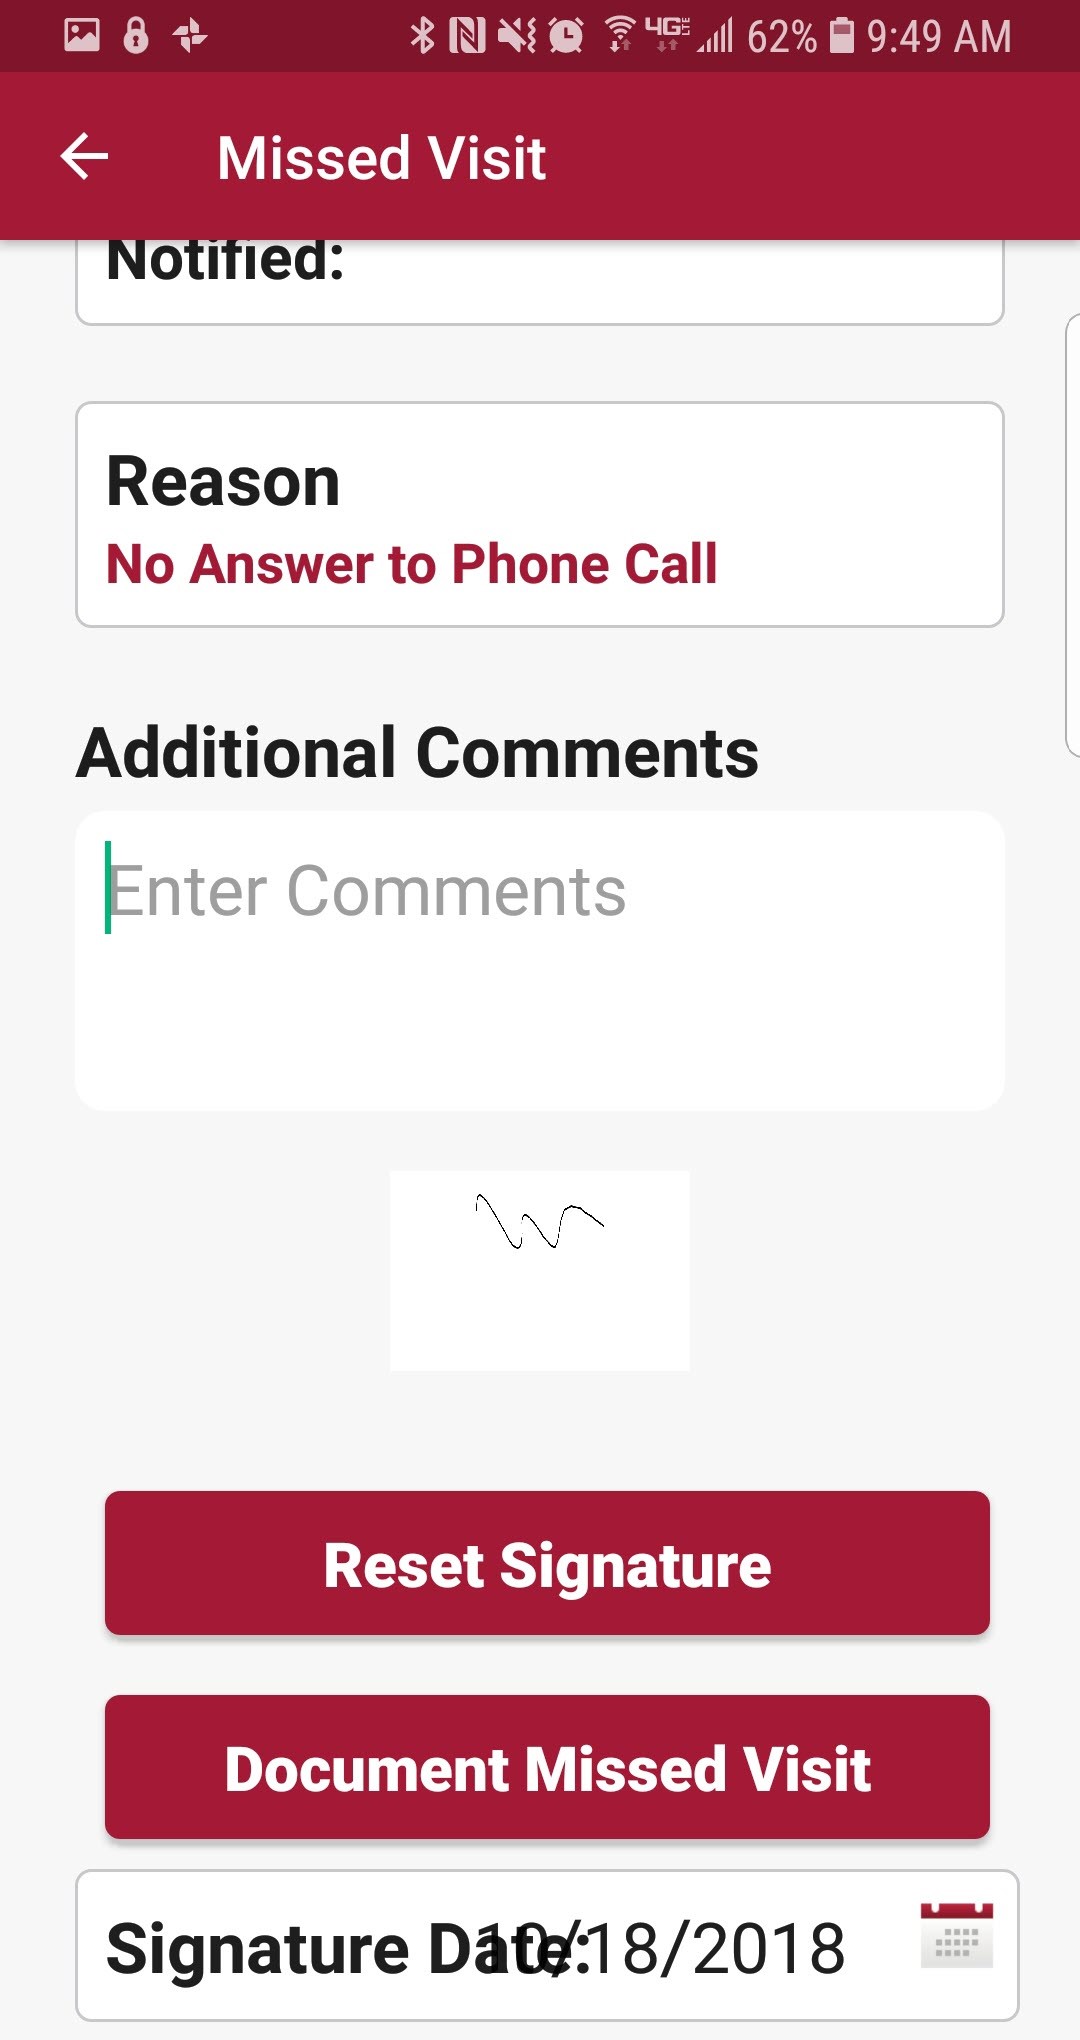
Indicate whether there needs to be an Order Generated or whether the Physician Office [was] Notified. Select Reason for missed visit (required). Optional to enter Additional Comments. Tap on “Staff Signature” to sign the missed visit, then tap “Save Signature.”
Select Signature Date. Tap “Save.” The following screen will show with the signature now listed. Confirm the signature date, then tap “Document Missed Visit” to complete the process.
Tap on “My Patients” to view all patients that have been assigned a visit to the user.
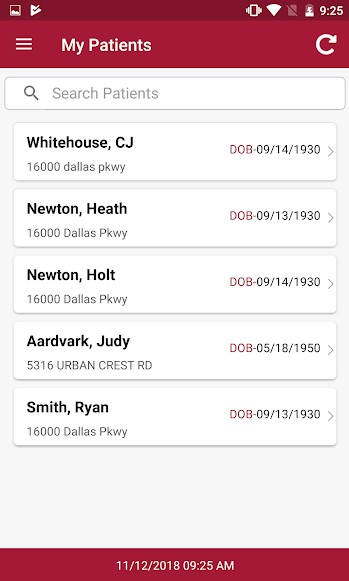
It will list the patient name in bold, address below and DOB to the right. To narrow the list, start typing the patient’s first or last name in the Search bar at the top of the screen. Tap on the patient to open the Patient’s Chart.
All information shown has been entered through the AgencyCore application. It shows the patient’s DOB, MRN #, Sex, Payer and Policy/ID #. Tap on Call to auto-dial the patient’s phone number. Tap on Map to see the patient’s location in Google Maps. It will also show the patient’s Allergies, Primary Diagnoses and links to their Orders, Medications, Caregivers, Physicians, Pharmacy, Contacts, Communications, Visit History and Immunizations.
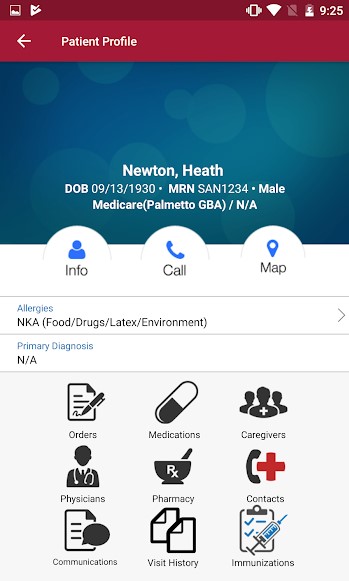
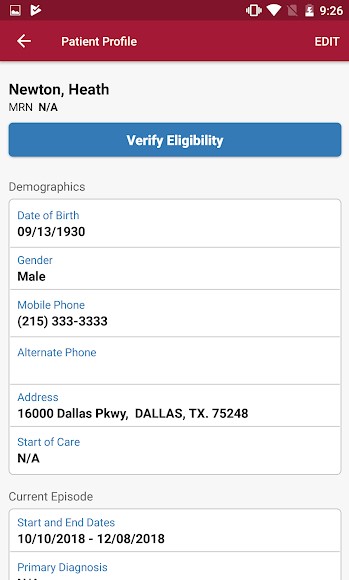
Tapping on the “Info” button will show a more in-depth look at the chart including the patient’s Address, Episode dates, Triage Level, DNR, etc. View the current eligibility status for Medicare A, B and C by tapping the “Verify Eligibility” button. Tap the “Edit” button in the top right to update the information.
Tap on the Menu button from the Home page.
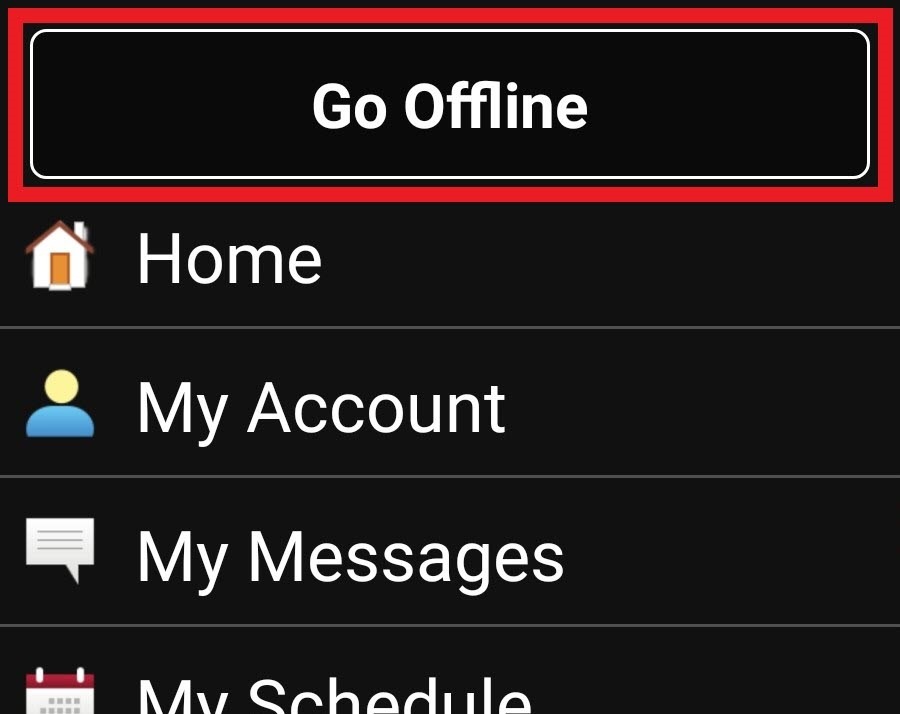
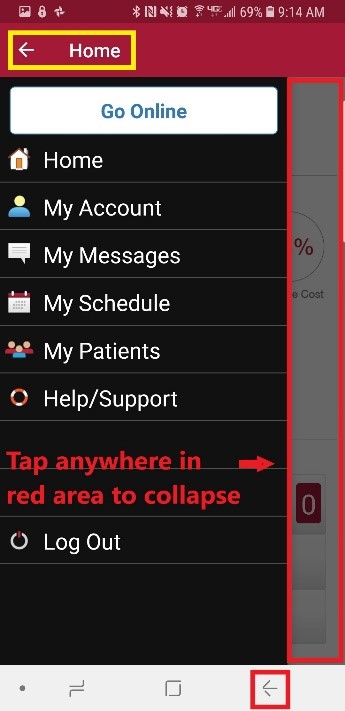
The Menu will expand from the left side of the screen. To document in an area that doesn’t have cell service, a button at the top of the menu allows the user to “Go Offline.” This will download all the notes for the next three days.
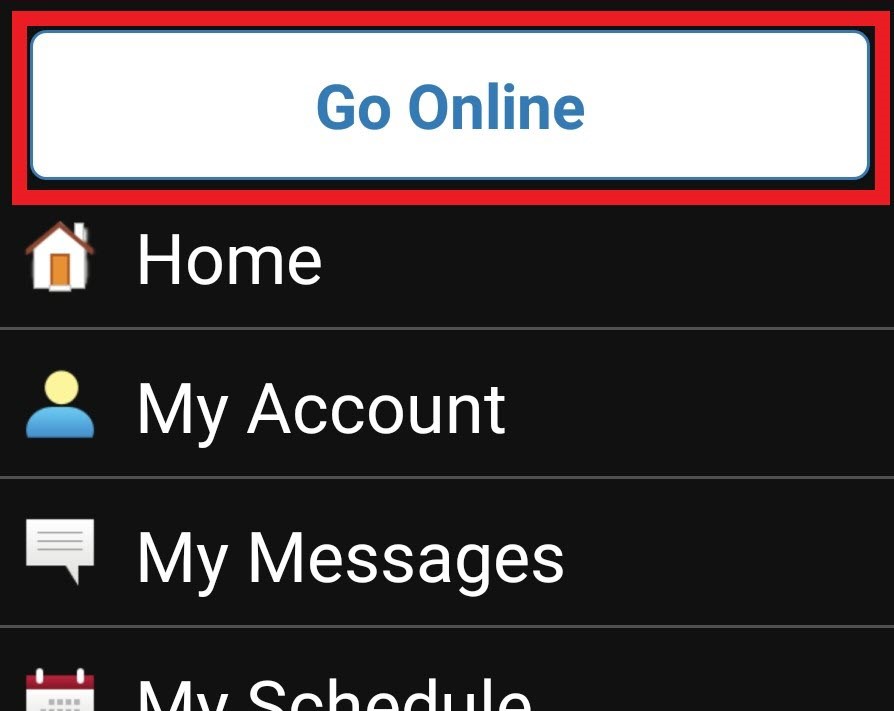
“Go Online” to upload completed notes.
NOTE: The EVV function will still work with the app offline. However, GPS locations will not be as accurate while the user is offline.
The first item on the list is “Home.” This will collapse the Menu bar and go back to the Home screen.
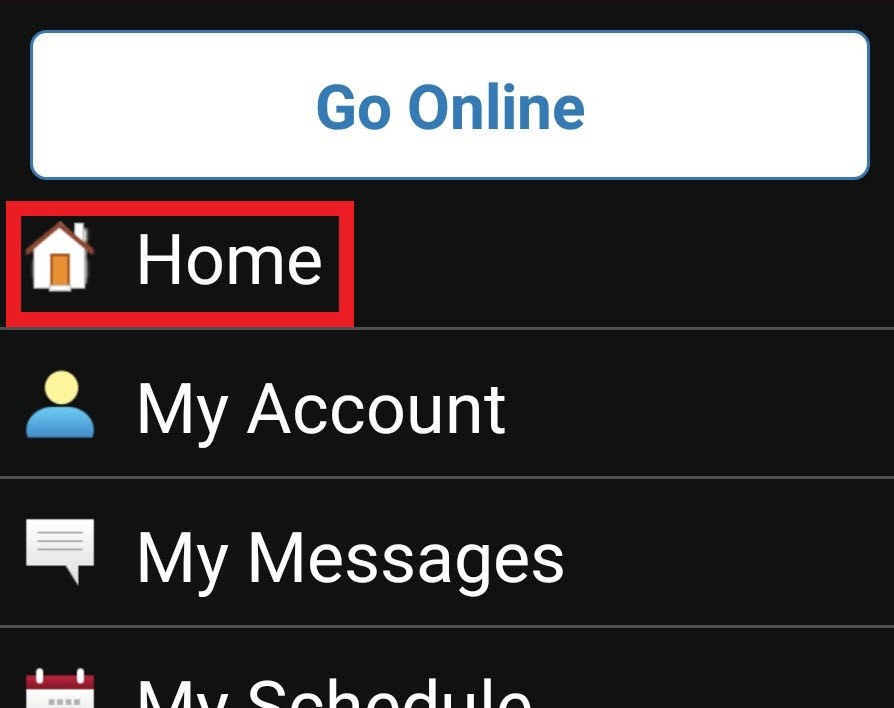
Tapping outside the Menu, the back button or “Home” back arrow will collapse the menu bar.
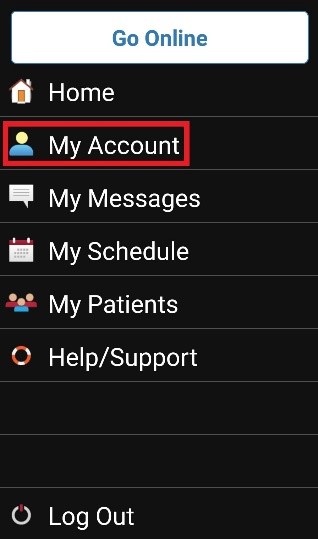
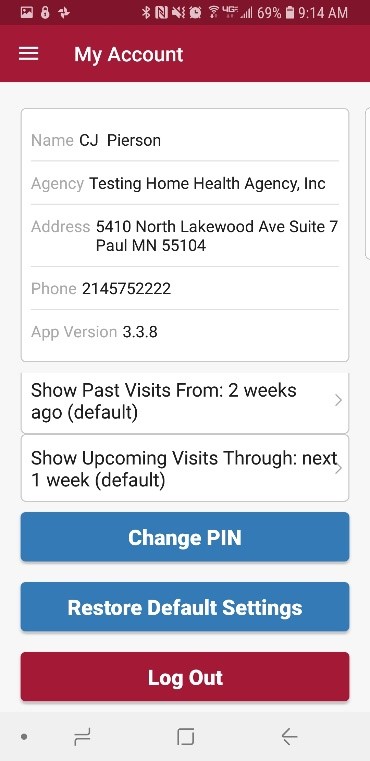
Tap “My Account” to view/edit personal clinician information.
Edit settings for the user’s account. To change the PIN code, tap “Change Pin.” Update how long Past Visits and how far out Upcoming Visits will show. To undo settings and go back to the original, tap “Restore Default Settings.”
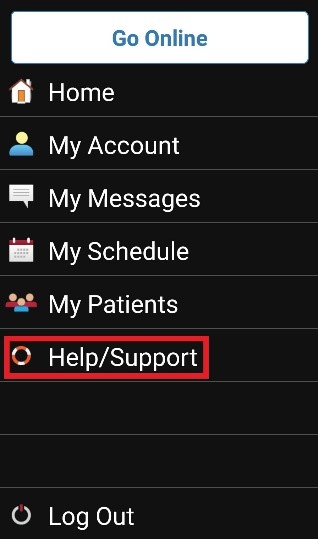
My Messages, My Schedule and My Patients will go to the previously discussed sections. Logout will take the user out of the app. A login will be required to get back into the app. Tap “Help/Support” for assistance.
This is the Customer Support page. Our customer support team is available Monday – Friday from 7:00 am – 7:00 pm CST. Tap on “Call Us” to auto-dial the Axxess support phone number. The bottom has links to Axxess social media.
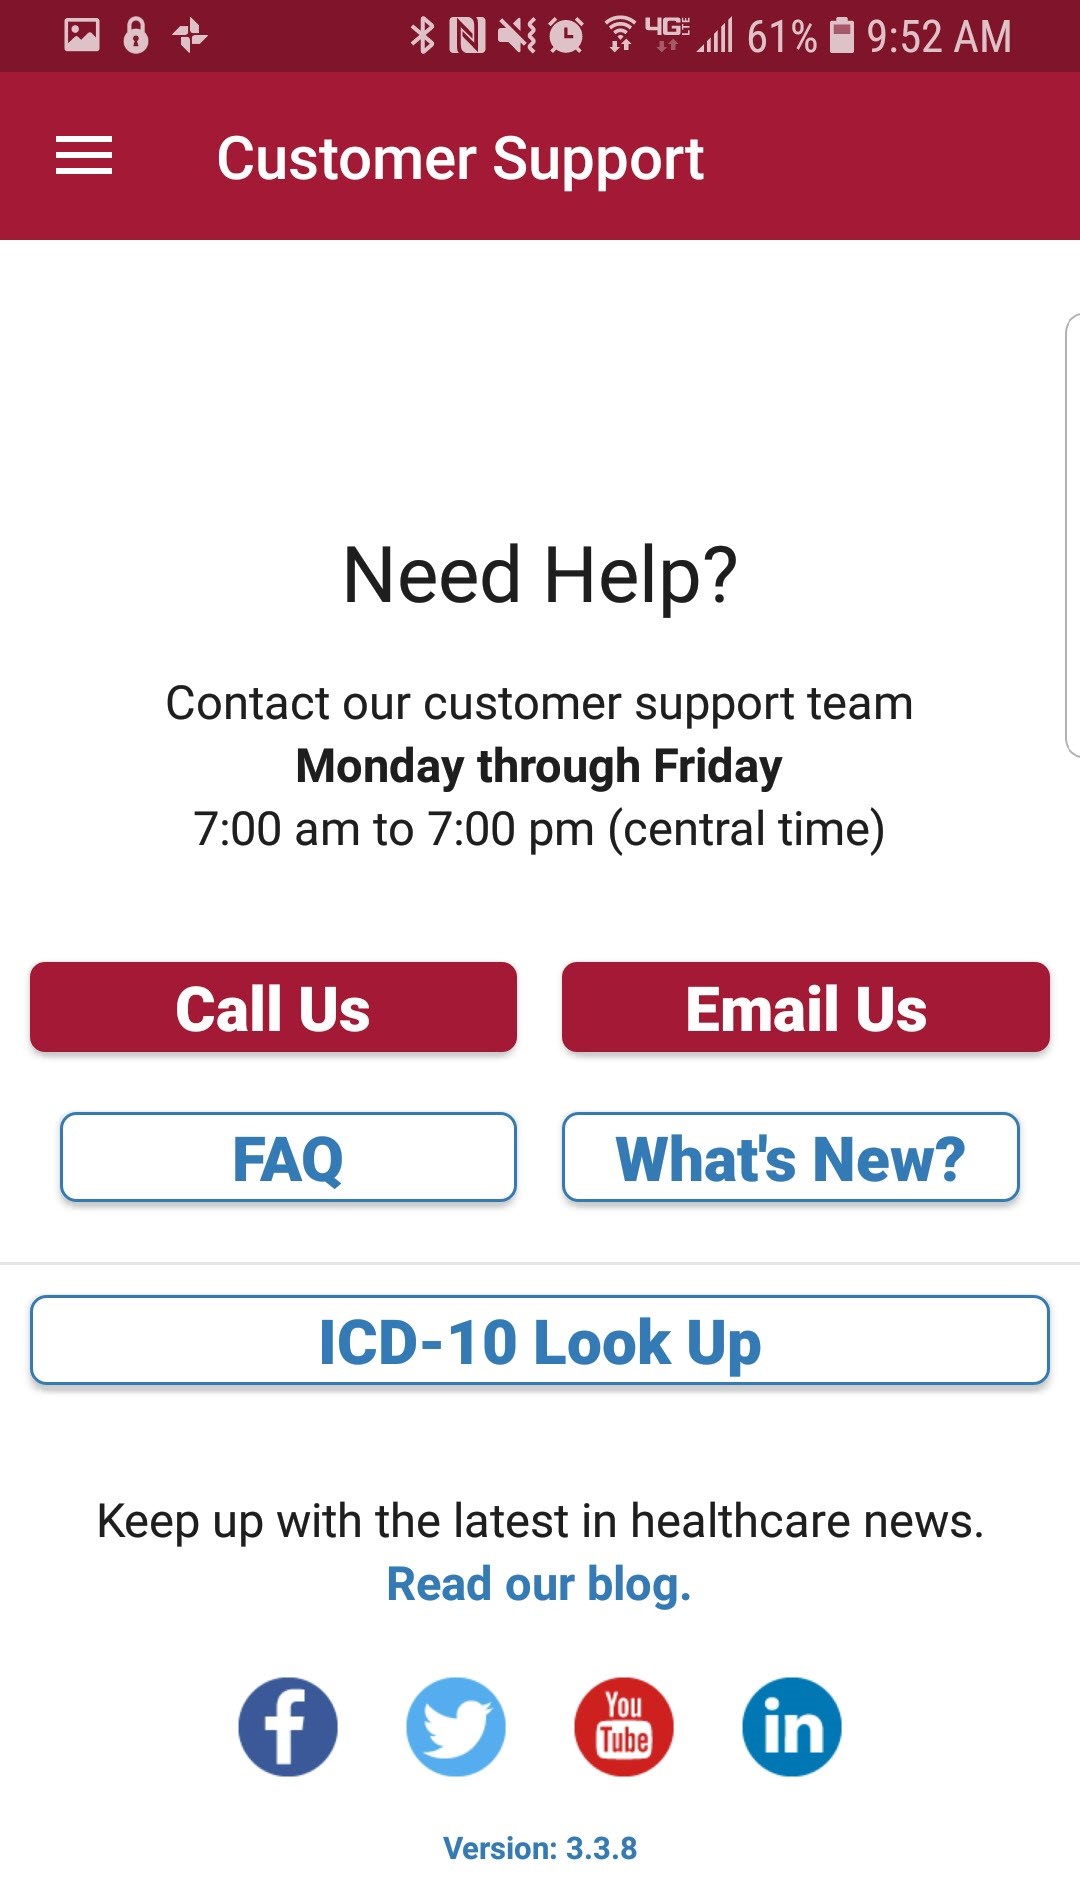
Frequently Asked Questions (FAQ) are available from the Customer Support page. There is a list of common questions and answers you can see by tapping on the question.

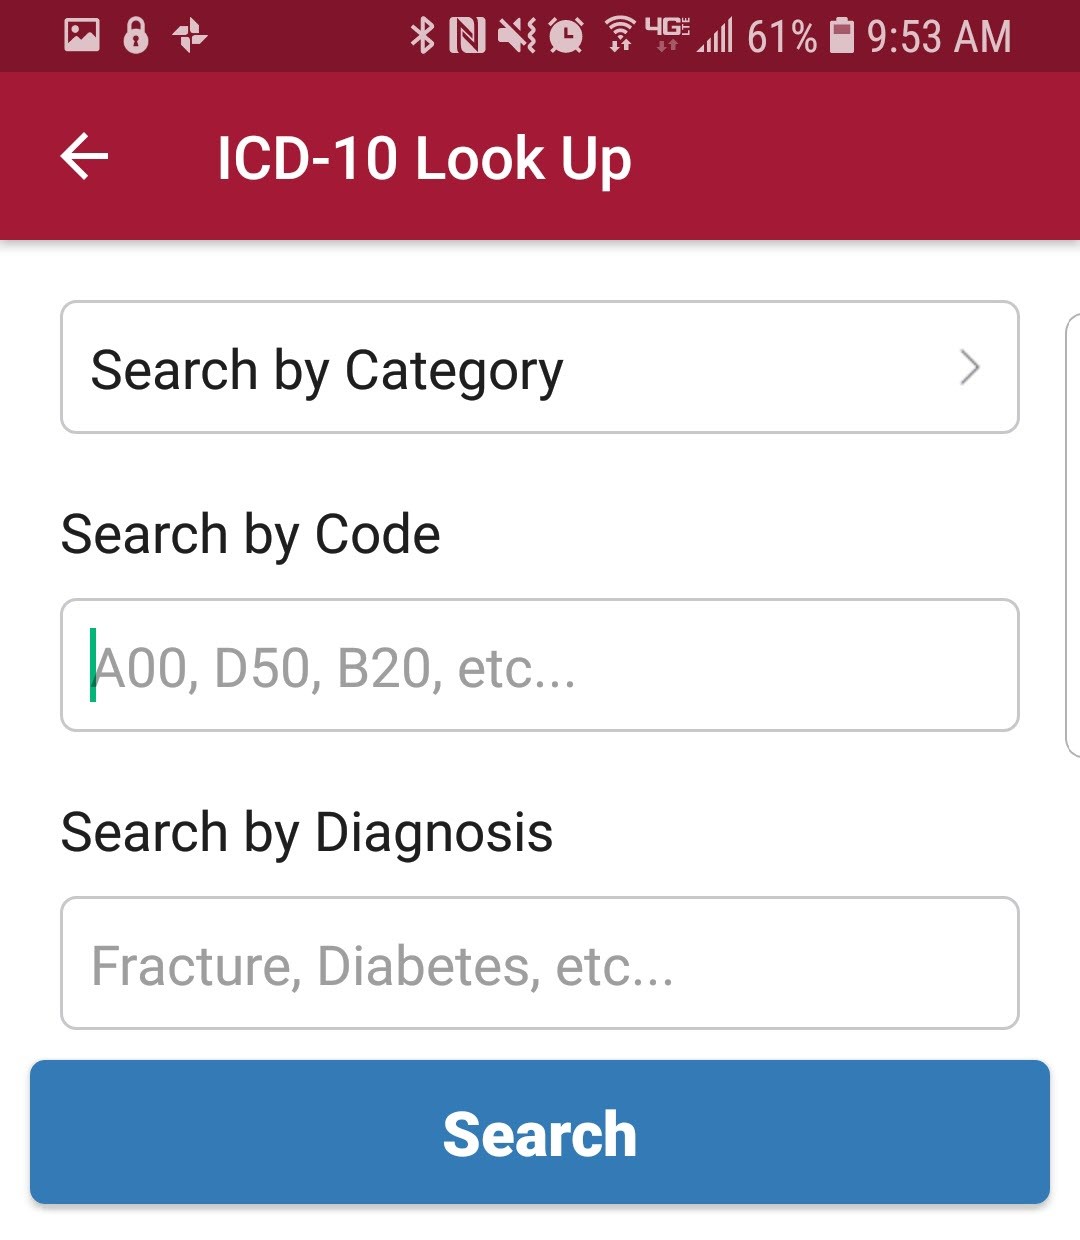
Another option from the Customer Support page is the ICD-10 diagnosis Look Up. Search by Category, Code or Diagnosis. Type in the Code or Diagnosis and tap the “Search” button.
If logged out, go the AgencyCore mobile app shown below to get back in.