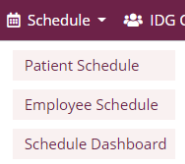
The Schedule tab includes the following menu items:
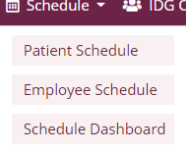
Click Patient Schedule to schedule visits or tasks and manage patient schedules.
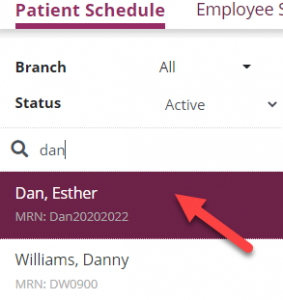
Find a specific patient using the Search box and/or filters on the left-side menu.
Click the patient’s name to view their schedule.
Across the top of the Patient Schedule screen, a banner displays the following patient information:
Patient schedules default to calendar view but can be switched to list view using the List View button in the top right corner. Click Calendar View to switch back to calendar view. You can also adjust between 14 Days and Month views.
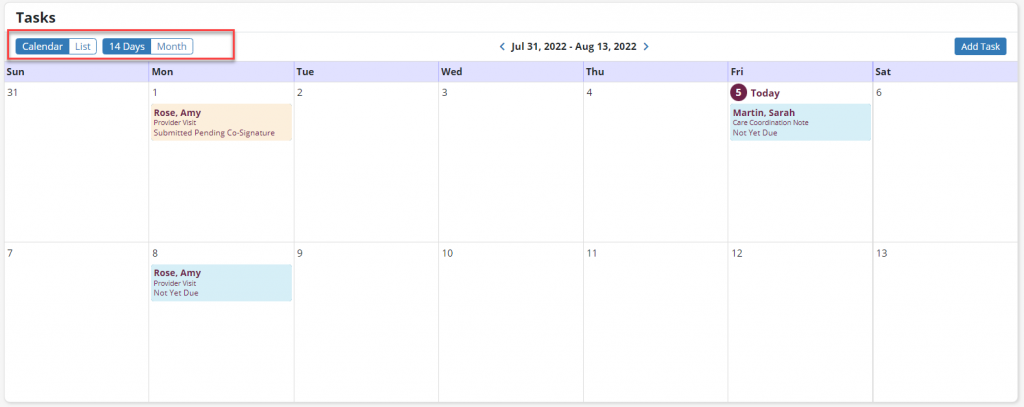
The backward and forward arrows allow users to navigate to previous and future date ranges to view and manage past and future visits.
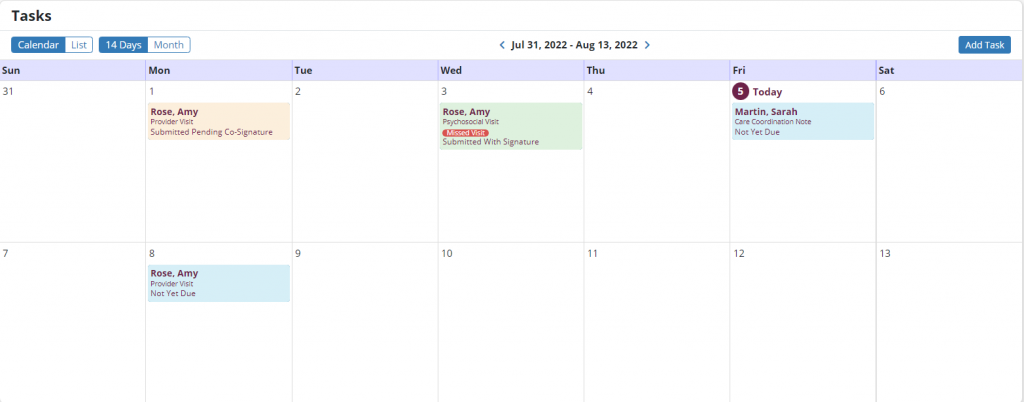
Tasks are color-coded based on the status of the visit and appear in the list or calendar view with the following colors:
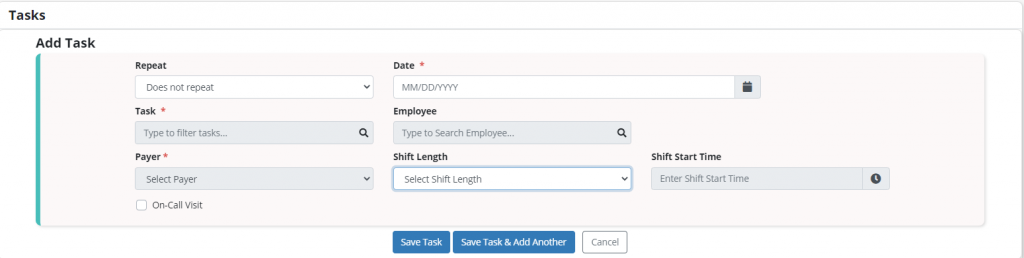
Schedule new visits/tasks by clicking the blue Add Task button in the top right corner.
Complete the fields in the Add Task form that appears. Fields with red asterisks are required.*
Click the Save Task button to add the task and return to the patient schedule.
Click Save Task & Add Another to add the task and complete another add task form before returning to the patient schedule.
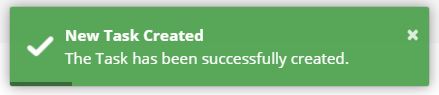
A green pop-up notification will confirm that the task was created successfully.
Click Employee Schedule (under the Schedule tab at the top) to view and manage employee schedules.
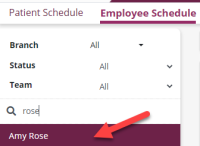
Find a specific employee using the Search box and/or filters on the left-side menu.
Click the employee’s name to view their schedule.
Across the top of the Employee Schedule screen, a banner displays the employee’s name and email address. On the right side of the banner, the View Employee Center link directs you to the employee’s profile in the people center.

Employee schedules default to calendar view but can be switched to list view using the List View button in the top right corner above the schedule. Click Calendar View to switch back to calendar view. You can also adjust between 14 Days and Month views.
The backward and forward arrows allow users to navigate to previous and future date ranges to view and manage past and future tasks in the employee’s schedule.
Tasks are color-coded based on the status of the visit and appear in the list or calendar view with the following colors:
Schedule new tasks by clicking the blue Add Task button in the top right corner.
Complete the fields in the Add Task form. Fields with red asterisks are required.*
Click the Save Task button to add the task and return to the employee schedule.
Click Save Task & Add Another to add the task and complete another Add Task form before returning to the employee schedule.
A green pop-up notification will confirm that the task was created successfully.
