The easy-to-use payroll setup enables agencies to seamlessly integrate Axxess Palliative Care into existing processes for optimal efficiency. Organizations can also track and monitor payroll operations through convenient and flexible payroll reporting that generates according to organization-selected parameters.
Payroll features are permission-based in Axxess Palliative Care.
To give a user payroll permissions, navigate to the People Center under the People tab and select Edit at the top of the user’s profile. On the Permissions tab, navigate to the Administration section and select the desired payroll permissions.
Payroll permissions are sectioned into Company Payroll and User Payroll to give organizations the flexibility to grant all or select payroll permissions to users. Next to each permission, check the desired boxes to give the user permission to view, add, edit, and/or delete payroll data. Click Save to complete the process.
People tab ➜ People Center ➜ Edit ➜ Permissions tab ➜ Administration section ➜ Company Payroll/User Payroll ➜ Save

Users with permission to add and edit Company Payroll can set up and adjust the company payroll policy in Company Setup under the Admin tab. To set company payroll policy, navigate to the Payroll tab from the left-side menu of Company Setup.
Under Payroll Policy, click Yes to begin setting up your company payroll policy.
Admin tab ➜ Company Setup ➜ Payroll tab ➜ Payroll Policy ➜ Yes

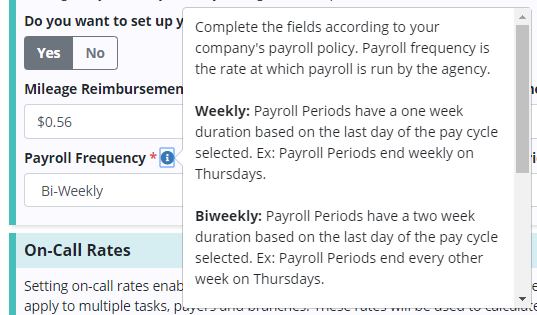
The system will prompt you to enter your Company Mileage, Travel Reimbursement Rate, First Day of Pay Period, Payroll Frequency, and Last Day of Pay Period at your organization.

To assist with the payroll setup process, instructions and tool tips appear throughout the page. Click on the blue information icon to view additional information about an item.
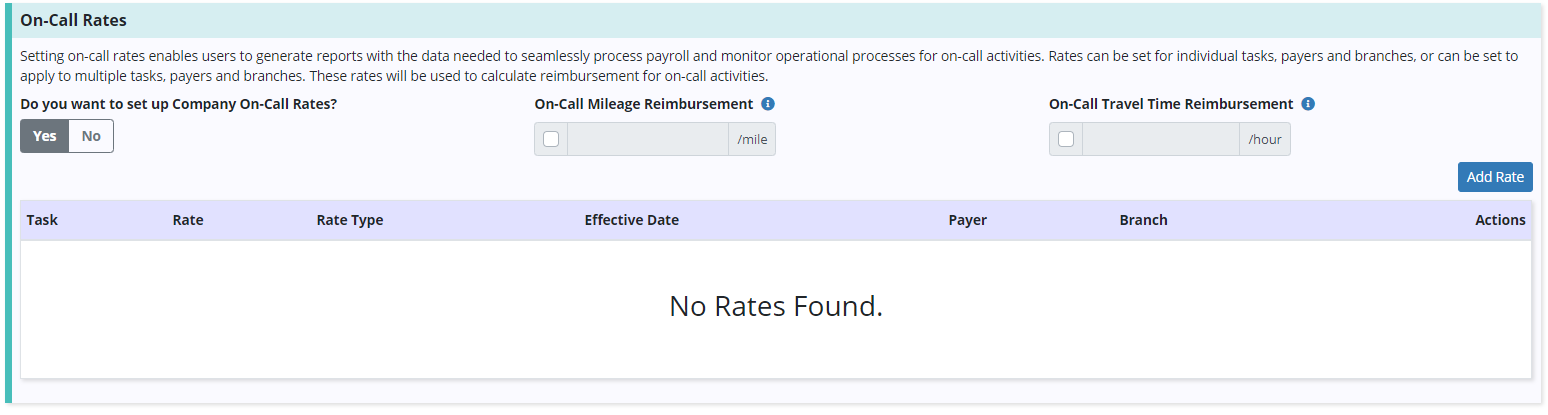
To set up On-Call Rates, select Yes in the On-Call Rates section under Do you want to set up Company On-Call Rates?
In the On-Call Mileage Reimbursement and On-Call Travel Time Reimbursement fields, specify mileage and reimbursement for on-call tasks and add on-call task rates as needed.
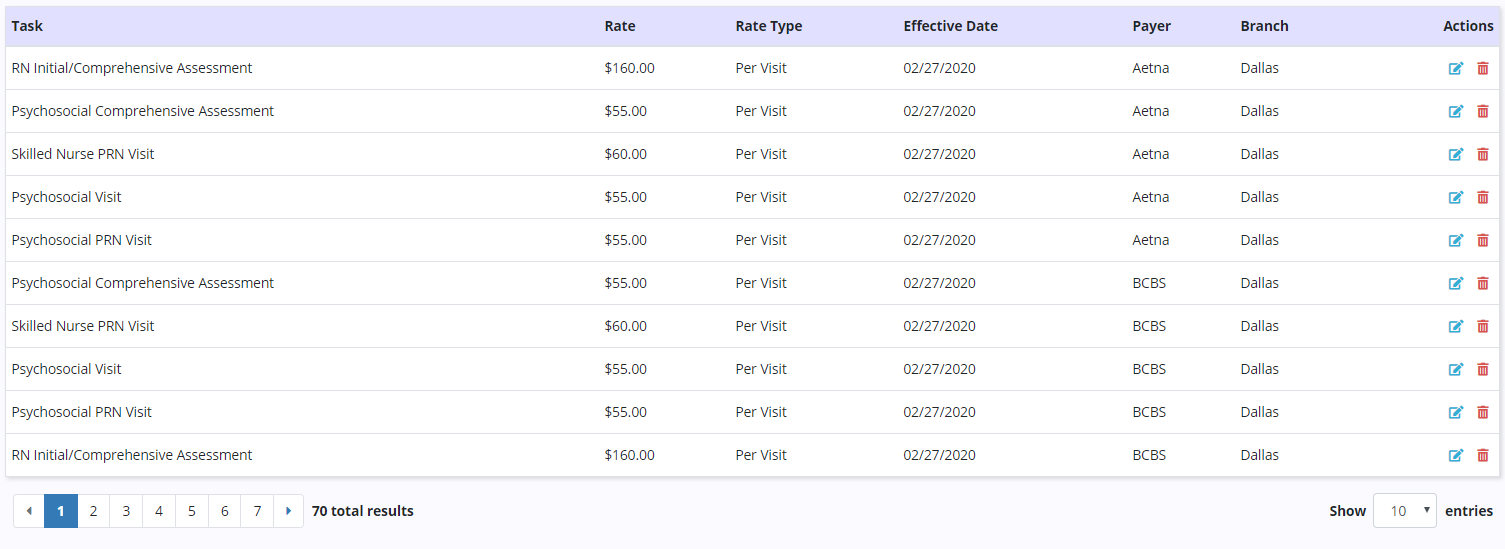
To add a new rate, click Add Rate and select the task, payer, branch, rate and effective date. To create the same rate for multiple tasks, payers, or branches, select the desired options from the respective drop-down menus and click Add Rate. A row will be added to the rate table for each task, branch, and payer specified.

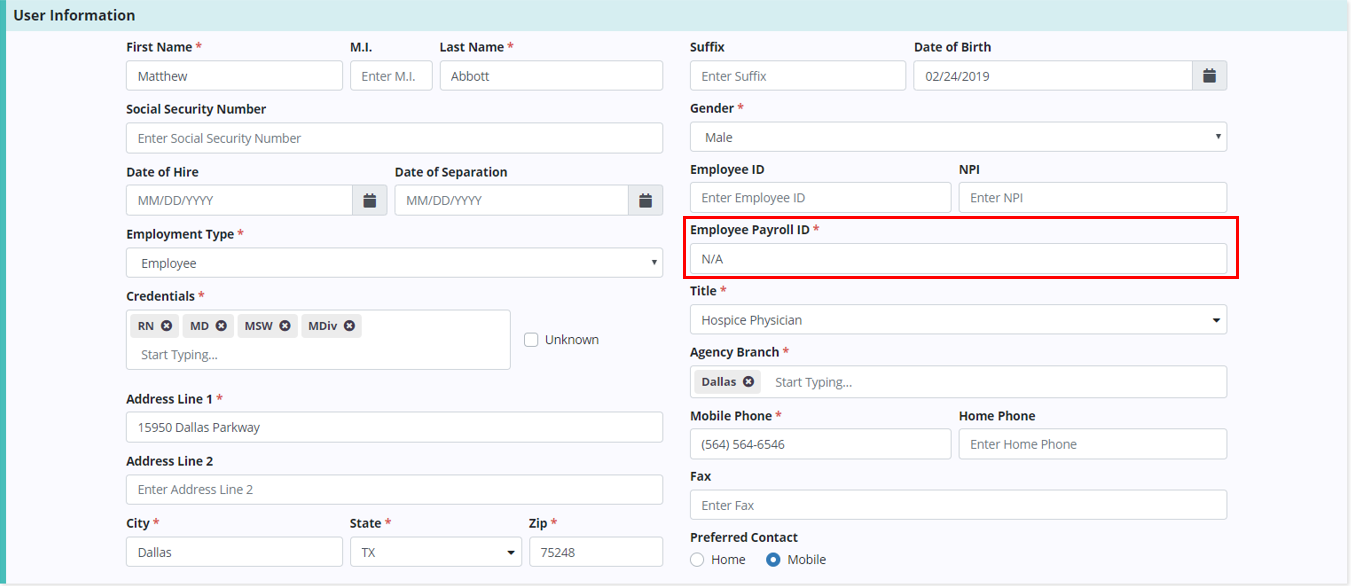
User payroll can be set up when adding a new user or by editing an existing user’s profile. To set payroll for an existing user, navigate to the People Center under the People tab and click Edit on the user’s profile. On the right side of the User Information section, enter an ID in the Employee Payroll ID field. If this is not applicable, type N/A in the Employee Payroll ID field.
People tab ➜ People Center ➜ Edit ➜ Employee Payroll ID
Navigate to the Payroll tab on the left side of the user’s profile. Enter the user’s pay type, effective date, and allowable reimbursements in the respective fields.
Pay Types:
The reimbursements selected under Allowable Reimbursements will apply the rates set in your company payroll policy and appear in your payroll for this user.

For per hour and per visit employees, a separate Pay Rates section will enable you to specify different rates for individual tasks completed by the user.
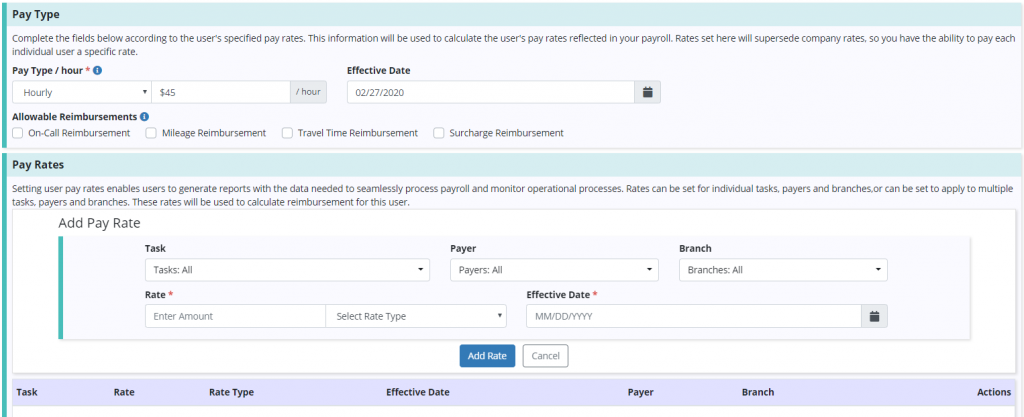
To copy rates from an existing user and streamline the payroll setup process, click Copy Existing Rates and select the user whose rates you want to copy.

Rates set for the user will populate in the rates table. To adjust a rate, click the blue edit icon under Actions and make the appropriate changes.

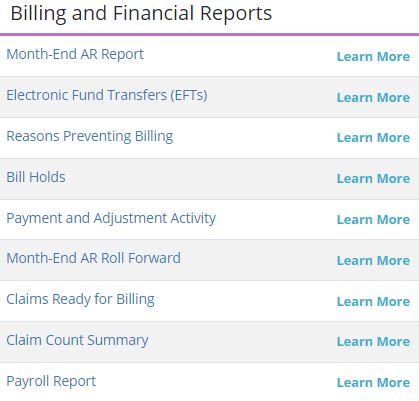
To generate the Payroll Report, navigate to the Report Center under the Reports tab. Select Payroll Report from the Billing and Financial Reports section.
Reports tab ➜ Report Center ➜ Billing and Financial Reports ➜ Payroll Report
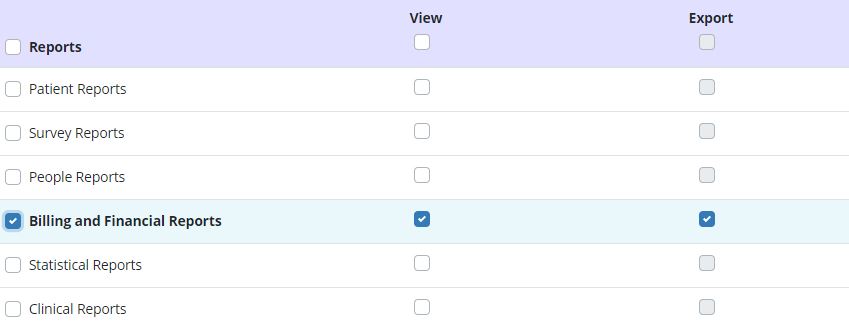
Users must have permission to view Billing and Financial Reports to generate this report. To give a user this permission, navigate to the People Center and edit the user’s profile. On the Permissions tab, scroll to the Reports section and select the View/Export boxes next to Billing and Financial Reports. Click Save.
On the Payroll Report screen, click Show Summary in the top right corner to view a summary with total values for the entire report. The total value of each individual page appears at the bottom of the page labeled Subtotal.

Use the filter menus at the top of the report to filter data by Date Range, Branch, Employee Name, Visit Status and/or Payment Status.
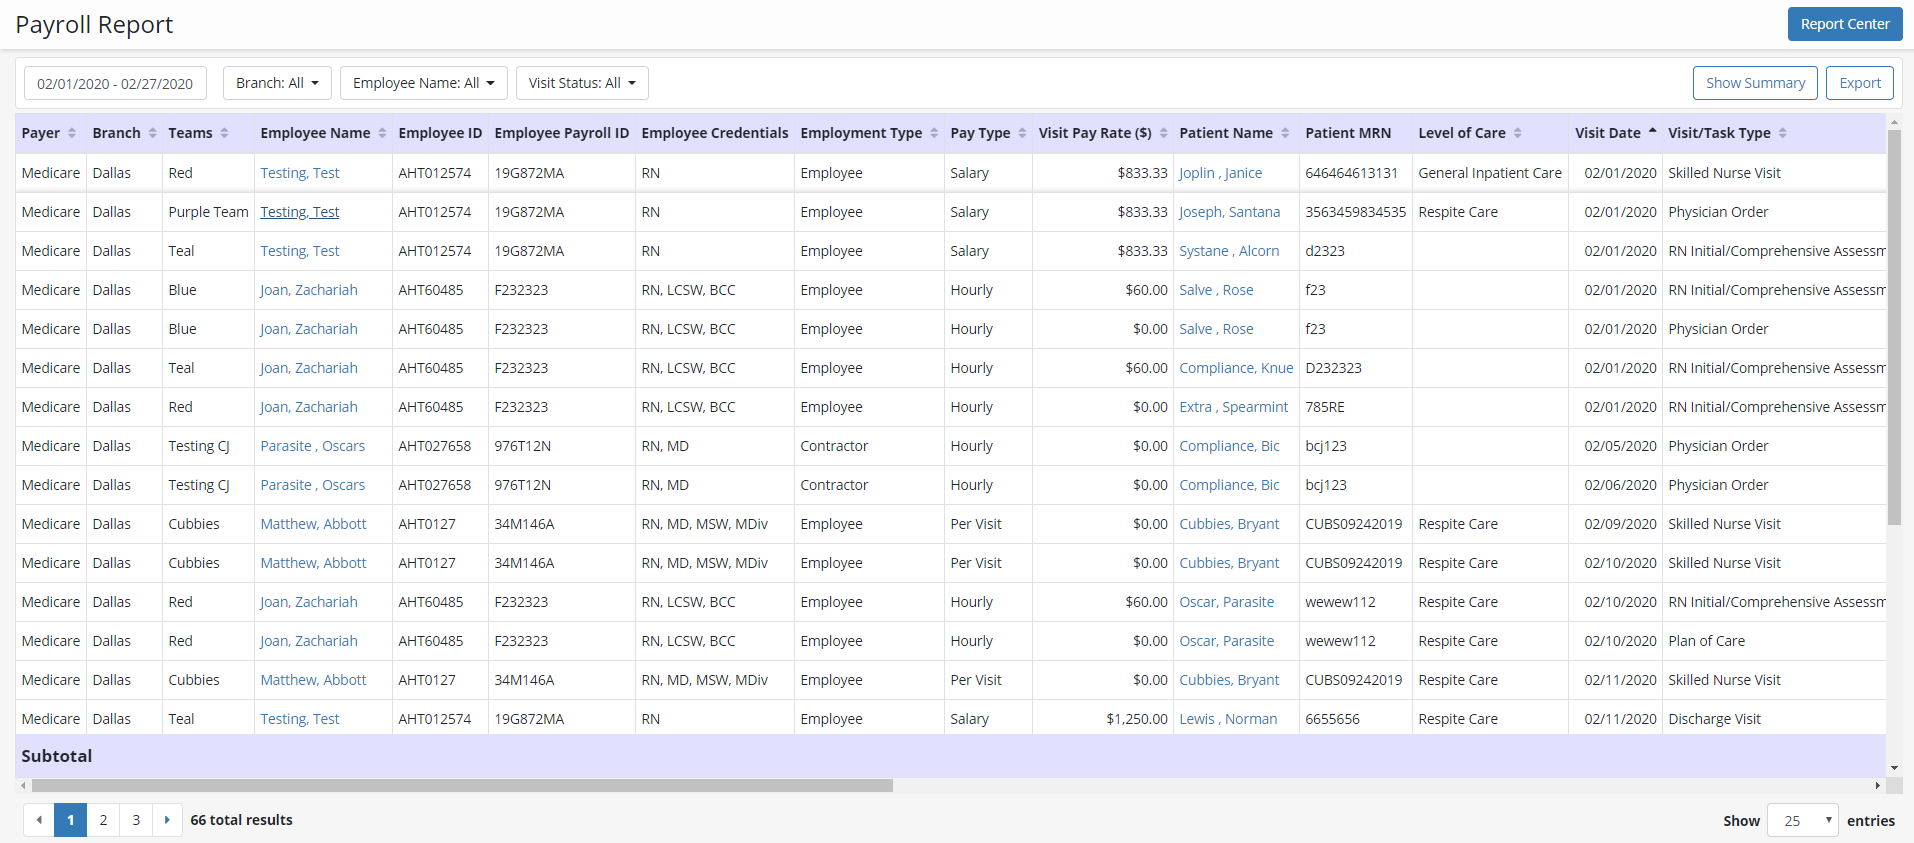
Click Export in the top right corner to generate an Excel file to print/save the report.

