x
Join our new Axxess User Community to connect, share, learn and grow together.Learn More
Users with billing permissions will have the ability to access the Billing Center located at the Hospice Navigation bar.
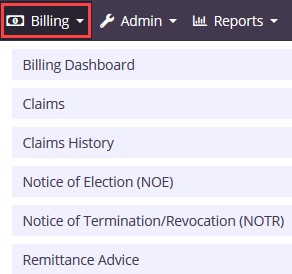
Billing/Billing Dashboard
Displays six tiles that are important in the day-to-day activity of a biller.
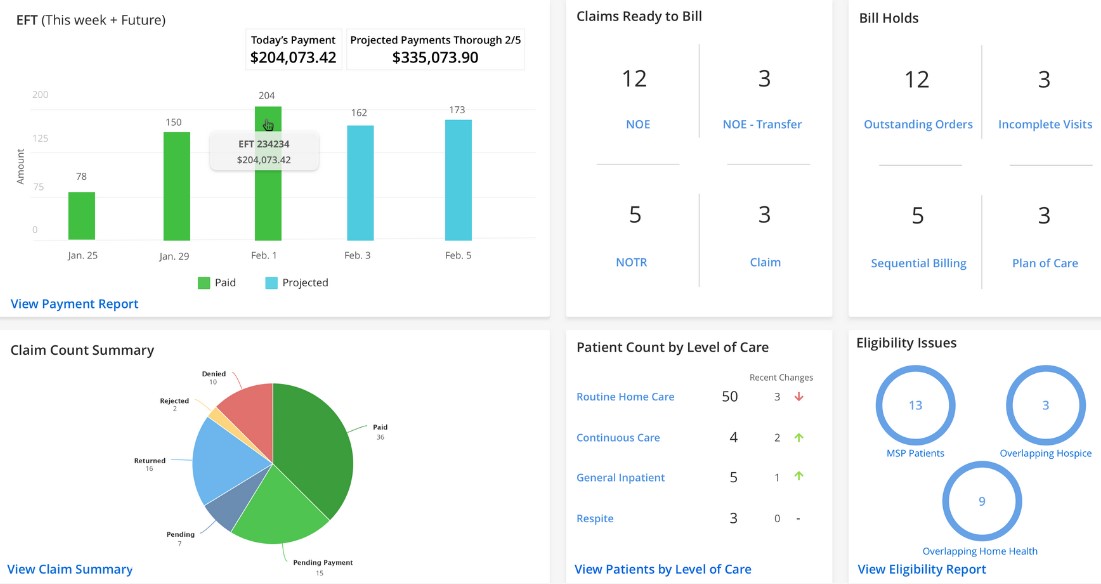
EFT – Shows a bar graph that displays the amount of payments that were paid and how many were projected. Select the “View Payment Report” hyperlink at the bottom of the tile to view the full Payment Report.
Claims Ready to Bill – Shows the total number of NOE, NOE-Transfer, NOTR and Claims that are ready to bill.
Bill Holds – Shows the total number of bills that are being held because of Outstanding Orders, Incomplete Visits, Sequential Billing and Plan of Care.
Claim Count Summary – Shows a pie graph that has the number of Paid, Pending Payment, Pending, Returned, Rejected and Denied claims. Select the “View Claim Summary” hyperlink at the bottom of the tile to view the details of all claims.
Patient Census by Level of Care – Shows the number of patients by level of care and gives the number of Recent changes including a green up arrow for increase and red down arrow for decrease. Select the “View Patients by Level of Care” hyperlink at the bottom of the tile to view the details of patients split up by level of care.
Eligibility Issues – Shows the number of MSP Patients, Overlapping Hospice, Overlapping Home Health patients that are causing eligibility issues.
Pages can be sorted by:
Select the Patient name hyperlink to go to the patient chart. To Print, select the print ![]() icon under Actions. Select the Refresh
icon under Actions. Select the Refresh ![]() icon to see the most up to date NOE’s. If there are more results than can be viewed on one page, then select the arrows to go between pages
icon to see the most up to date NOE’s. If there are more results than can be viewed on one page, then select the arrows to go between pages ![]() .
.
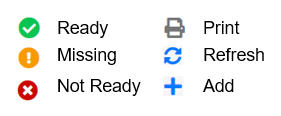
The following icons show the readiness of information on each page: ![]()
Hover over the icons in the table for more information and hyperlinks to view documents or notify clinicians.
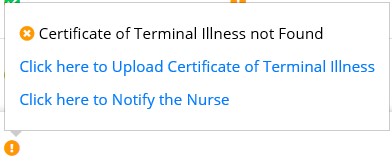
If the dot next to the patient name is green, then at least one document was completed. A red dot means no documents have been completed. ![]()
Billing/Claims
A window will open with a list of Patient’s Name, Claim Date Range, Prior Claim Status, Visits Completed and Orders Completed.
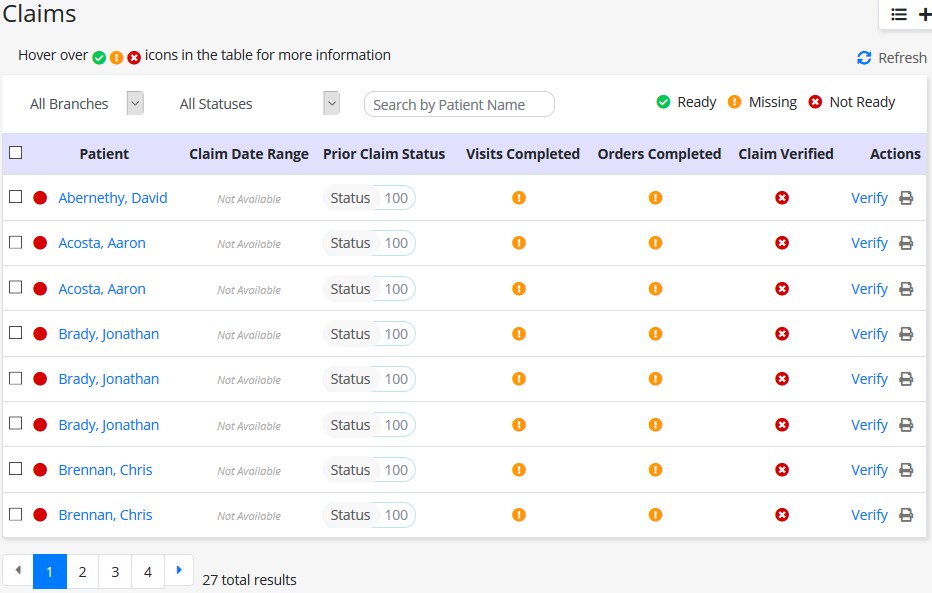
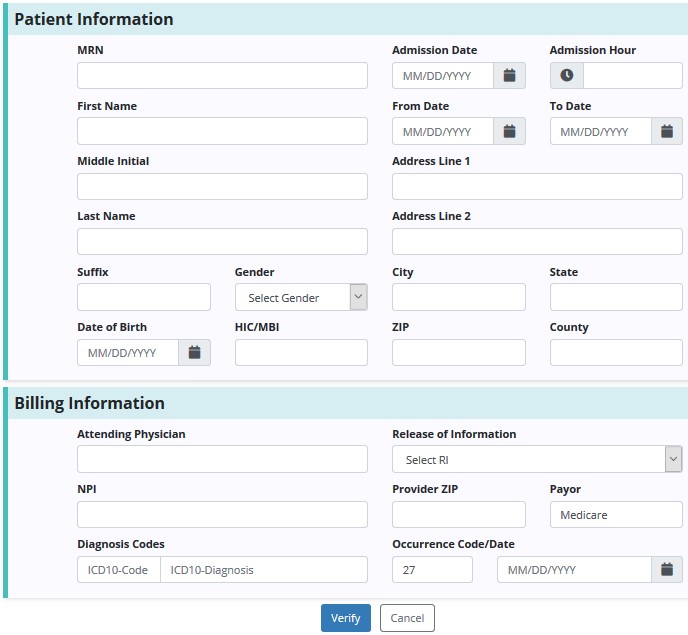
Claims are ready in the software once each column has the green Ready check mark. To verify a Claim, select the “Verify” hyperlink under Actions. Confirm that the following information is signed, timely dated and available as an attachment:
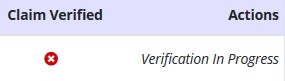
Below is what users see while the Claim is being verified, the Action message “Verification In Progress.”
Once all information is confirmed/entered, select the “Verify” button.
![]()
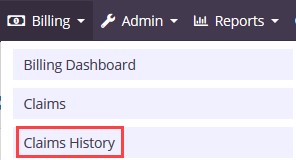
Billing/Claims History
A window will open with the following columns:
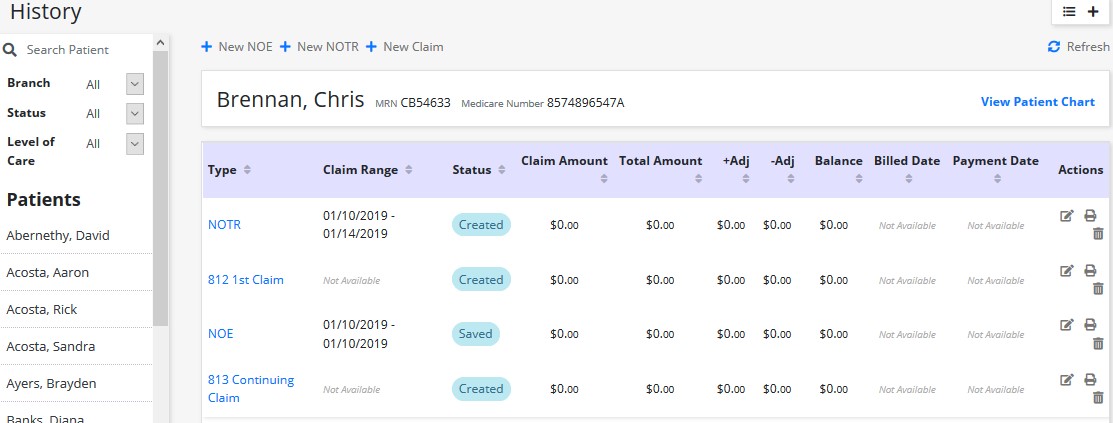
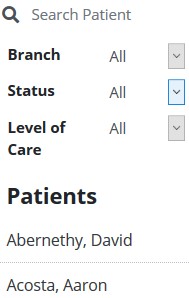
Find specific patients on the left side of the page with the following filters:
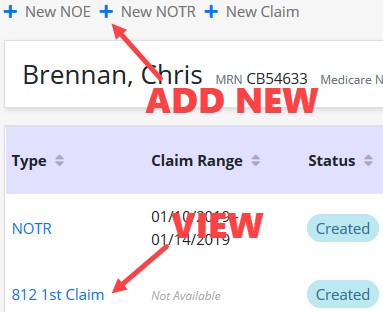
After the patient has been selected, view the NOE, NOTR or Claim by selecting the hyperlink on the left side. Create a New NOE, NOTR or Claims by selecting the plus ![]() icon at the top of the page.
icon at the top of the page.
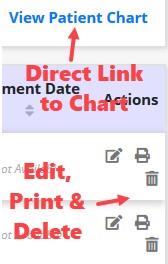
Make Edits, Printing and Delete billing items by selecting the corresponding icons on the far-right underneath Actions. To go directly to the patient chart, select the “View Patient Chart” hyperlink in the top right.
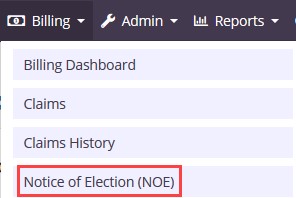
Billing/Notice of Election (NOE)
A window will open with a list of Patient’s Name, Admission Date, Election Form, CTI, and Initial Assessment.
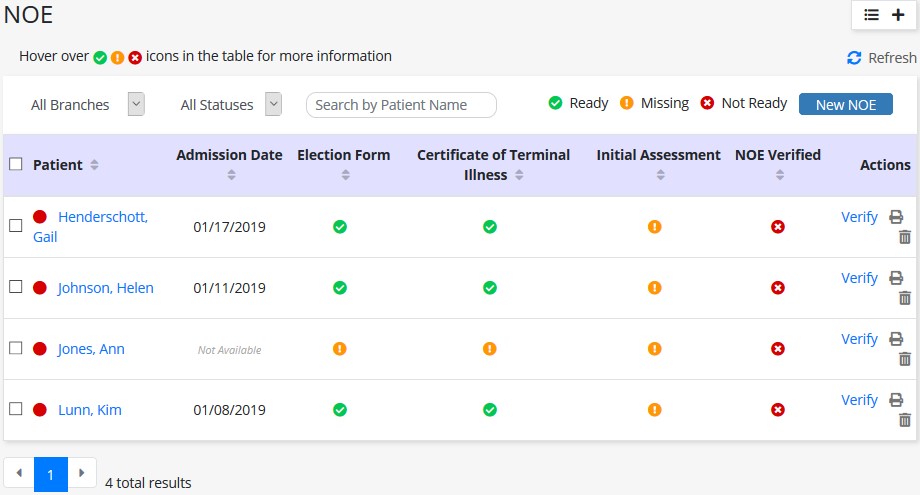
A NOE is ready in the software once the sections below are all check ![]() marked green.
marked green.
![]()
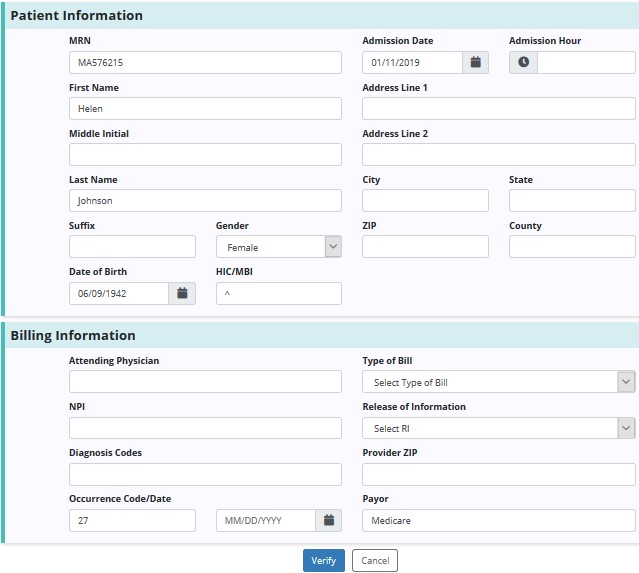
To verify a NOE, select the “Verify” hyperlink and make sure that the following information is signed, timely dated and available as an attachment:
Below is the NOE verification screen. Once all information is confirmed/entered, select the “Verify” button.
Though NOE’s are automatically generated once the patient status is changed to active, the user will still be given a way of creating another NOE, if needed, by selecting the ![]() button on the right side of the page.
button on the right side of the page.
Once the “New NOE” button is selected, the top of the screen expands where the name of the patient can be typed in.
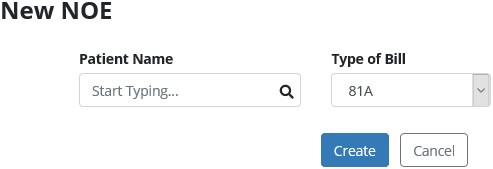
This section is a type ahead and the system will automatically display names that match the several letters that were entered. Select the name, choose the correct Type of Bill from the dropdown menu and then select the “Create” button.
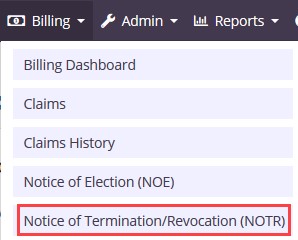
Billing/Notice of Termination/Revocation (NOTR)
A window will open with a list of Patient’s Name, Revocation/Discharge Date, Discharge Visit and Revocation Statement.
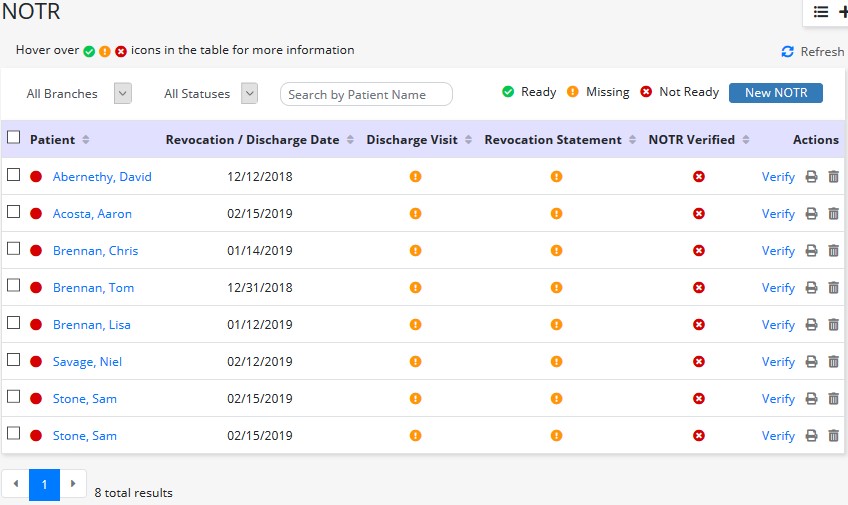
NOTR are ready in the software once each column has the green Ready check mark. To verify an NOTR, select the “Verify” hyperlink under Actions. Confirm that the following information is signed, timely dated and available as an attachment:
Below is the NOTR verification screen. Once all information is confirmed/entered, select the “Verify” button.
NOTR are automatically generated once the patient status is changed to discharged, however, the user can create a NOTR by selecting the ![]() button on the right side of the page.
button on the right side of the page.
Once the “New NOTR” button is selected, the top of the screen expands where the name of the patient can be typed in.
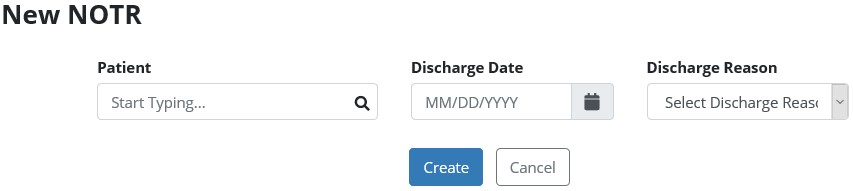
This section is a type ahead and the system will automatically display names that match the several letters that were entered. Select the name, choose a Discharge Date and Reason. Then select “Create.”
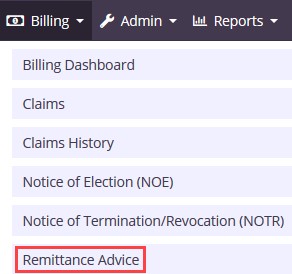
Billing/Remittance Advice
This will be automatically posted through All Payers once it is received, and the associated claims will also have payments and adjustments posted to the claims.
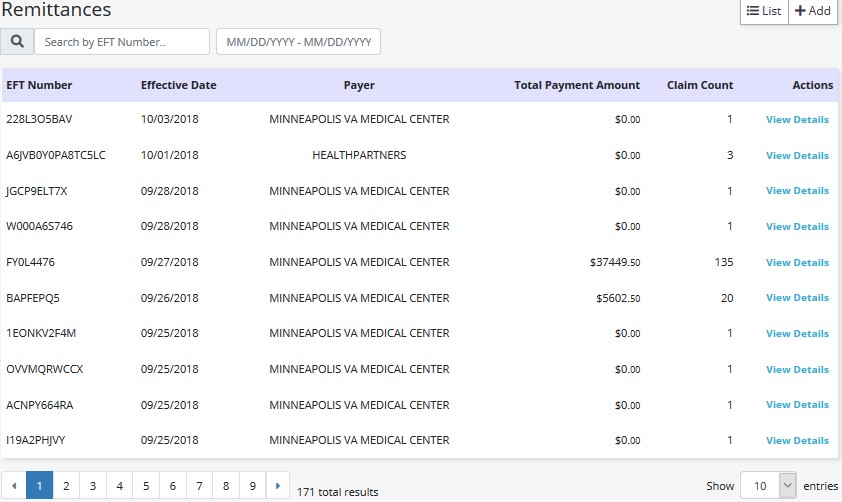
Search through the list of remittances by entering the EFT Number or by date range.
![]()
Each line lists the EFT Number, Effective Date, Payer, Total Payment Amount and Claim Count. Select the “View Details” hyperlink to view the file with the specifics on each remit.

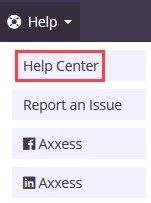
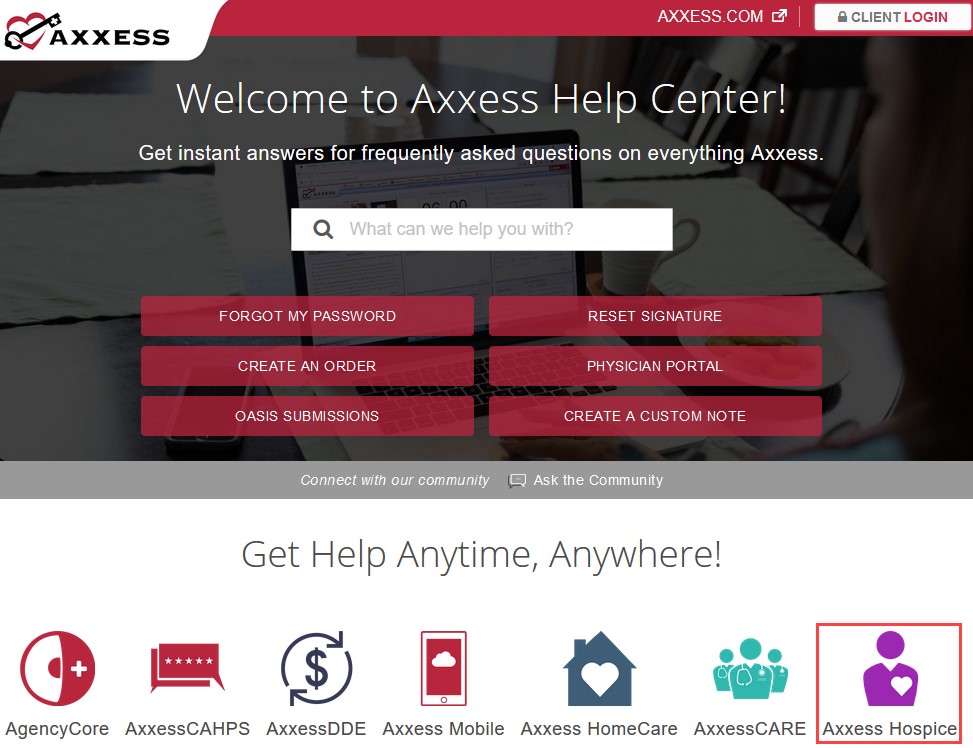
A great resource that is available 24/7 is our Help Center. It is a place to get answers to frequently asked questions or watch videos on all our Axxess products. Our Help Center can be accessed by selecting Help/Help Center or https://www.axxess.com/help/