x
Join our new Axxess User Community to connect, share, learn and grow together.Learn More
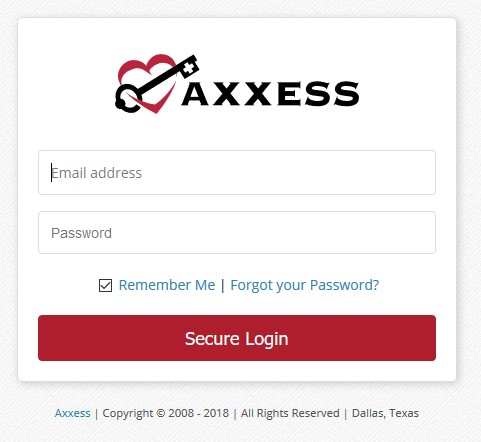
Navigate to www.axxess.com. Select “Client Login”

User inputs credentials and selects “Secure Login”
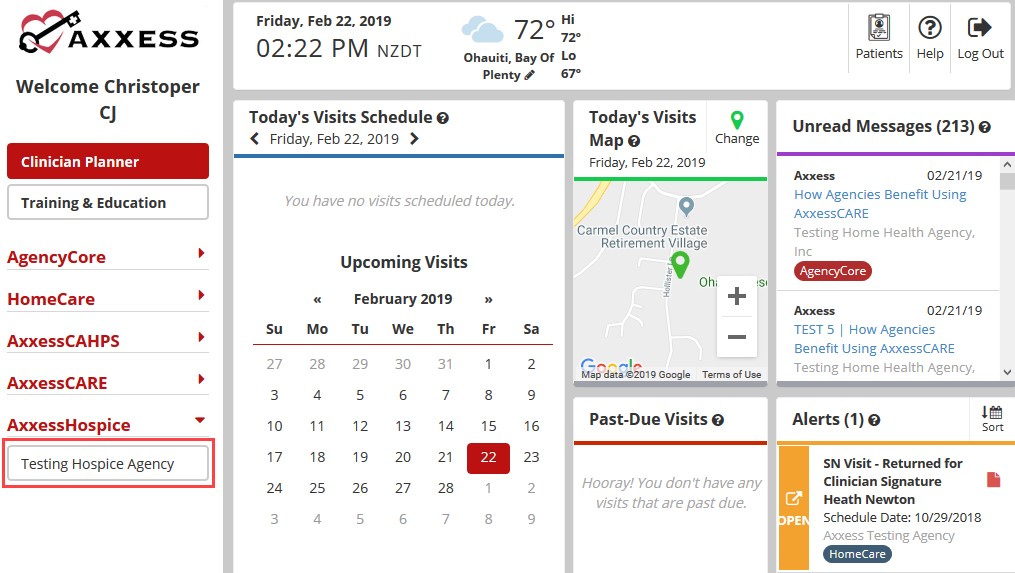
The Clinician Planner displays pertinent information specific to a user. Shortcuts have been placed on the left side of the page to allow for easy access to the Axxess applications the agency is using. Clinicians are also able to see upcoming visits, past due visits, unread messages, and a map of today’s visits. To access patient charts, document a visit or bill for an individual patient, select the appropriate Axxess application on the left side of the page.
Navigation Menu – Once logged in, the navigation menu at the top will allow for easy access to the data.
![]()
The Home menu allows access to the following actions based on permissions granted to the user.
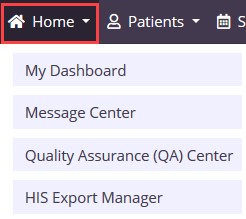
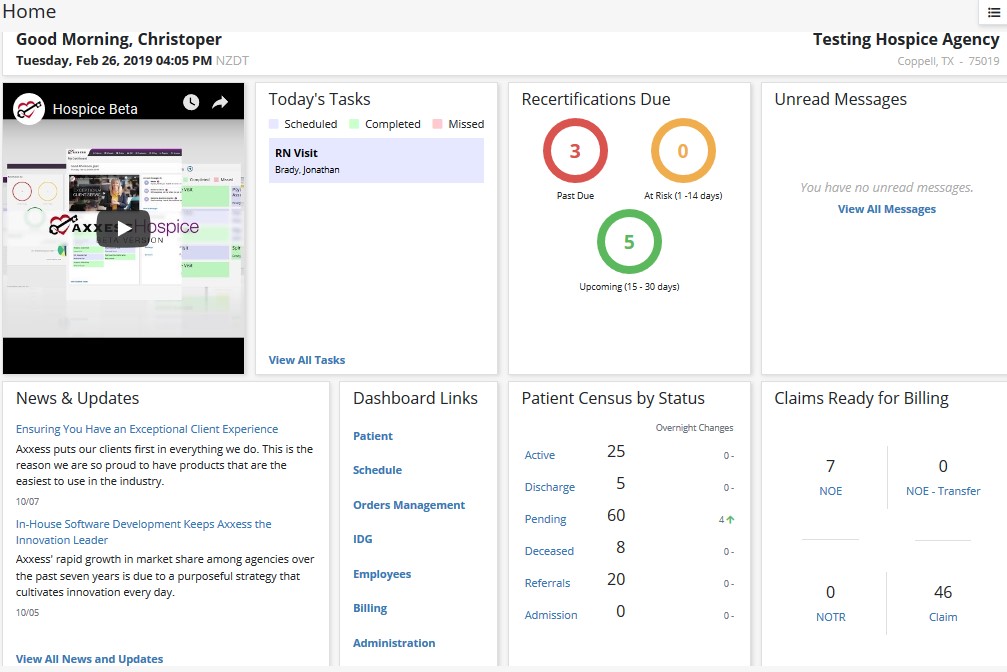
My Dashboard – Houses nine tiles that include the Welcome Panel, Video, Today’s Tasks, Recertifications Due, Unread Messages, News & Updates, Dashboard Links, Patient Census by Status and Claims Ready for Billing.
Message Center – See below.
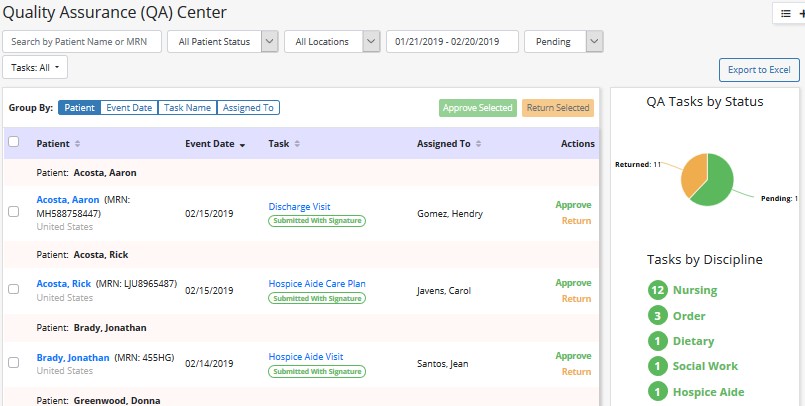
Quality Assurance (QA) Center – The QA Center is where clinical documentation is processed by the QA staff. QA staff can view, approve and return documents from within the QA Center.
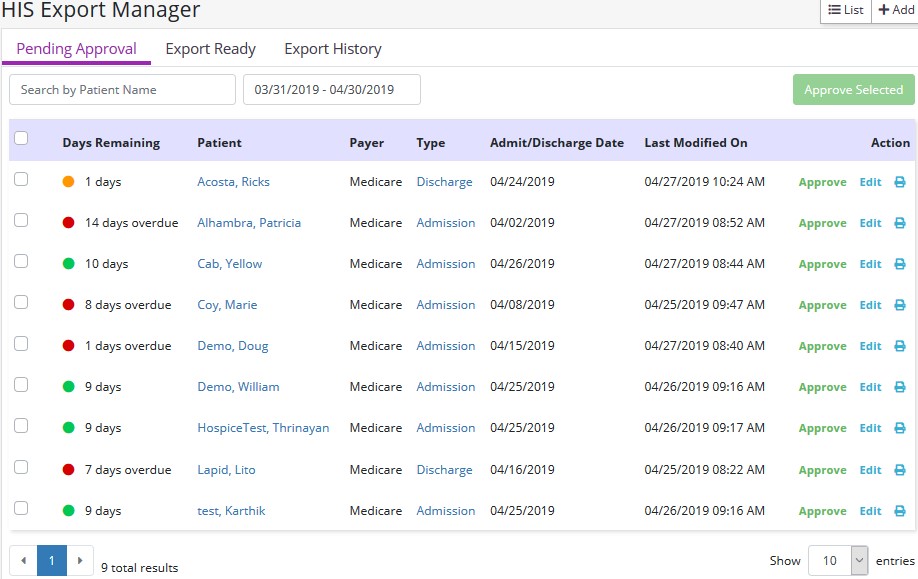
HIS Export Manager – Users can manage the exporting of HIS documents from Pending Approval, Export Ready and Export History.
The Patients menu allows access to the following actions based on permissions granted to the user.
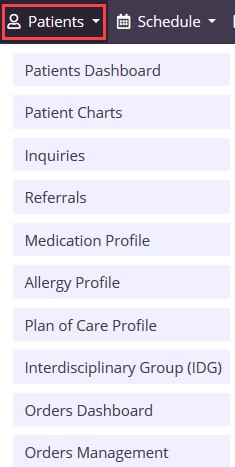
Patients Dashboard – Shows nine tiles that keep clinicians up to date on important information including the Today’s Tasks, Recertifications Due, Unread Messages, News & Updates, Dashboard Links, Patient Census by Status and Claims Ready for Billing.
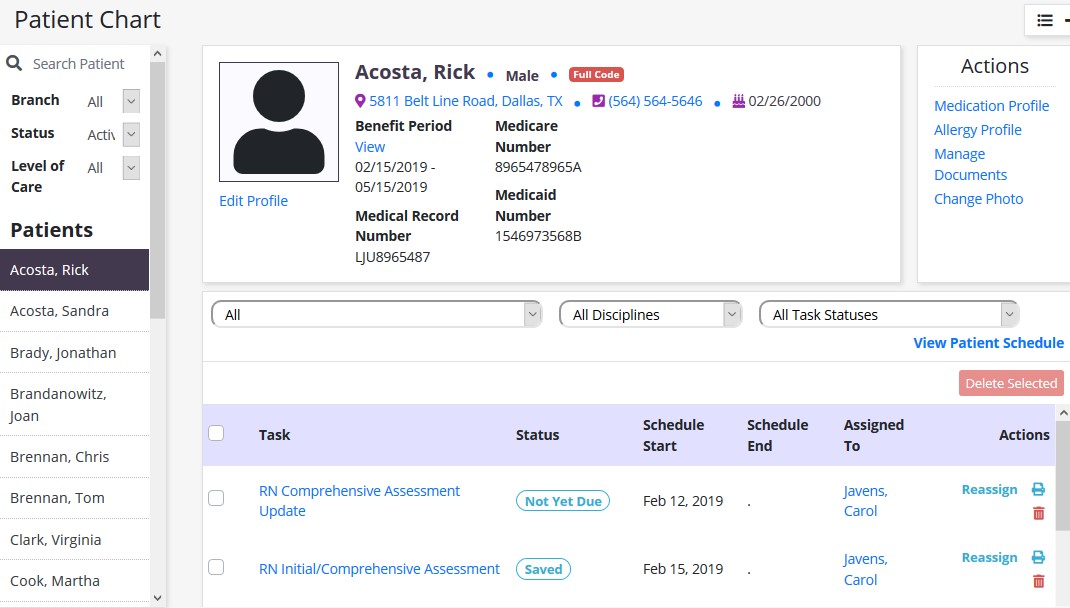
Patient Chart – See all patient charts with functionality to view information (including the schedule), make edits and quick links to other patient information.
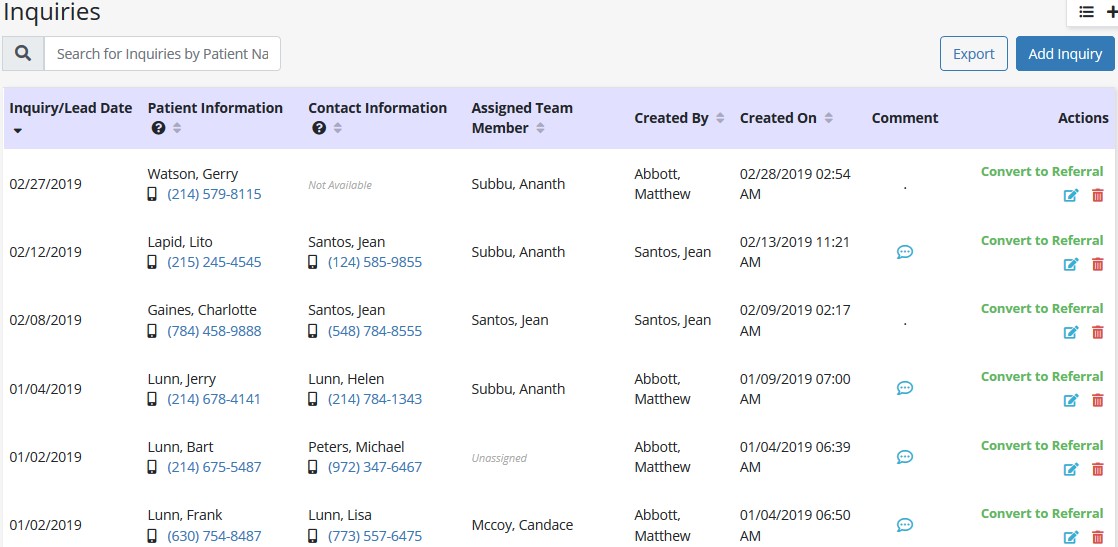
Inquiries – See all patient inquiries (sales leads) with functionality to add, edit, delete or convert to referral.
Referrals – See all patient referrals with functionality to make edits, convert to pending or remove.

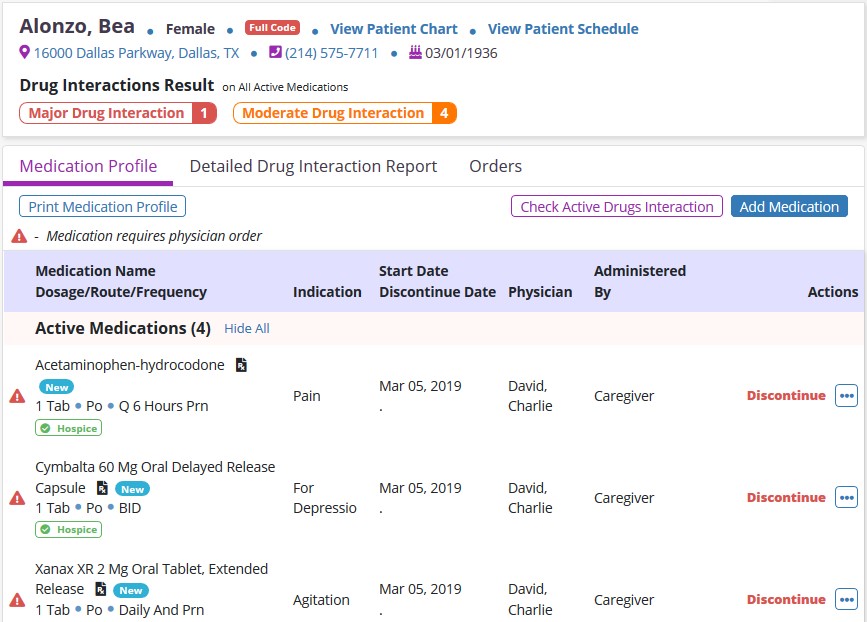
Medication Profile – See all patients Medication list with functionality to add, discontinue, delete, copy meds and view interactions.
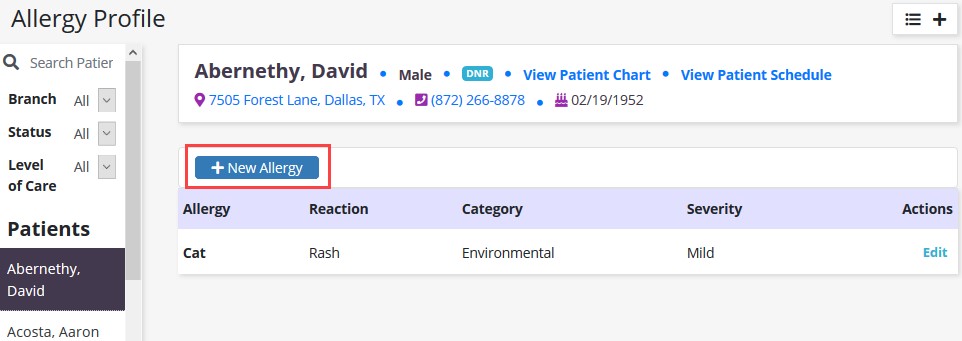
Allergy Profile – See all patients allergy lists with functionality to add or edit allergies.
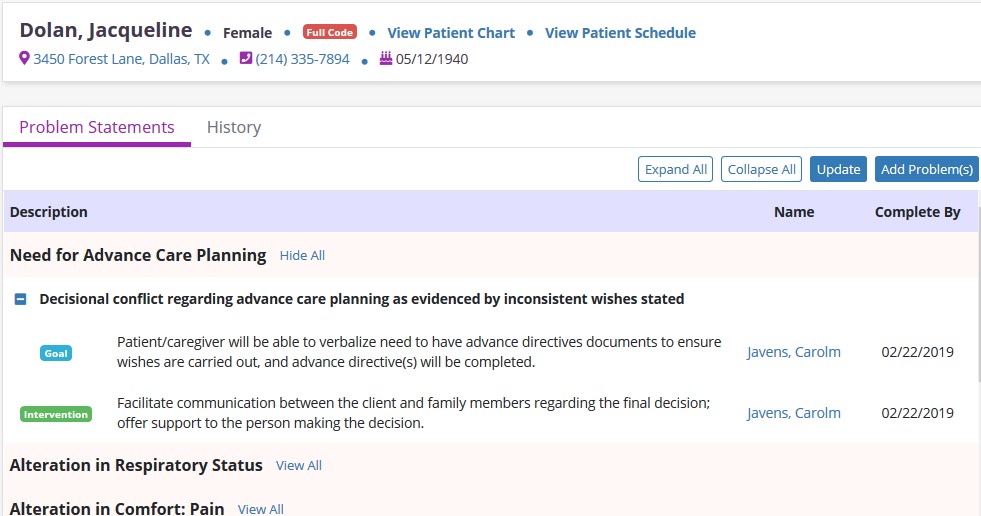
Plan of Care Profile – See all patient’s Plan of Care with functionality to view historic, update, add or remove Problem Statements, Interventions and Goals.
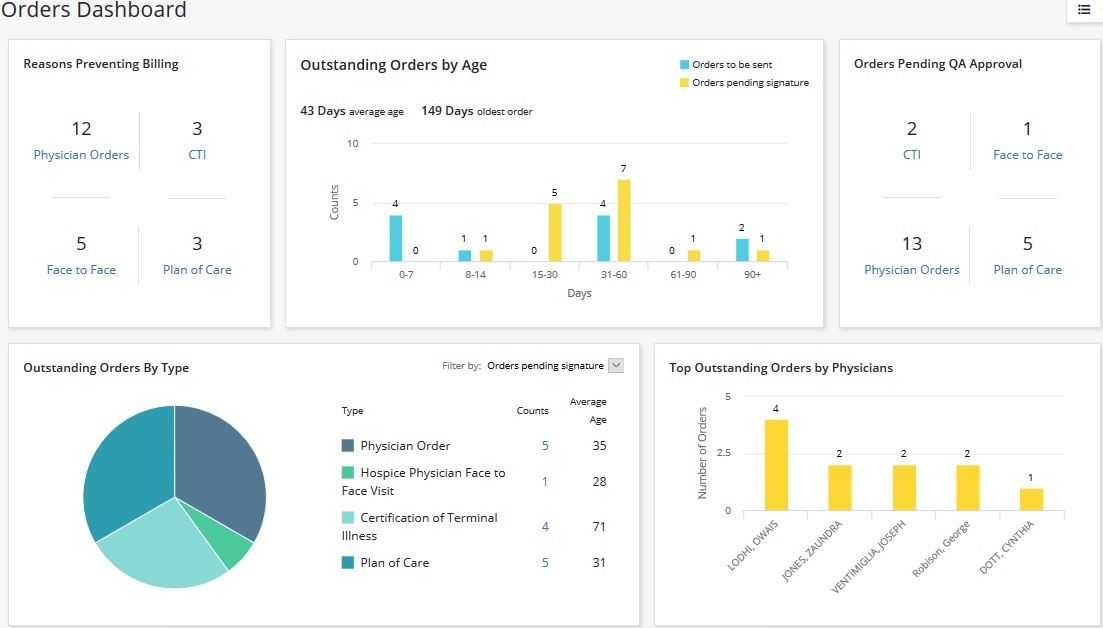
Orders Dashboard – Shows agency outstanding orders and documentation that may be holding up billing. This will help assist agencies to quickly identify issues and resolve them. NOTE: See Orders Management manual for further details.
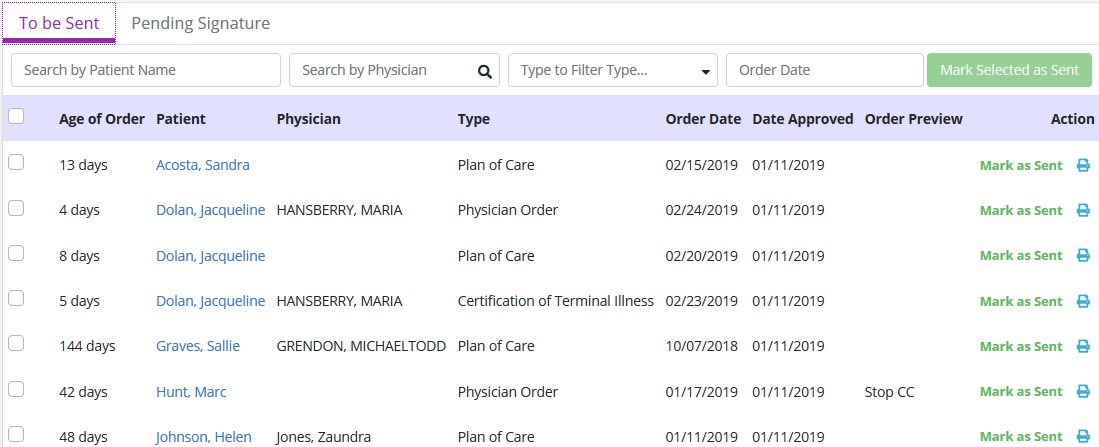
Orders Management – Orders are split into two sections: To Be Sent for orders that are ready to be sent for signature and Pending Signature for orders that have been sent for signature and are expected back.
The Schedule menu allows access to the following actions based on permissions granted to the user. NOTE: See Intake/Scheduling manual for further details.
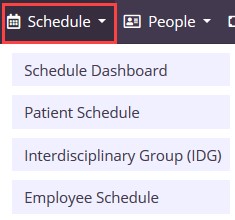
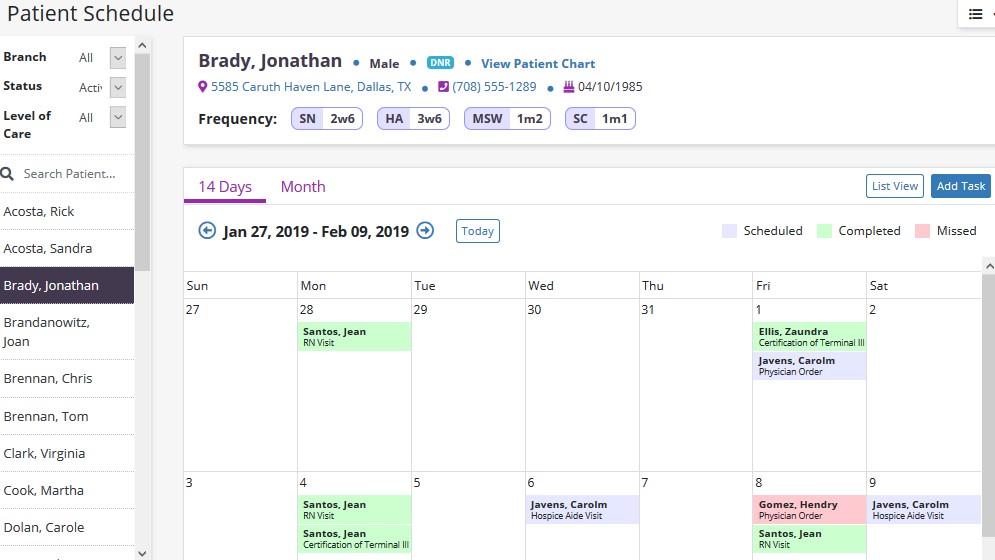
Patient Schedule – See all patients schedules with functionality to view, add tasks and drag & drop visits. The default view is 14-day periods but can also be viewed monthly.
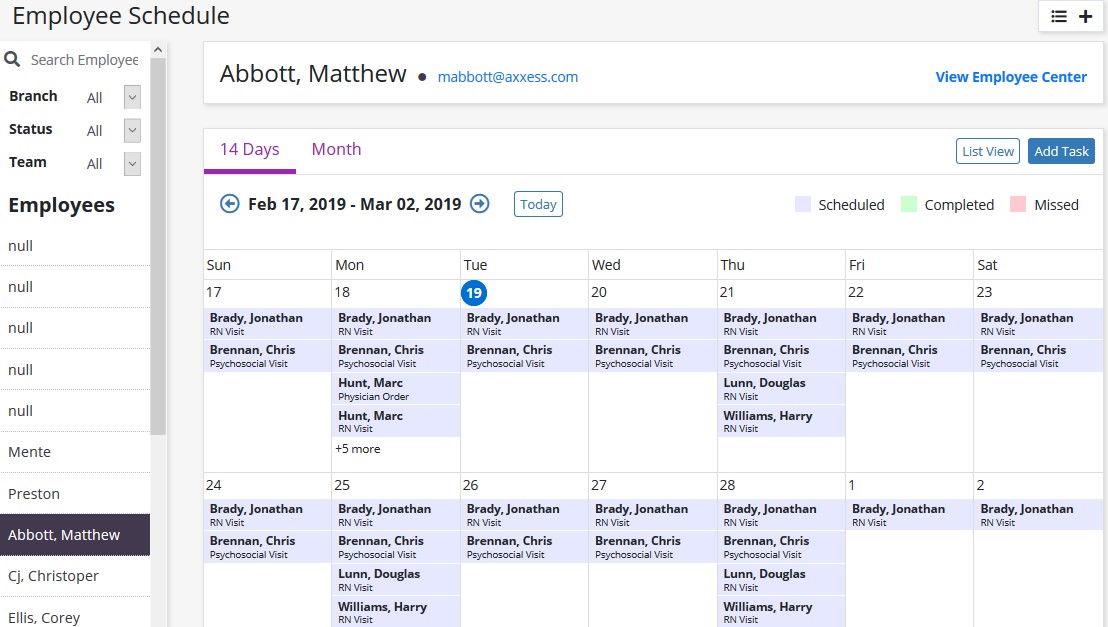
Employee Schedule – See all employees schedules with the same functionality as the Patient Schedule with a link to the Employee Center.
The People menu allows access to the following actions based on permissions granted to the user.
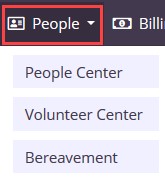
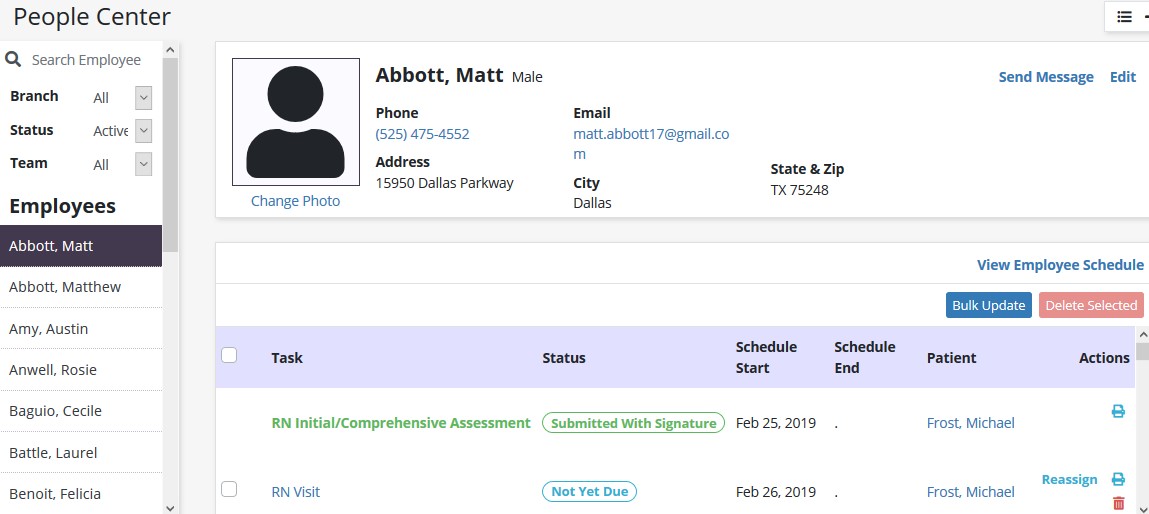
People Center – See all employee files with functionality to view information (including the schedule), make edits, reassign visits and links to send messages and employee schedules.
The Billing menu allows access to the following actions based on permissions granted to the user. NOTE: See Billing manual for further details.
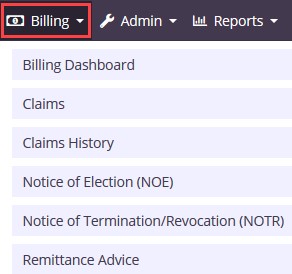
Billing Dashboard – Displays seven panels that are important in the day to day activity of a biller including Claims by Status, Bill Hold, Claim Count by Month, Manage NOE and Expiring Authorizations.

Claims – Check the status, verify, follow up and print Claims.

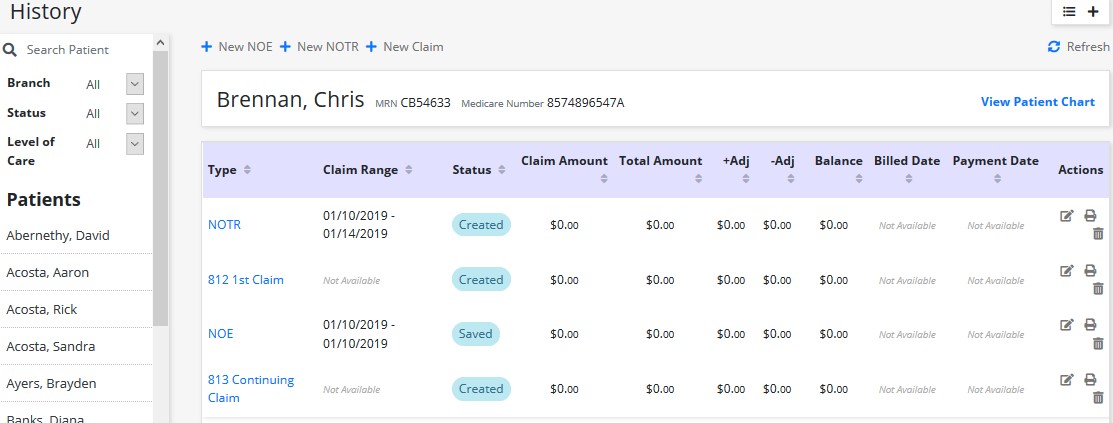
Claims History – Check the status of all claims for all patients including functionality to make edits, print and delete.
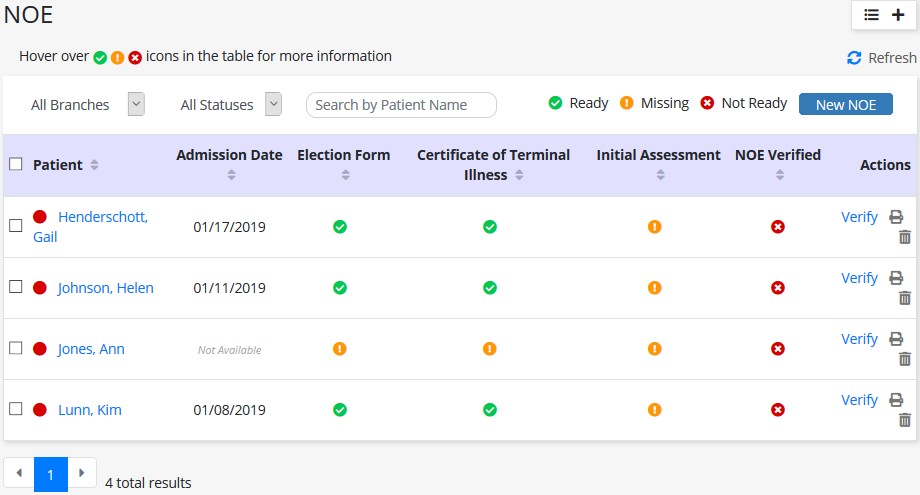
Notice of Election (NOE) – Check the status, verify, print, delete and create new NOE’s.
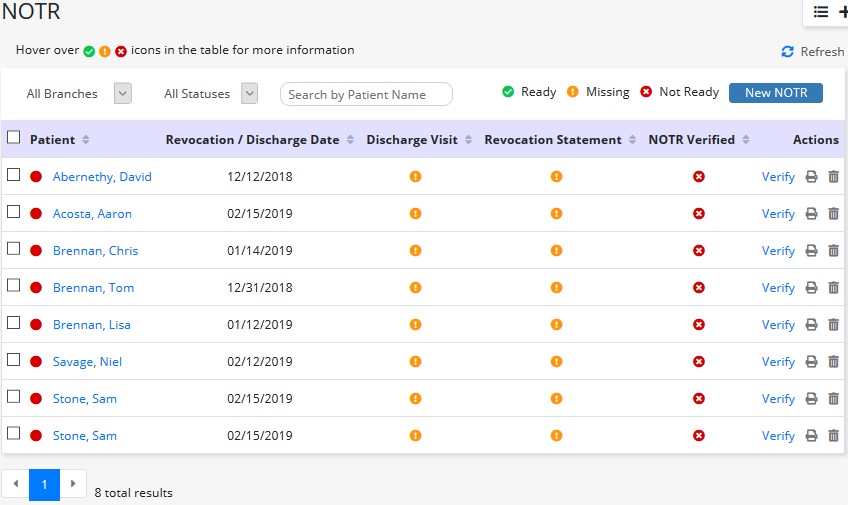
Notice of Termination/Revocation (NOTR) – Check the status, verify, print, follow up, delete and create new NOTR’s.
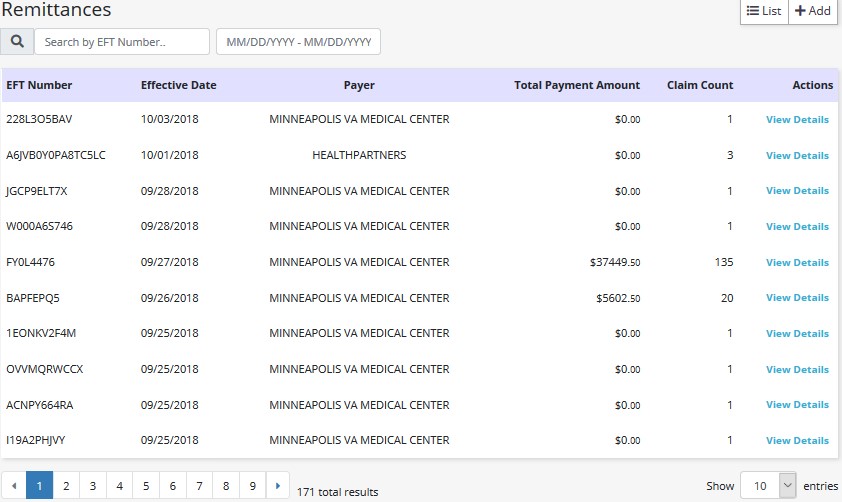
Remittance Advice – Automatically posted through All Payers once received and the associated claims have payments and adjustments posted to the claims.
The Admin menu allows access to the following actions based on permissions granted to the user. NOTE: See Admin manual for further details.
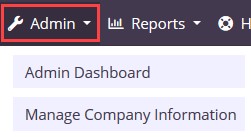
Manage Company Information – The Admin menu allows access to the following actions based on permissions granted to the user. Companywide settings and information are managed from this screen. NOTE: See Admin manual for further details.

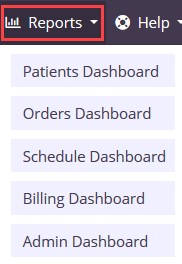
The Reports Menu houses all five dashboards previously seen in other menus including Patients, Orders, Schedule, Billing and Admin.
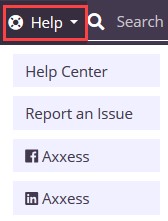
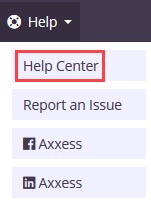
Help Center – This is a direct link to the Axxess Help Center.
Report an Issue – This is a direct link for Axxess super users to enter tickets to resolve any issues.
Links – Direct links to the Axxess Facebook and LinkedIn pages.
![]()
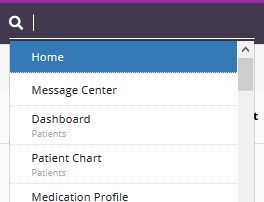
The Search Page at the far-right side of the navigation bar is used to navigate to different sections of the software by entering the name of the section then selecting from the list of options.
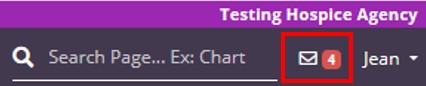
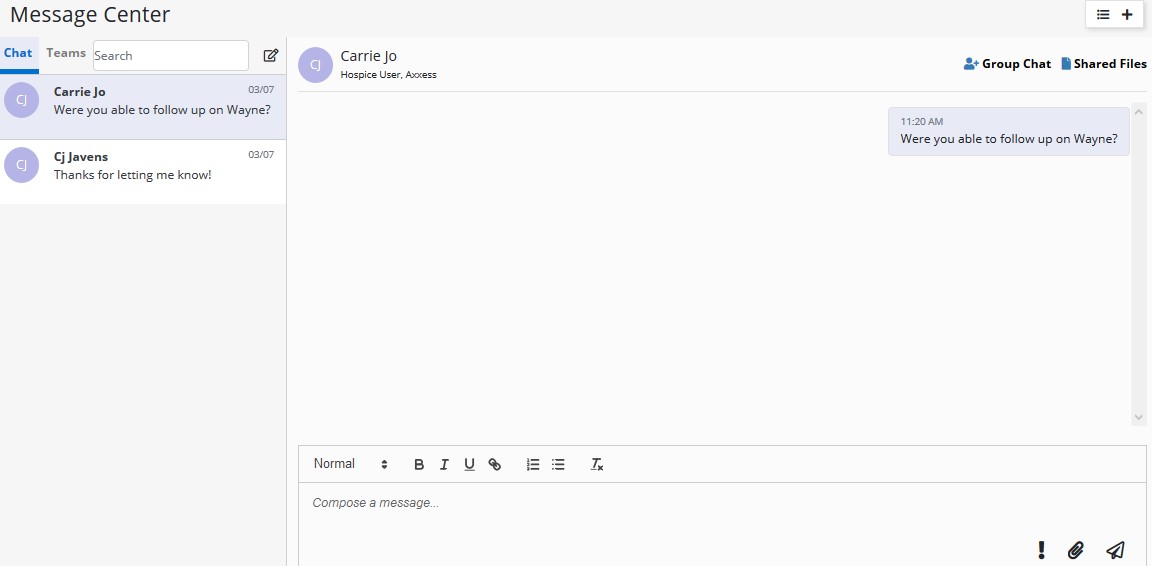
The Message Center is a place for all staff to communicate internally related to patient care with functionality to attach items and message groups as well as individuals. There are two ways to access notifications/messages. Either select the envelope icon at the top right side of the page or My Dashboard which has a hyperlink to “View All Messages” at the bottom of the Unread Messages tile.
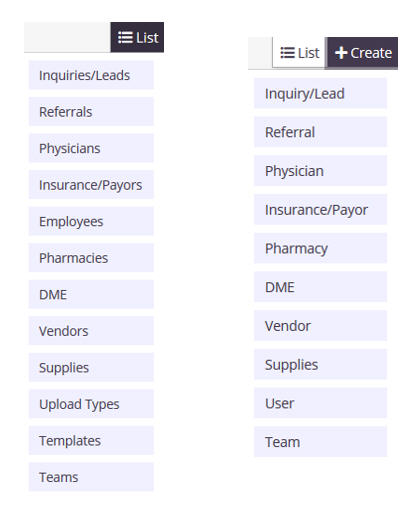
The top right of most Axxess Hospice pages houses the Lists and Create sections.
To reset the Axxess login password, follow one of the methods listed below.
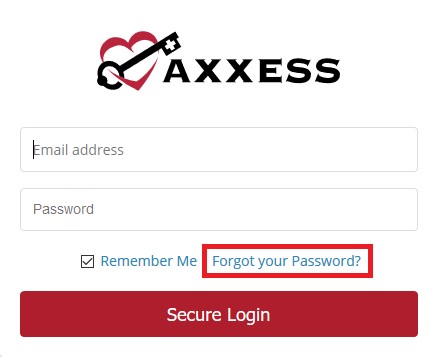
Navigate to the login page and select “Forgot your Password?” Continue to follow the prompts to enter the email address used to log in to Axxess and select “Send.” This will send a password reset link to the user’s email address.
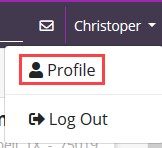
*User Name*/Profile
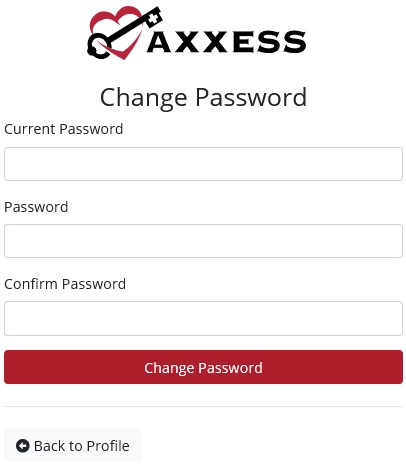
Select the “Password” line.
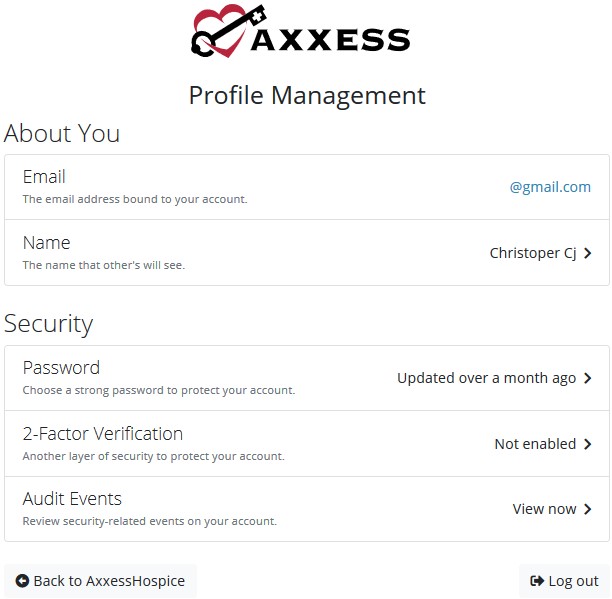
Enter the Current Password, a new Password and then Confirm Password. Select the “Change Password” button when finished.
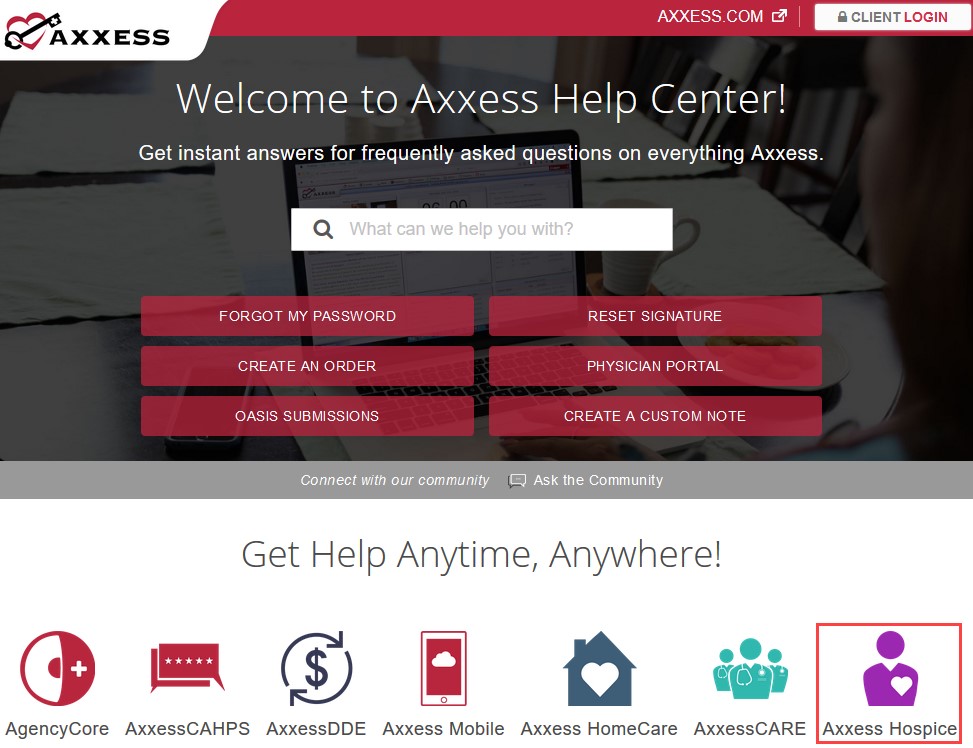
A great resource that is available 24/7 is our Help Center. It is a place to get answers to frequently asked questions or watch videos on all our Axxess products. Our Help Center can be accessed by selecting Help/Help Center or https://www.axxess.com/help/